Ice and Water Shield: Wisconsin’s Best Defense Against Leaks
8 Min Read
POSTED 15.10.2026
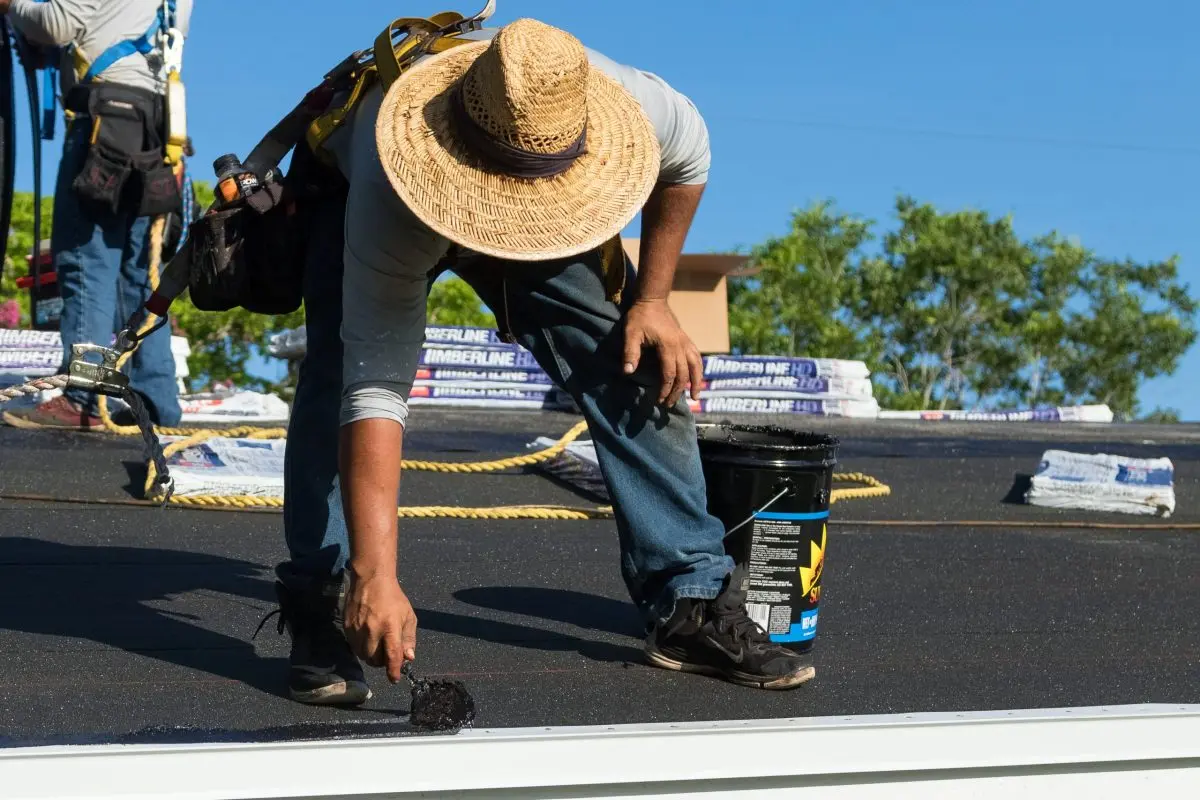
Ice and water shield is a self-adhering waterproof membrane installed under shingles at the most vulnerable areas of a Wisconsin roof: eaves, valleys, and around penetrations. An ice and water shield roof underlayment is the single most important component of your roofing system when it comes to preventing interior water damage from ice dams, wind-driven rain, and freeze-thaw cycling. On a Wisconsin roof, ice and water shield is not optional; it’s what stands between your ceiling and the water that inevitably tries to work its way past your shingles during the harshest weeks of winter. If your roof is more than 20 years old or you’re planning a replacement, understanding what ice and water shield actually does will help you make sure the next roof you install actually protects your home. When you’re ready for a professional look, roof replacement from a contractor who installs code-compliant underlayment is the standard to hold quotes to.
Here is what this guide covers:
- What ice and water shield is and how it works
- Where Wisconsin code requires ice and water shield
- The 4 places every Wisconsin roof should have it
- Common installation mistakes that void its protection
- How to know if your current roof has adequate ice and water shield
- Common questions Wisconsin homeowners ask about roofing underlayment
What Ice and Water Shield Actually Does

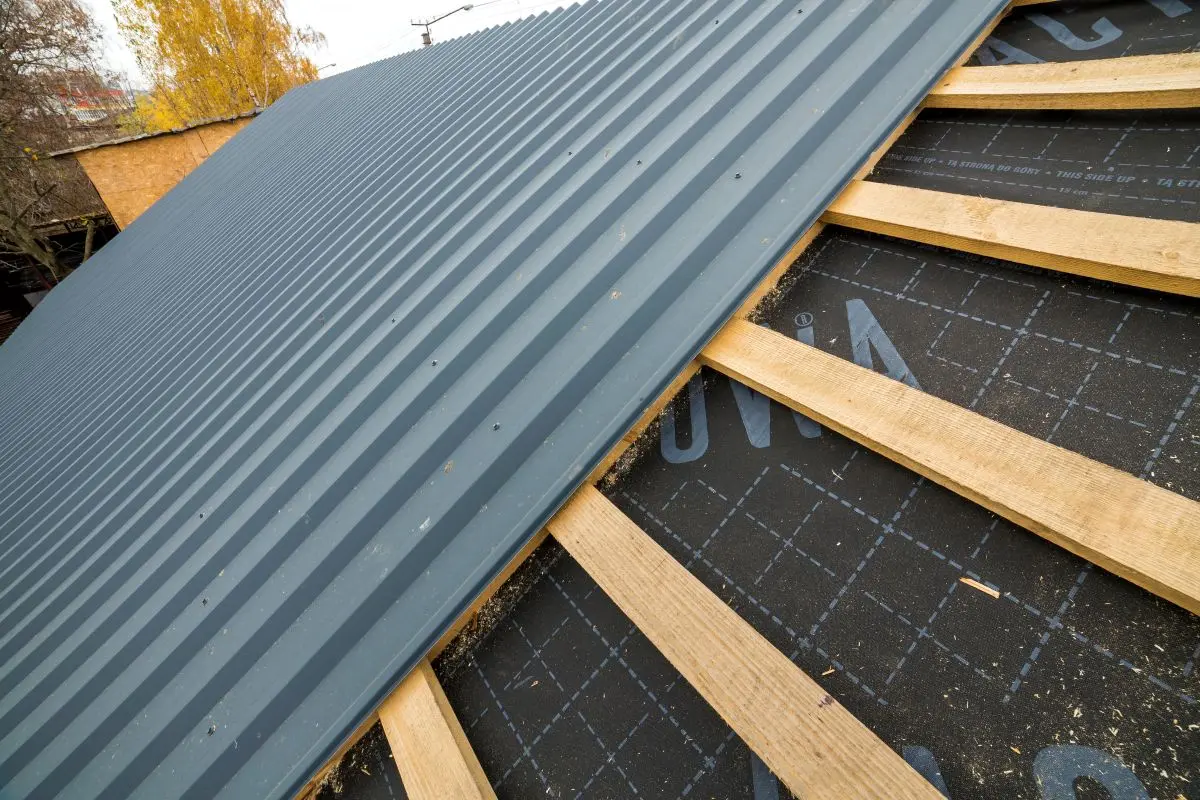
Ice and water shield is a rubberized asphalt or butyl-based membrane with a factory-applied adhesive backing. When installed correctly, it bonds directly to the roof deck and seals around nail penetrations, creating a waterproof and vapor barrier that shingles alone cannot provide. Standard synthetic underlayment across the entire roof sheds water; ice and water shield stops water. That difference matters enormously when ice dams form and back water up under the shingles at the eaves.
We’re proud to serve homeowners in Fitchburg, WI, and nearby communities with roof replacement, storm damage inspections, and free roof condition assessments.
Why Wisconsin Roofs Need It More Than Most
Wisconsin sits in Climate Zone 6 for building code purposes, which triggers the strictest ice dam protection requirements in the International Residential Code. The reasons are straightforward:
- Freeze-thaw cycling: Wisconsin experiences roughly 100 to 130 freeze-thaw cycles per year, each one an opportunity for water to work into a seam that seemed fine yesterday.
- Ice dam formation: Snow accumulation combined with heat loss through the roof deck creates the classic Wisconsin ice dam pattern that forces water back under shingles at the eaves.
- Heavy snow loads: Snow sitting on the roof for weeks at a time keeps the underlayment wet and stressed in ways that don’t happen in warmer climates.
- Wind-driven rain: Summer storms can drive rain sideways into gaps between asphalt shingles that standard underlayment can’t fully seal.
In moderate climates, standard felt or synthetic underlayment provides adequate protection. In cold climates like Wisconsin, it doesn’t.
4 Places Every Wisconsin Roof Should Have Ice and Water Shield
Wisconsin code mandates certain minimum installations, but every good residential roofer knows to extend ice and water shield to additional vulnerable areas.
1. Along the Eaves
The eaves are where ice dams form and where the majority of ice dam-related water damage originates. Wisconsin code requires ice and water shield to extend from the roof edge to at least 24 inches inside the exterior wall line. A properly installed ice barrier for Wisconsin homes typically extends further than the code minimum, typically 36 inches or the full length of a standard underlayment roll, to provide additional protection against severe ice events.
- Minimum by code: 24 inches inside the exterior wall line, installed over the drip edge along the roof edge
- Best practice: 36 inches or more for full ice dam protection
- Why it matters: This is the exact area where ice dams push water back under the shingles
2. In All Valleys
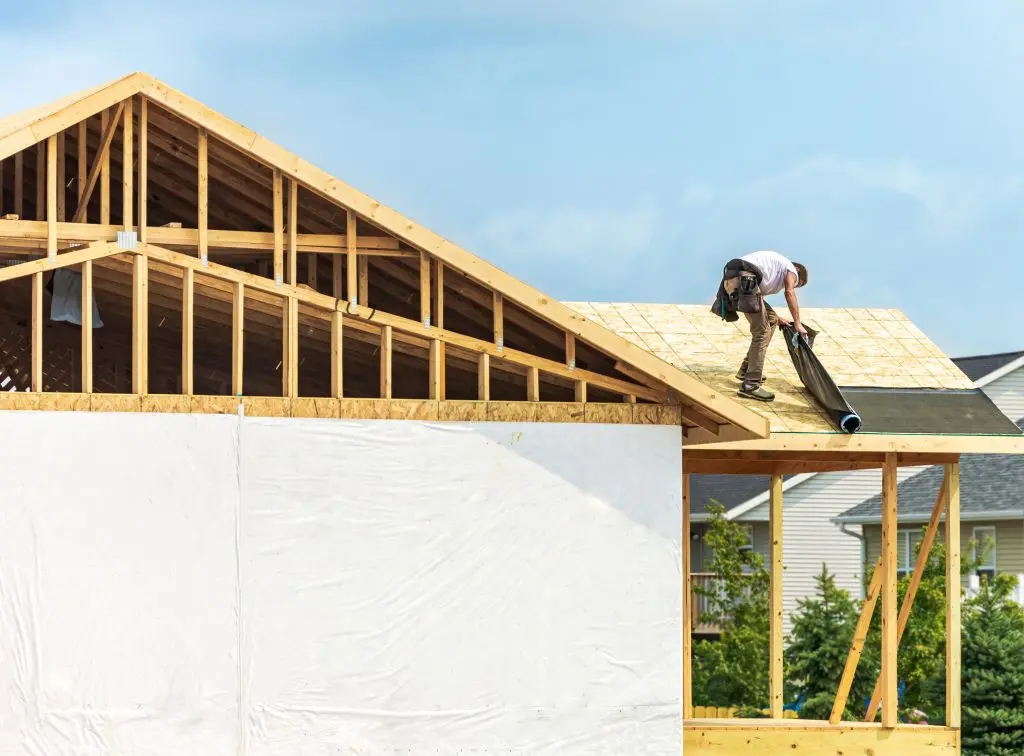
Roof valleys are natural water collection points. When snow melts and heavy rain flows across the roof, valleys handle the highest concentration of water and become the most likely leak points on any roof. Ice and water shield installed in valleys creates a continuous waterproof channel that carries water safely off the roof.
- Installation: A single continuous strip running the full length of the valley, typically 36 inches wide
- Why it matters: Valleys handle more water than any other section of the roof surface
- Common failure: Reusing old flashing without new ice and water shield underneath during re-roofing
3. Around Roof Penetrations
Every plumbing vent, chimney, skylight, and mechanical penetration is a potential leak point. Ice and water shield installed around these penetrations before flashing creates a redundant seal that catches any water that gets past the flashing itself.
- Installation: Cut and applied around the penetration with adequate overlap on all sides
- Why it matters: Pipe boots and flashing eventually degrade; ice and water shield underneath extends the effective waterproof life of the assembly
- Applies to: Plumbing vents, HVAC penetrations, chimneys, skylights, and any wall-to-roof transition
4. At Wall-to-Roof Transitions
Anywhere the roof meets a vertical wall, water tends to collect and work into the transition. Ice and water shield extended up the wall behind the siding and across the roof deck creates a continuous waterproof seal at one of the most common leak locations.
- Installation: Extends at least 12 inches up the wall and out onto the roof deck
- Why it matters: Wall-to-roof transitions collect windblown snow and ice that regular flashing struggles to seal
- Common on: Dormers, additions, and multi-story homes with roof-to-wall junctions
Common Installation Mistakes That Void the Protection
Ice and water shield is only as effective as its installation. These are the mistakes that turn a code-compliant material into a costly disappointment.
- Insufficient coverage at the eaves: Cutting corners on the 24-inch minimum leaves the most vulnerable area of the roof exposed to ice dam damage.
- Skipping valleys: Using regular underlayment or old felt in valleys is a shortcut that leaks within a few winters.
- Improper overlap: Ice and water shield strips must overlap by at least 6 inches to maintain waterproof continuity. Gaps between strips defeat the entire purpose.
- Application to cold or dirty decking: The adhesive requires proper deck temperature and clean surface to bond. Winter installations without proper technique fail at the adhesion layer.
- Reusing old flashing over new ice and water shield: A new ice and water shield installation with old, cracked flashing on top creates a false sense of security. Flashing should be replaced during any full re-roofing.
Frequently Asked Questions About Ice and Water Shield
Wisconsin homeowners planning a roofing project tend to ask the same questions. Here are direct answers.
How can I tell if my current roof has ice and water shield?
Without lifting shingles, it’s difficult to confirm directly. Homes built after 2000 in Wisconsin typically have ice and water shield installed at the eaves per code. Homes built before then may not, particularly if they haven’t been re-roofed since. A professional roof inspection can often infer coverage based on visible signs of past ice dam damage or the lack thereof.
Does ice and water shield add much to the cost of a roof replacement?
For a typical Wisconsin home, ice and water shield adds roughly $300 to $800 to the total project cost depending on how much of the roof it’s applied to. That’s a small fraction of the interior water damage cost from a single ice dam event, which can easily reach $5,000 to $10,000 or more.
Can ice and water shield be added to an existing roof without a full replacement?
No, not effectively. Ice and water shield needs to be installed directly on the roof deck under the shingles. It can be added during any full re-roofing project where existing shingles are removed, but it cannot be retrofitted under an intact roof.
How long does ice and water shield last?
Quality ice and water shield membranes, including established products like Grace Ice & Water Shield, typically match the lifespan of the shingles above them, 25 to 40 years depending on the product. They’re installed once and left in place for the full life of the roofing system.
Does Badgerland Exteriors install ice and water shield on every roof?
Yes. Ice and water shield installation to Wisconsin code requirements is standard on every full roof replacement Badgerland performs, and we typically extend coverage beyond the minimum for improved ice dam protection. Free roof estimates include a walkthrough of exactly where and how the underlayment will be installed.
Protect Your Roof From the Inside Out With Badgerland Exteriors
Ice and water shield is one of those roofing components that homeowners rarely think about until it’s missing. When it’s present and properly installed, it silently protects your home through every Wisconsin winter. When it’s absent, damaged, or improperly installed, it’s the invisible failure point that leads to some of the most expensive interior water damage a homeowner can face. Badgerland Exteriors has been installing code-compliant, extended-coverage ice and water shield on Fitchburg roofs and across central Wisconsin since 2009, with free estimates and honest walkthroughs of exactly what your roof needs.
Request your free roof estimate from Badgerland Exteriors today.
Let’s Get Started
Fix Your Roof the Badger Way
Got a question? Want to learn more about your options when it comes to caring for your home exterior? Our team is standing by with the information you need to start you roof replacement project today!