How To Install Architectural Shingles On Your Roof
8 Min Read
POSTED 06.08.2025
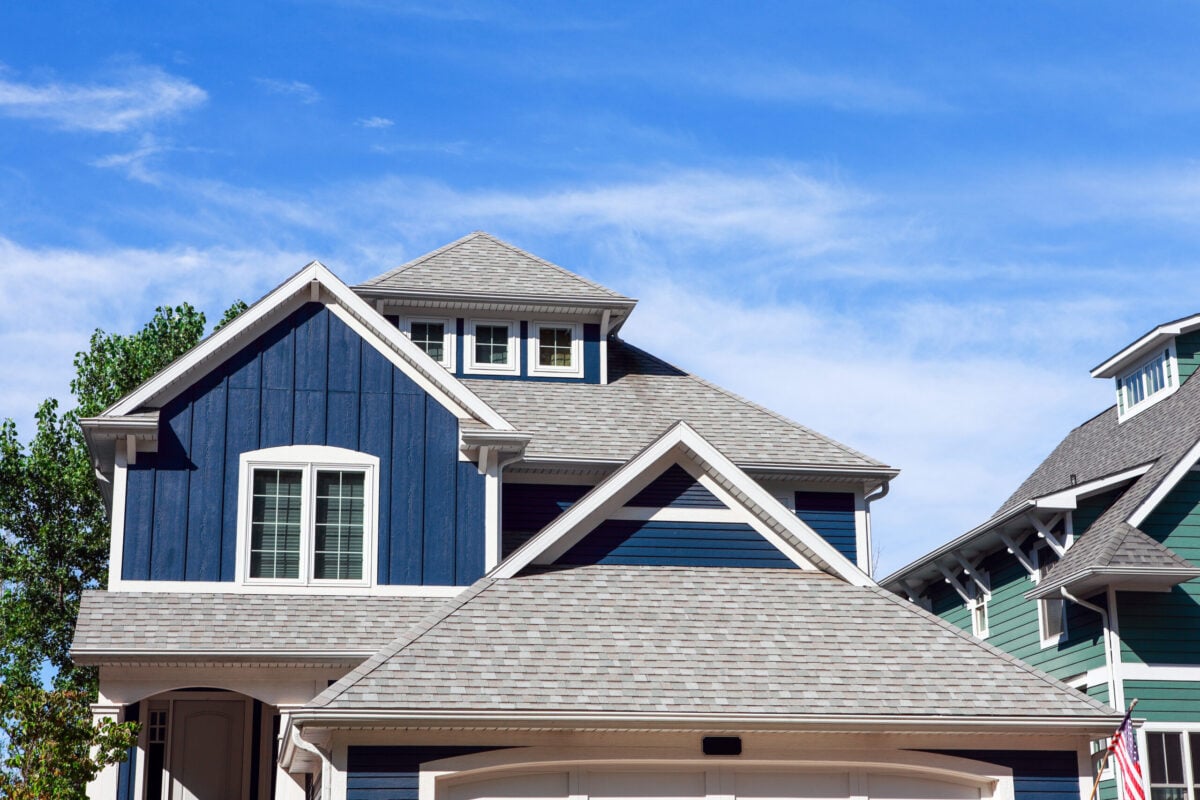
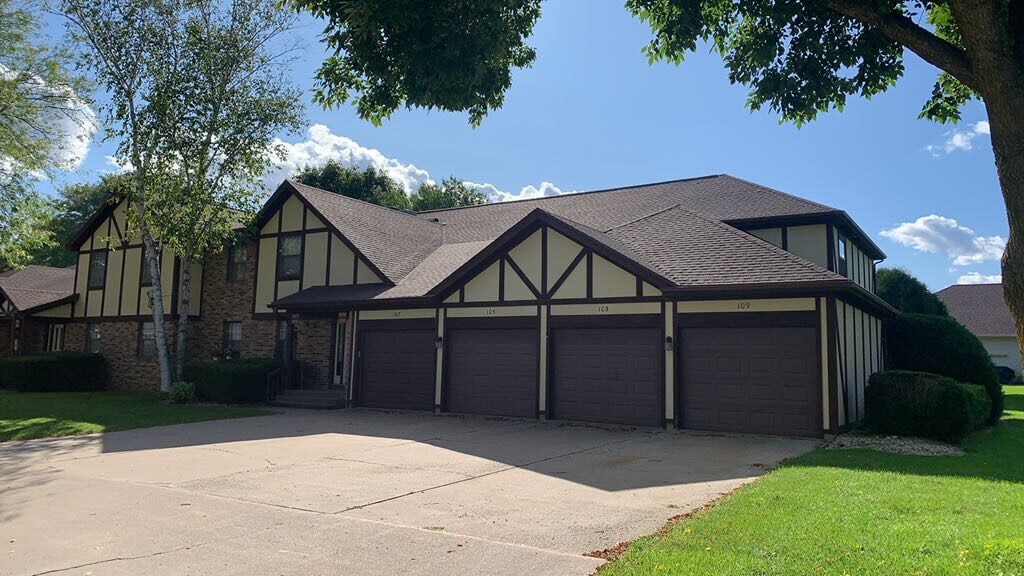
Architectural shingles offer superior durability and visual appeal compared to traditional three-tab shingles, making them a popular choice for homeowners seeking long-lasting roofing solutions. These dimensional shingles create depth and texture that enhances your home’s curb appeal while providing excellent weather protection.
Installing architectural shingles requires careful planning, proper tools, and attention to detail. While some experienced DIY enthusiasts may tackle this project, the complexity and safety risks involved make professional installation the recommended approach for most homeowners. This comprehensive guide will walk you through the entire process, covering everything from preparation to final inspection.
Whether you’re considering a DIY approach or want to understand what professional roofers do during installation, this article provides valuable insights into:
- Understanding architectural shingles and their benefits
- Essential tools and materials needed for installation
- Step-by-step installation procedures
🤔 Understanding Architectural Shingles
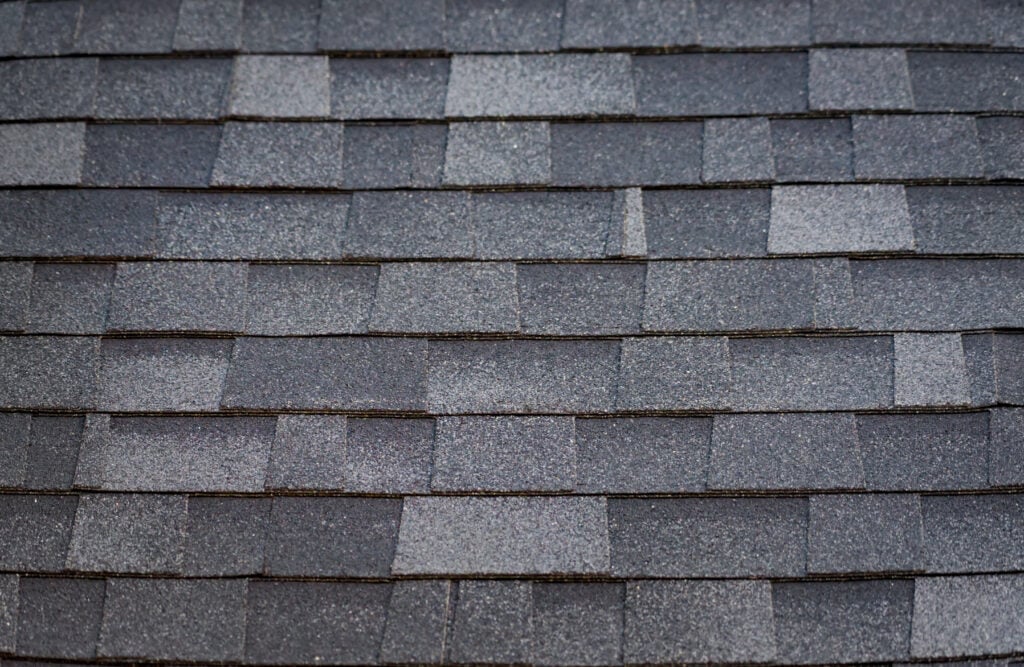
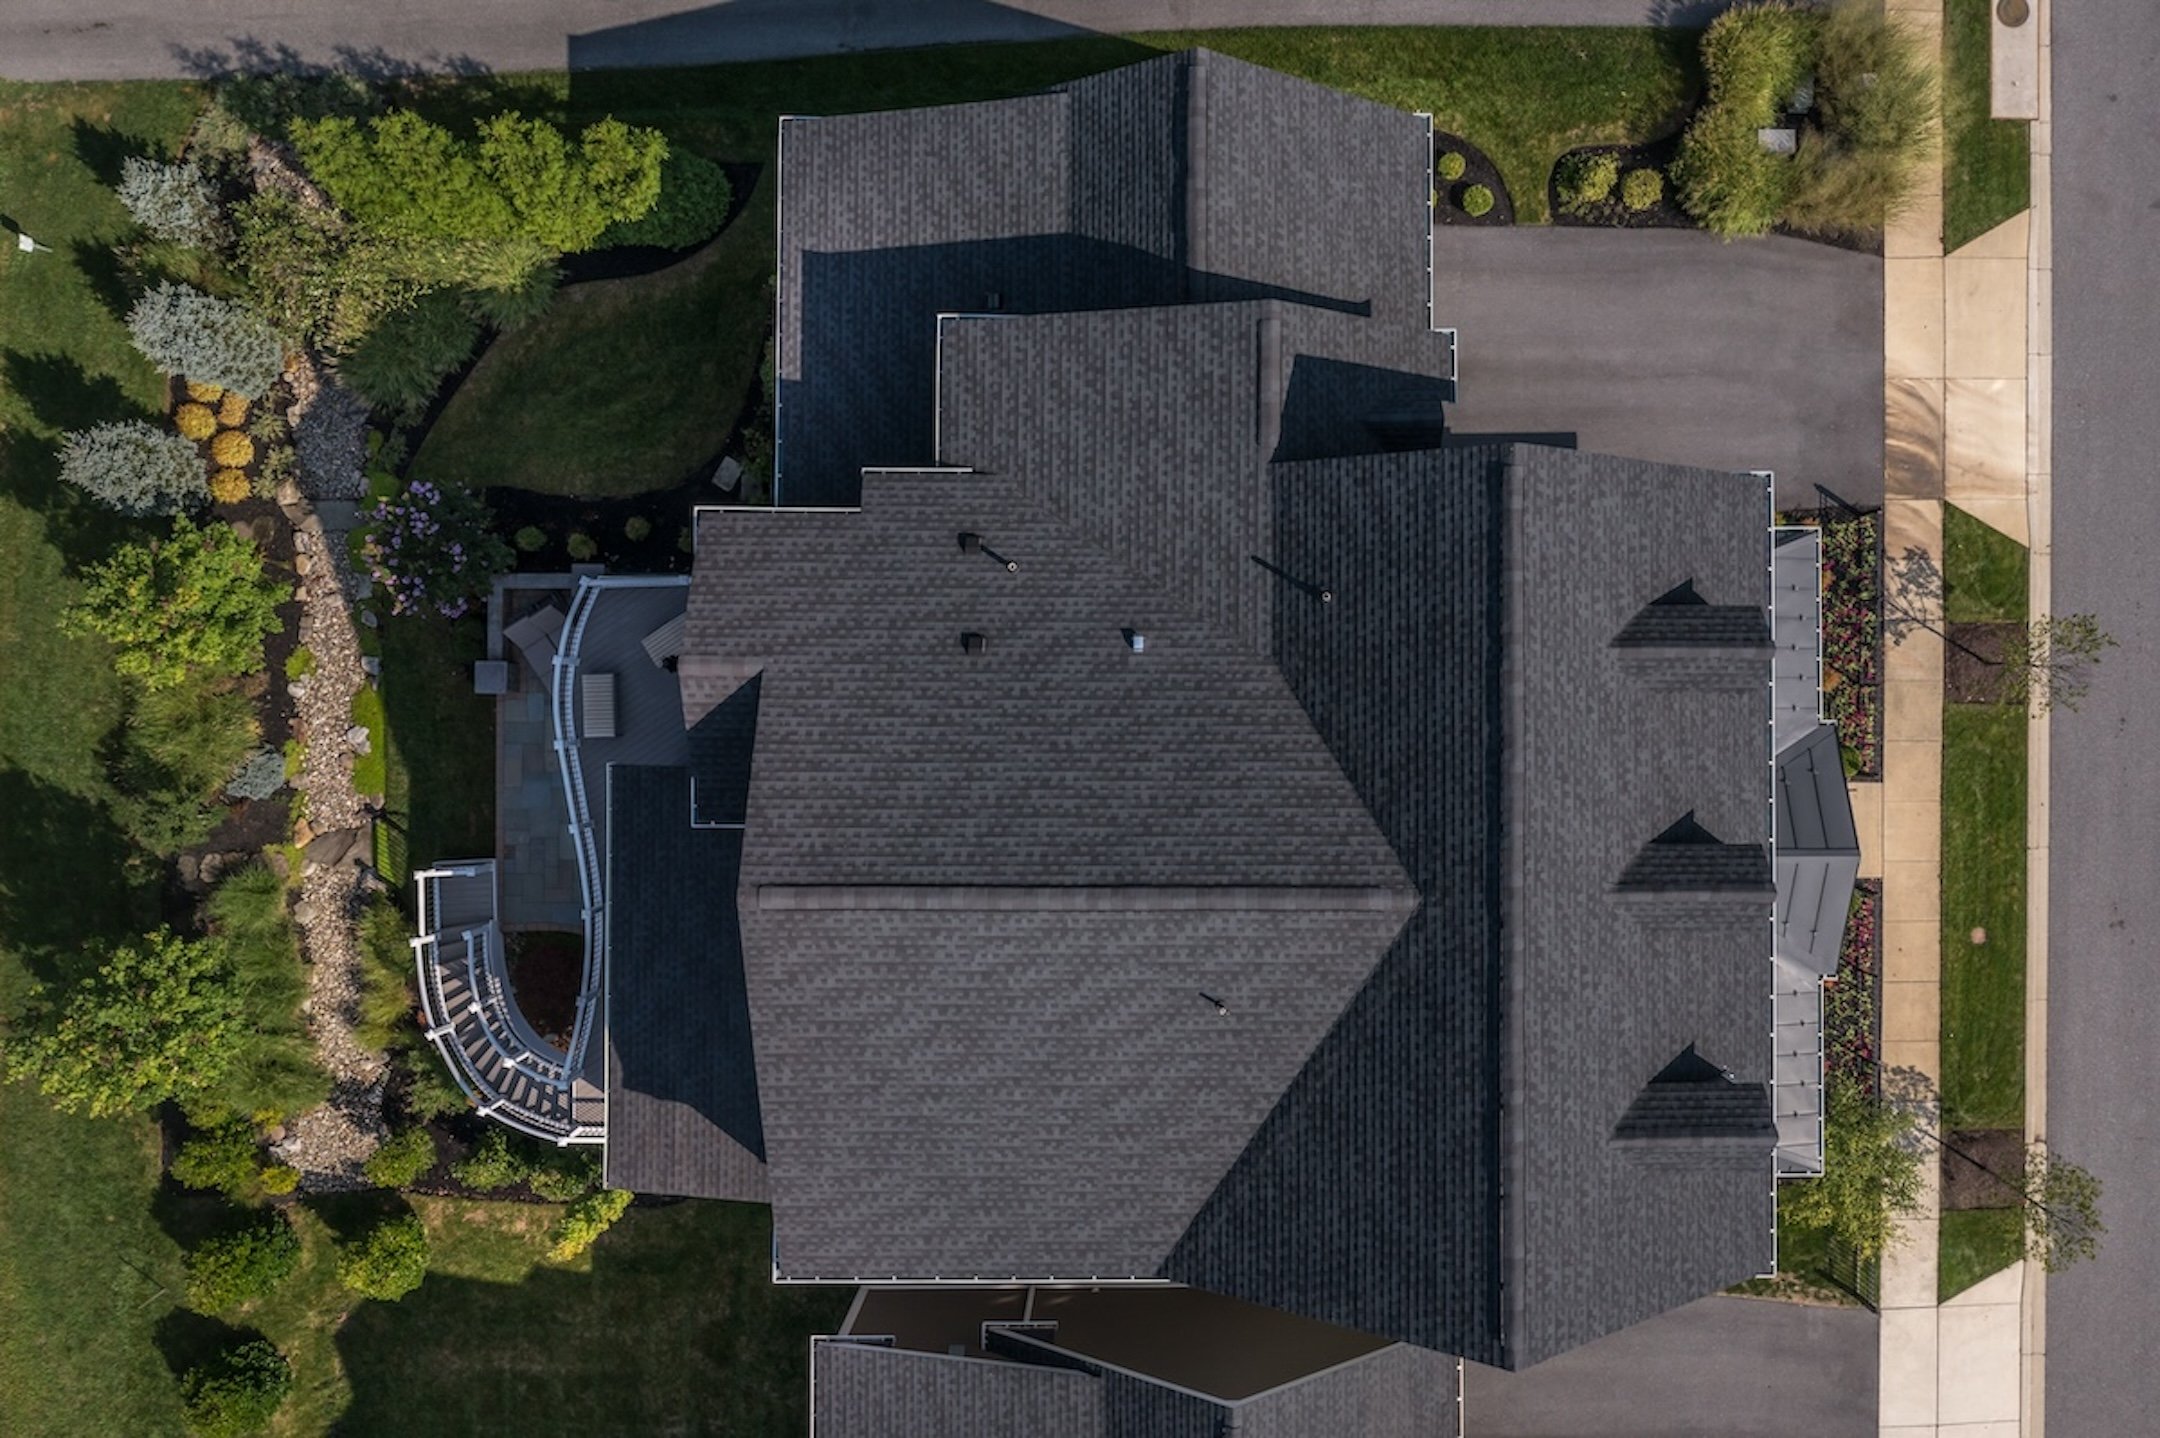
Architectural shingles, also known as dimensional or laminated shingles, consist of multiple layers of asphalt bonded together. This construction creates a thicker, more substantial roofing material compared to standard three-tab shingles. The multi-layer design produces shadow lines and dimensional patterns that mimic the appearance of more expensive roofing materials like wood shakes or slate tiles.
These premium shingles typically weigh between 240-400 pounds per square (100 square feet), making them heavier than basic asphalt shingles. The additional weight contributes to their durability and wind resistance, with many architectural shingles rated to withstand winds up to 130 mph.
The enhanced construction of architectural shingles provides several advantages. Their thicker profile offers better protection against weather elements, while the random cutout patterns help disguise minor imperfections in roof decking. Most manufacturers back their architectural shingles with warranties ranging from 25 to 50 years, reflecting confidence in their longevity.
Essential Tools and Materials
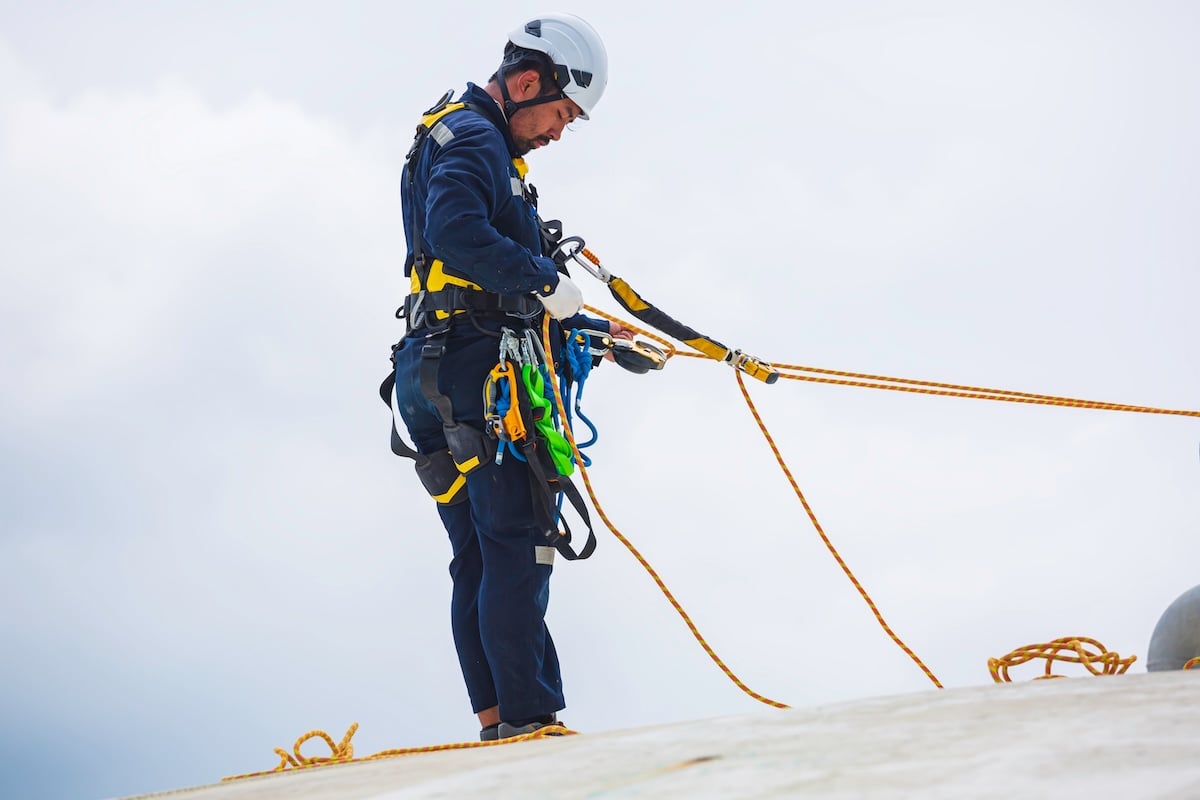
- Gather essential tools: hammer or pneumatic nail gun, utility knife with extra blades, chalk line, measuring tape, roofing hatchet, ladder or scaffolding, safety harness, non-slip shoes, and a roofing shovel for removing old shingles.
- Calculate materials: Measure roof area to determine shingle bundles, adding 10-15% for waste. Include underlayment, starter strips, ridge cap shingles, roofing nails, and ice/water shield if needed for your climate.
- Use quality nails: Opt for galvanized or stainless steel nails, 1.25 inches for new construction or 1.5 inches for installations over old shingles, with a 3/8-inch diameter head for strong holding power.
- Plan ahead: Having all tools and materials ready ensures a smooth installation process with no delays.
✅ 6 Step Installation Process
A clear 6-step installation process ensures a smooth and hassle-free setup. It saves time and eliminates confusion, helping you get started quickly and efficiently.
1. Begin the Second Course
When starting the second course of shingles, it’s crucial to position a full shingle so its tabs don’t align with the tabs on the first course. This staggered arrangement creates the random, natural-looking pattern that architectural shingles are known for. Additionally, this offset reduces the chance of water infiltration by ensuring that the seams between shingles don’t line up. Most manufacturers recommend an offset of about 6 inches for each course, but it’s important to review the guidelines specific to your shingle brand to ensure proper installation. Proper alignment at this stage sets the foundation for the entire roof’s appearance and functionality.
2. Establish Your Nailing Pattern
The nailing pattern is a critical part of the installation process, as it directly affects the stability and longevity of your roof. Each shingle should be secured with four nails, placed along the manufacturer’s designated nail line. These lines are marked on most shingles to guide proper nail placement, ensuring that the shingles are firmly pinned without compromising their performance. Nails should penetrate at least 3/4 inch into the roof deck or fully through the deck if it’s thinner than that measurement. Overdriving nails can damage the shingles by breaking through the surface, while underdriving nails can leave them loose, reducing their holding power. Taking the time to ensure proper nailing will greatly enhance the durability of your roof against wind and weather.
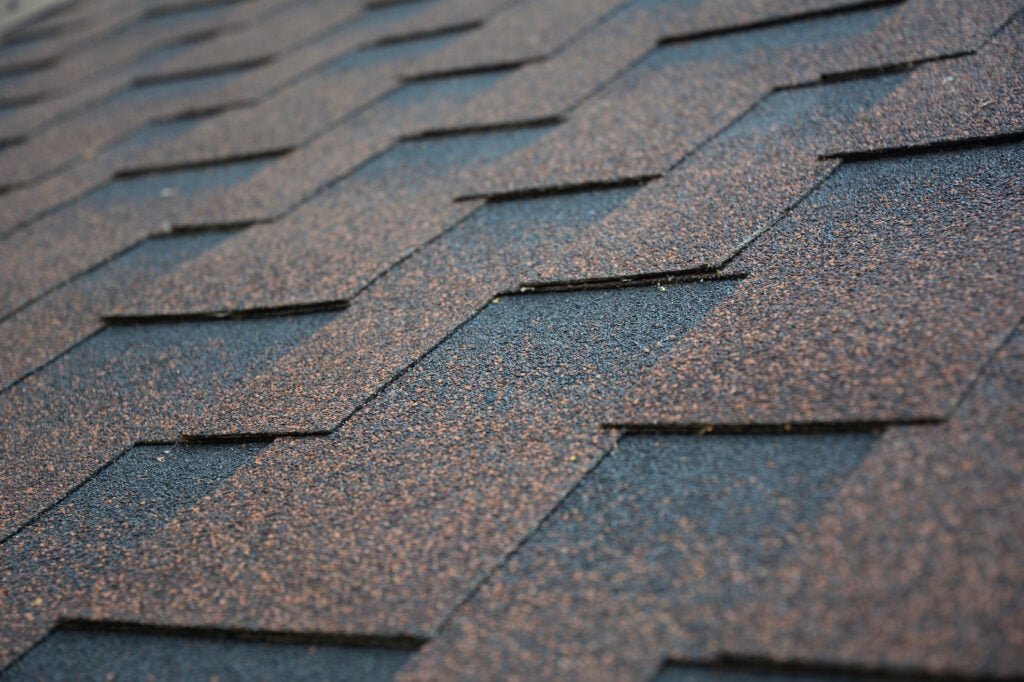
3. Maintain Proper Exposure
Proper exposure ensures that the shingles are installed in neat, even rows while providing optimal protection to the roof deck. For architectural shingles, the standard exposure is typically 5 inches, which means that 5 inches of each shingle remains visible after the next course is installed. To maintain this consistency, use a chalk line to mark your exposure lines every few courses. These chalk lines act as a guide, helping you keep the rows straight and parallel across the new roof. Proper exposure is not just about appearance—it’s essential for preventing water from seeping between overlapping shingles and ensuring uniform coverage.
4. Handle Cut Shingles Carefully
Cutting architectural roofing shingles is often necessary when you reach rake edges, valleys, or areas around penetrations like chimneys or vents. To make precise cuts, use a sharp utility knife and work on a flat, stable surface to avoid mistakes. Clean, straight cuts are essential for both aesthetic and functional reasons, as improperly cut shingles can leave gaps or uneven edges that increase the risk of leaks. After cutting, seal all exposed edges with roofing cement to protect them from water infiltration and ensure they stay securely in place. This extra step extends the lifespan of your shingles and improves the roof’s overall performance.
5. Work Systematically Across the Roof
To ensure a smooth and error-free installation, work in an organized manner from the bottom of the roof to the top and left to right. Each course should be completed before moving on to the next. This systematic approach helps maintain proper alignment and ensures that the finished roof is even, both in appearance and in coverage. It also reduces the likelihood of mistakes, such as misaligned rows or skipped shingles, which can compromise the roof’s integrity. By following a consistent process, you’ll save time, minimize material waste, and end up with a professional-quality roof.
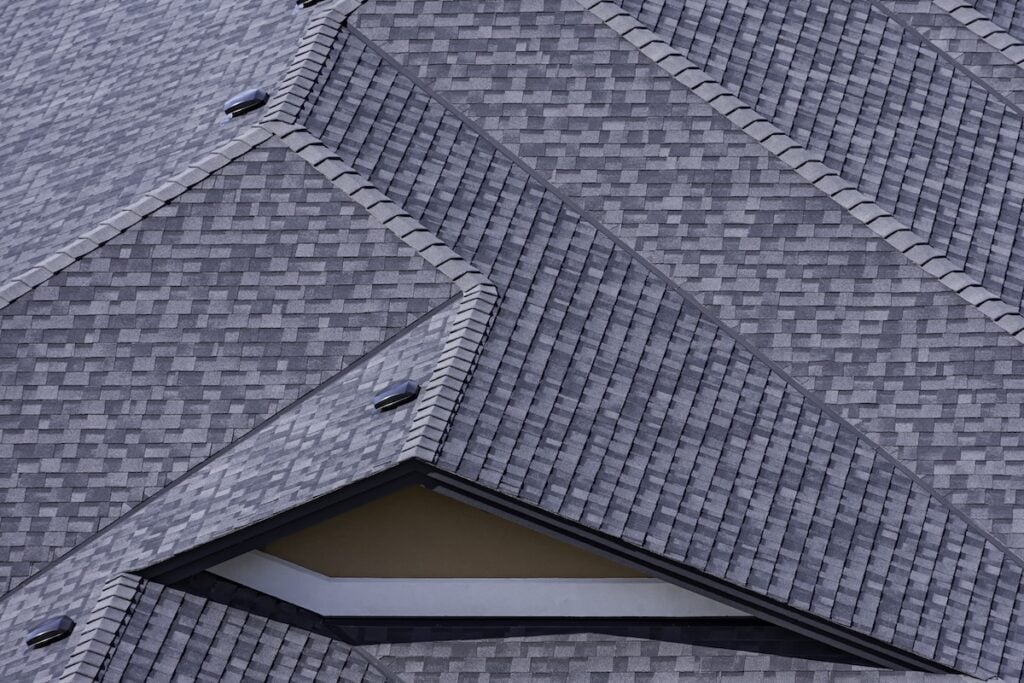
6. Pay Special Attention to Valleys and Penetrations
Valleys and roof penetrations are the most vulnerable areas for water leaks, so they require extra care during installation. When working on valleys, begin by installing valley flashing to direct water flow and protect the roof deck. Cut the roofing shingles so they form a clean, straight line along the valley centerline, ensuring proper overlap for water shedding. For penetrations like chimneys, vents, and pipes, use flashing to seal the area tightly. Apply extra roofing cement to create a watertight barrier around these critical points. Taking the time to properly address these areas will help prevent leaks and protect the roof’s most sensitive spots for years to come.
🔎 Quality Control and Final Inspection
Quality control and final inspection ensure that products meet required standards and function as intended. They help identify and fix any defects before reaching customers, maintaining trust and satisfaction.
Conduct a Thorough Inspection
Once the installation is complete, carefully inspect the entire roof to identify any issues that may need fixing. Walk across the roof and check for loose shingles, exposed nails, or gaps in coverage. Pay special attention to problem-prone areas like valleys, ridge lines, and spots around vents or chimneys.
Ensure Shingles Are Secure and Aligned
Make sure all shingles lie flat against the roof deck, with no lifting or buckling. Properly installed architectural shingle roofs should have consistent exposure lines and aligned tabs for a clean, uniform appearance. Irregularities can impact both the roof’s look and its performance.
Clean Up the Work Area
Remove all debris, including loose nails, shingle scraps, and packaging. This prevents damage to gutters, landscaping, or vehicles. Use a magnetic sweep to pick up any stray nails that could cause injuries or puncture tires.
Document the Installation
Take clear photographs of the completed roof to keep for your records. These photos are often required by manufacturers to validate warranty claims, providing essential proof of proper installation and protecting your investment.
👨🔧 Trust Badgerland Exteriors for Your Roofing Needs
When it comes to installing architectural shingles, you deserve a team that prioritizes quality, professionalism, and customer satisfaction. At Badgerland Exteriors, our experienced roofing contractors combine industry expertise with attention to detail to deliver exceptional results that protect your home and elevate its curb appeal. With a 4.9-star Google rating and an A+ Better Business Bureau rating, our reputation speaks for itself. From the first consultation to the final cleanup, we handle every step of your roofing project with care and precision, ensuring your shingles are installed to the highest standards.
Trust Badgerland Exteriors to provide the peace of mind and lasting protection you deserve. Ready to get started? Contact us today to schedule your personalized inspection and receive a detailed estimate. Let’s build a stronger, more beautiful roof together!
Let’s Get Started
Fix Your Roof the Badger Way
Got a question? Want to learn more about your options when it comes to caring for your home exterior? Our team is standing by with the information you need to start you roof replacement project today!
