Gutter Guard Installation Explained: Key Things to Know
7 Min Read
POSTED 24.06.2025
If you’re tired of constantly cleaning out your gutters or dealing with water pouring over your home’s foundation during a storm, gutter guards might just be the solution you need. They not only save you time and effort but also protect your home from potential water damage.
This blog will guide you through the essentials of gutter guard installation, including:
- What gutter guards are and why they’re beneficial
- Steps for installing gutter guards
- Common mistakes to avoid during installation
🤔 What Are Gutter Guards, and Why Do You Need Them?

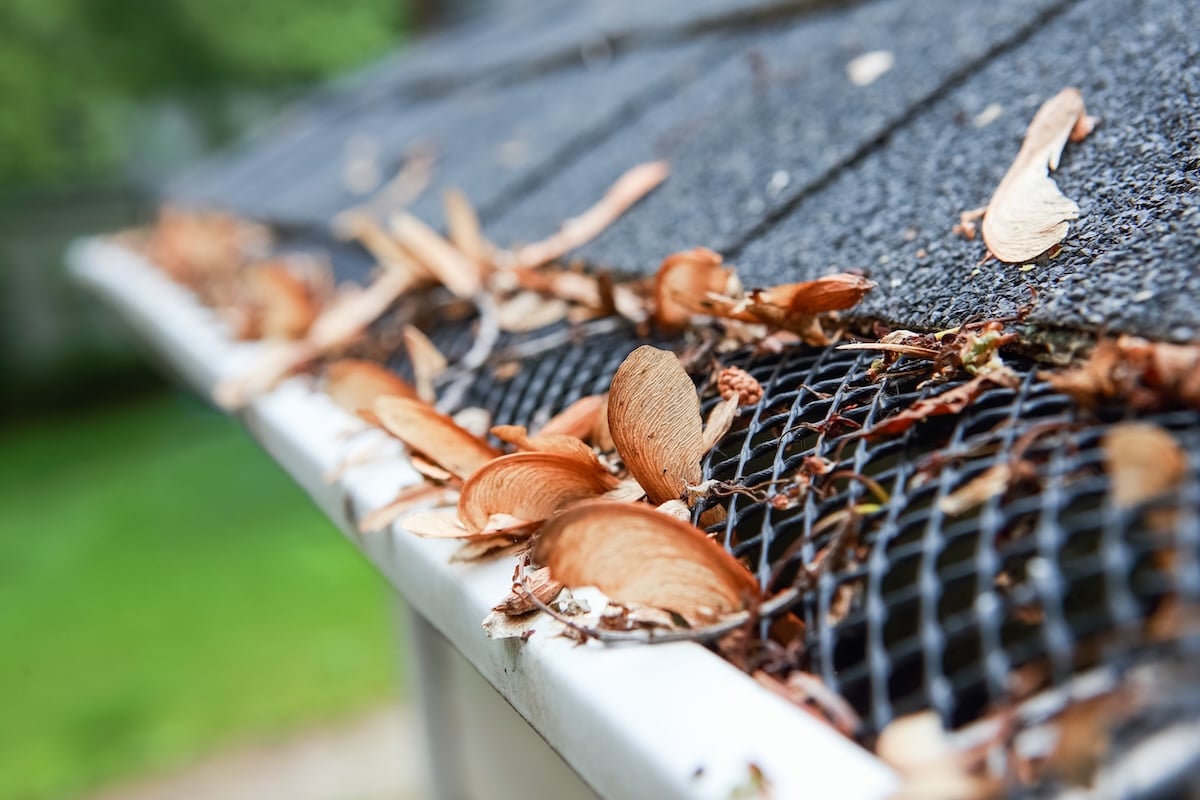
Gutter guards are protective covers that keep leaves, debris, and pests out of your gutters while still allowing water to flow through. They offer several benefits that make them essential for any homeowner. By reducing maintenance, gutter guards eliminate the need to climb ladders and clear out clogged gutters. They also ensure proper water flow, preventing water damage to your home’s foundation and landscaping.
In addition to protecting your home, gutter guards extend the lifespan of your gutters by reducing wear and tear from debris buildup. They also block rodents, birds, and insects from nesting in your gutters, keeping pests at bay. By preventing blockages, these guards save you money on costly repairs and help your gutters perform at their best.
Types of Gutter Guards to Consider
There’s no one-size-fits-all when it comes to gutter guards. Selecting the right type depends on your roof, climate, and budget. Here are the most popular options:
- Mesh Gutter Guards: Sturdy mesh blocks fine debris while allowing water through. Ideal for areas with heavy rainfall or pine needles. Pro Tip: Opt for stainless steel to avoid rust.
- Screen Gutter Guards: Perforated screens keep out larger debris like leaves and twigs. Best for homes near deciduous trees. Pro Tip: Ensure a snug fit to prevent debris slipping underneath.
- Foam Gutter Guards: Porous foam sits inside the gutter, allowing water flow while blocking debris. Great for budget-conscious homeowners. Pro Tip: Check for foam degradation or mold over time.
- Reverse-Curve Gutter Guards: Curved design directs rainwater into the gutter while debris slides off. Best for heavy rainfall areas with minimal debris. Pro Tip: Choose a reliable brand for effective performance.
✅ 6 Simple Steps to Install Gutter Guards

If you’re taking the DIY route, follow these simple steps to install gutter guards:
1. Gather Your Tools
Before starting the project, it’s important to gather all the tools and materials you’ll need to install your gutter guards. Make sure you have a sturdy ladder that allows you to safely reach your gutters without overextending. You’ll also need a measuring tape to ensure precise measurements of the gutters, and either snips or a hacksaw to cut the guards to the right size if adjustments are necessary. A screwdriver or drill will be required to attach the guards securely to the gutters, depending on the manufacturer’s instructions. Don’t forget to prioritize safety by wearing protective gloves to guard against sharp edges and safety goggles to shield your eyes from debris.
2. Clean the Gutters
Before installing the gutter guards, you need to clean the gutters thoroughly. Start by removing all leaves, twigs, and other debris that may have accumulated inside. This ensures the guards will fit properly and the system will work as intended. Use your hands or a small scoop to clear out the bulk of the debris, and then follow up with a garden hose to flush out any remaining dirt. As you rinse the gutters, check whether water flows freely through the downspouts to identify any clogs that might need to be addressed before moving forward.
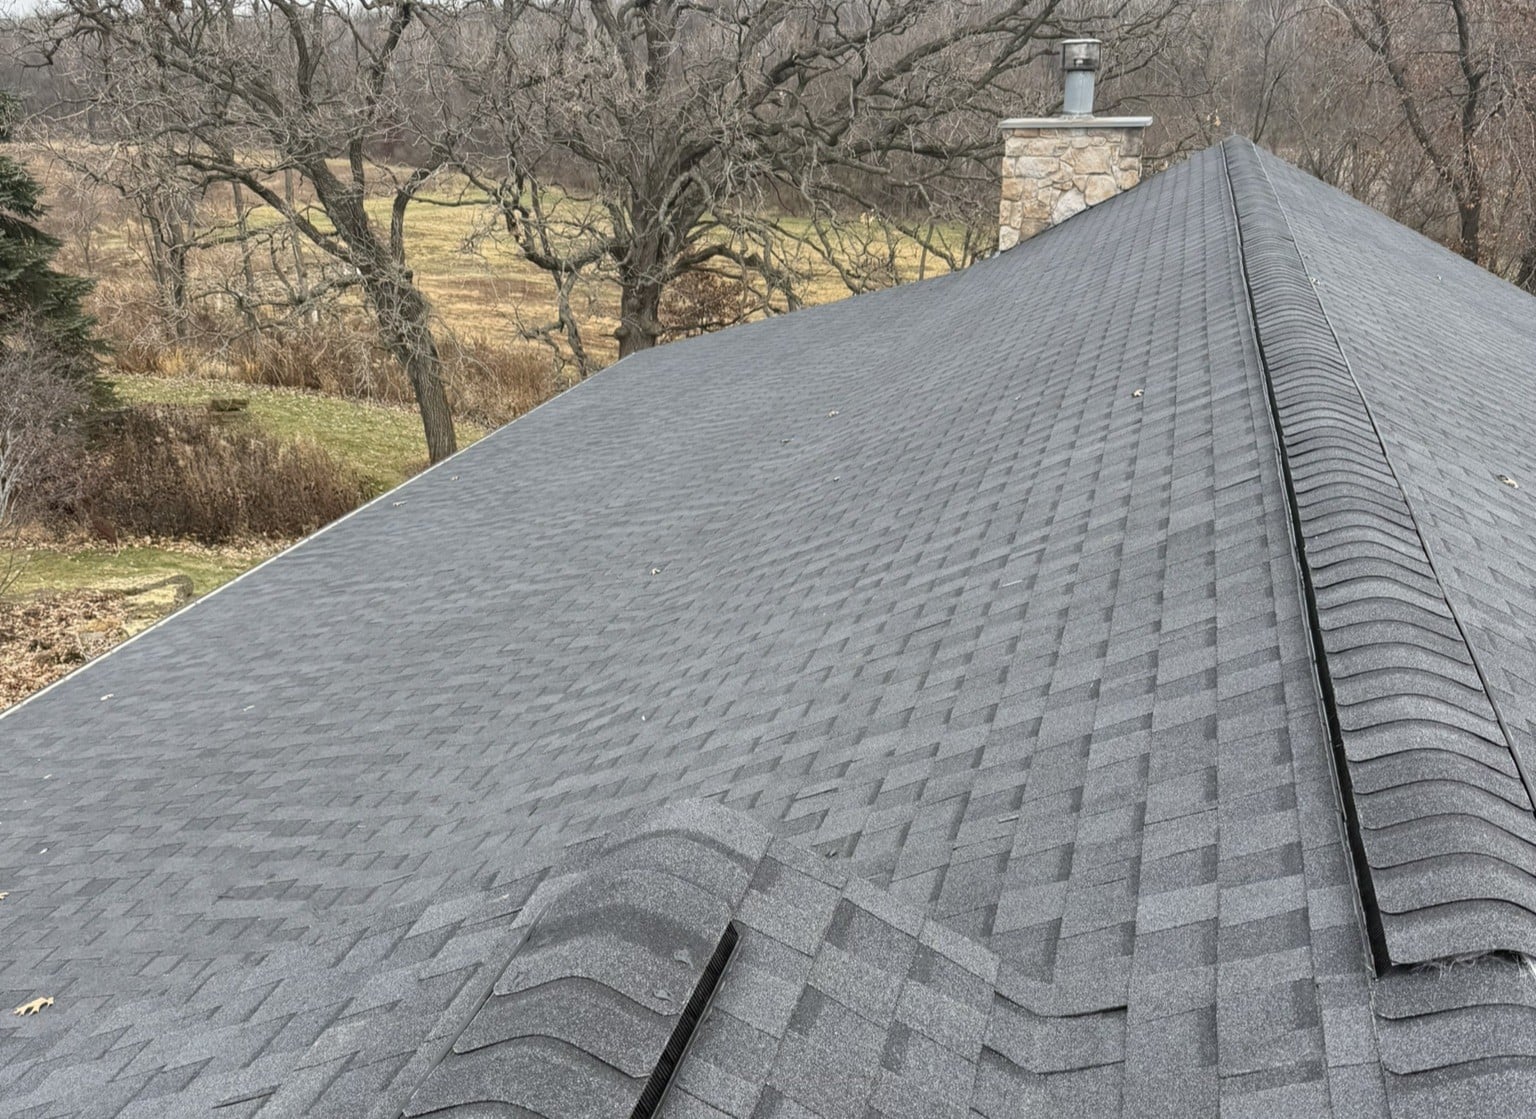
3. Inspect for Repairs
As you clean the gutters, carefully inspect them for any signs of damage. Look for holes, cracks, or rust that could affect the system’s functionality. Also, check for sagging sections or joints that may have loosened over time. If you find any issues, make sure to repair or replace the damaged sections before proceeding with the installation of gutter guards. Neglecting these repairs could affect the performance of the guards and the overall efficiency of your gutters.
4. Measure and Cut the Guards
Once the gutters are clean and in good condition, the next step is to measure and cut the gutter guards to size. Use a measuring tape to determine the exact length of your gutters so you know how much material you’ll need to cover them fully. If adjustments are required, use snips or a hacksaw to cut the guards to the appropriate length. Pay close attention to corners and areas around downspouts, as these often require more precise cutting to ensure the guards fit seamlessly.
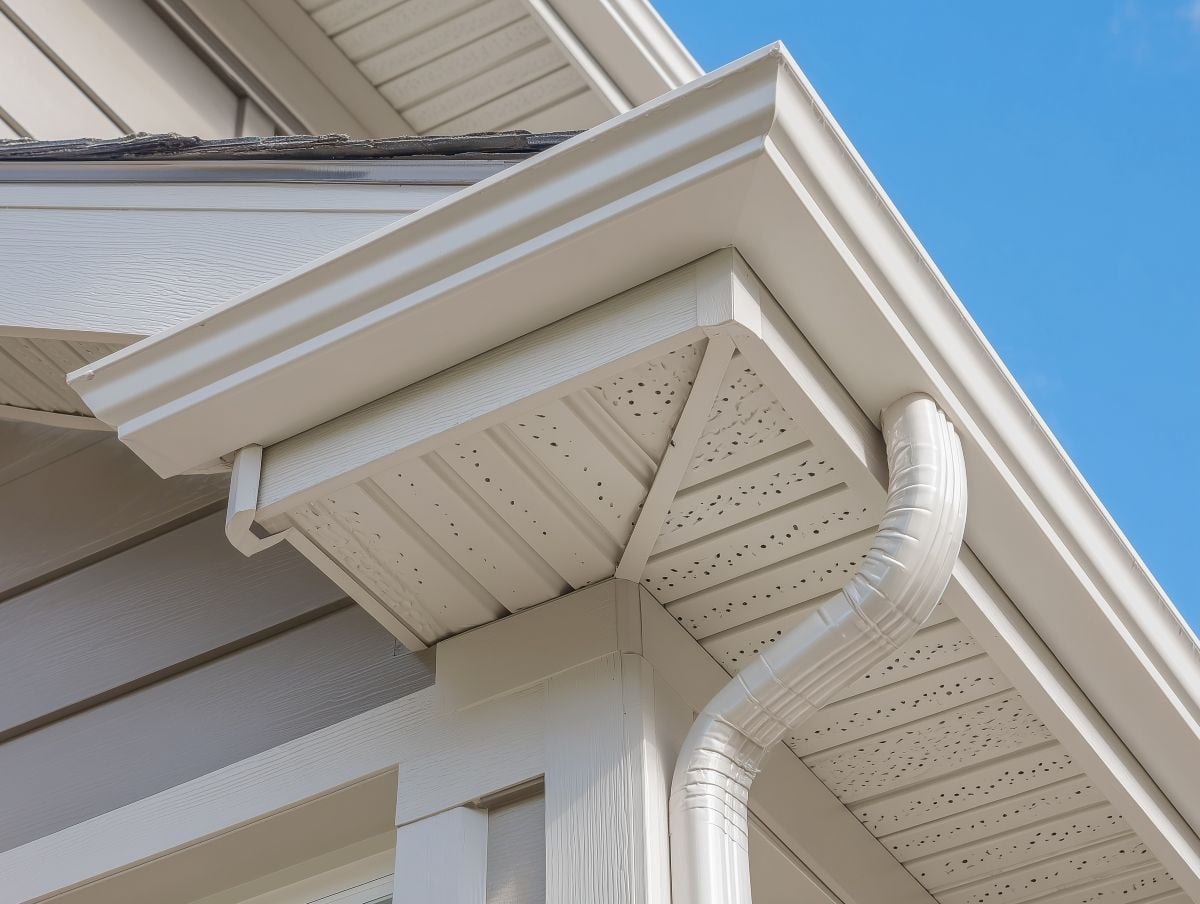
5. Attach the Guards
With the guards cut to size, you’re ready to attach them to the gutters. Depending on the type of guards you’re using, follow the manufacturer’s instructions for proper installation. Some guards may secure with clips, while others require screws or adhesive strips. Carefully position each section of the guard on the gutter and ensure it is fastened securely in place. This prevents the guards from shifting or becoming dislodged during heavy rain or strong winds. Take your time to confirm each section is properly aligned and attached.
6. Test the System
After the guards are installed, it’s time to test the system to ensure it’s working as intended. Use a garden hose to simulate rainfall by directing water onto the roof and into the gutters. Observe how the water flows through the gutters and into the downspouts. Make sure there are no areas where water overflows or pools. If you notice any issues, adjust the positioning of the guards to improve performance. This final step ensures that your gutter system is ready to handle real rainfall effectively.
⚠️ Common Mistakes to Avoid When Installing Gutter Guards

While gutter guard installation is relatively straightforward, here are some common pitfalls to watch out for:
Using Cheap Materials
Choosing low-quality gutter guards might seem cost-effective initially, but it can lead to problems down the road. Cheap materials often lack durability, meaning they can wear down quickly under the pressure of heavy debris or water flow. Over time, this can result in guards that fail to protect your gutters, leading to clogs and potential damage.
Ignoring Repairs
Before installing gutter guards, it’s crucial to check the condition of your gutters. Placing guards on damaged or clogged gutters drastically reduces their effectiveness. Cracks, leaks, or existing blockages can undermine the guards’ ability to protect your home, so always repair and clean your gutters first for optimal results.
Incorrect Placement
Proper installation is key to ensuring gutter guards work as intended. Misaligned guards or gaps in placement can allow debris to sneak through, defeating their purpose. Make sure the guards fit securely and cover the entire length of the gutter to provide full protection against leaves, dirt, and other materials.
DIY Overestimation
Installing gutter guards might seem like a simple DIY project, but not all homes are the same. Complex roof designs, steep slopes, or multi-story homes can make installation challenging and even dangerous. In such cases, hiring a professional ensures the job is done safely and correctly, saving you time and potential headaches.
🛠️ Gutter Guard Installation
When it comes to protecting your home with quality gutter guard installation, Badgerland Exteriors is the team you can trust. With our expert team, durable materials, and customer-first approach, we ensure your gutters are built to last and keep your home safe from water damage.
Whether you need a new installation, repairs, or a complete exterior solution, we’re here to help every step of the way. Contact Badgerland Exteriors today for a free consultation and see how we can give you peace of mind with a reliable, worry-free gutter system!
Let’s Get Started
Fix Your Roof the Badger Way
Got a question? Want to learn more about your options when it comes to caring for your home exterior? Our team is standing by with the information you need to start you roof replacement project today!
