Hail Damage Roof Inspection: 6 Key Things to Check
9 Min Read
POSTED 06.05.2025
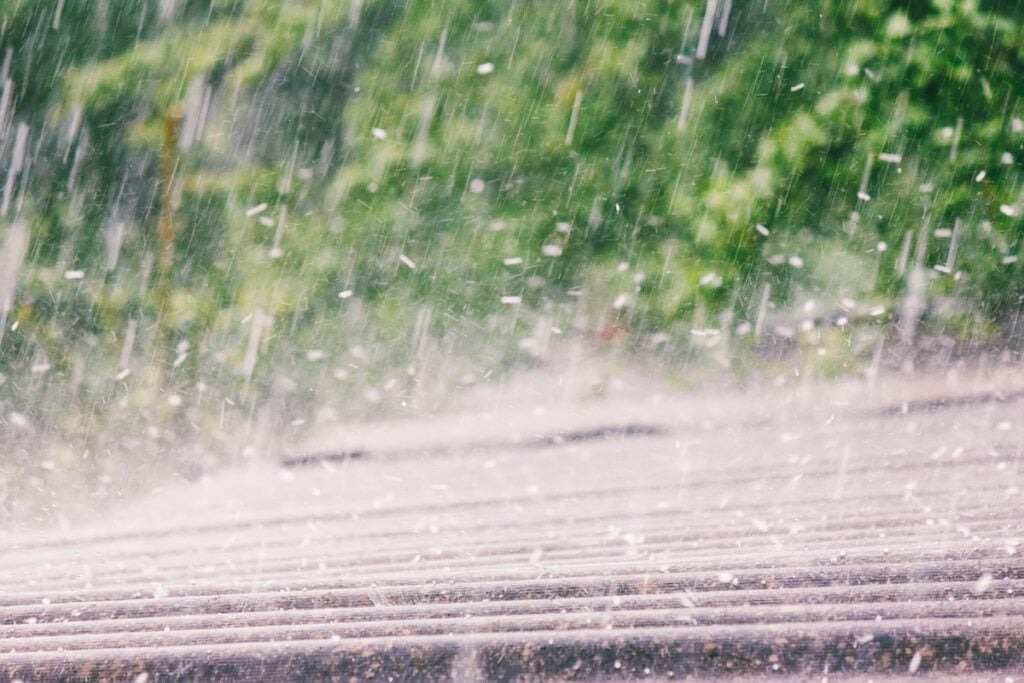
Hailstorms can be beautiful to watch, but their aftermath can leave significant damage to your home. Among the most vulnerable parts of your property during a hailstorm is your roof. The impact of hailstones can disrupt your roof’s functionality, leading to leaks, structural damage, or even costly repairs.
This guide will help you understand what to look for during a hail damage roof inspection, ensuring your home remains safe and secure. Here’s what we’ll cover in this post:
- Why inspecting for hail damage is important
- Common signs of hail damage on different roofing materials
- A step-by-step guide to inspecting your roof
Key Takeaways:
- Hail damage isn’t always visible from the ground.
- Act fast after a storm to avoid bigger issues.
- Look for dents, cracks, and missing granules.
- Different roof types show different damage.
- Inspections help catch hidden problems early.
Why Hail Damage Roof Inspection Matter
Hail may only last a few minutes, but the damage it causes can quietly compromise your roof for years. What looks like a few harmless dents could eventually lead to water leaks, mold growth, structural issues, and costly repairs that insurance may no longer cover.
Minor Damage Can Lead to Major Problems
Hail often bruises or cracks shingles without completely tearing them off. That damage allows moisture to seep into your roof deck over time, weakening the entire roofing system. Without a timely inspection, this “invisible damage” may go unnoticed. Until it results in:
- Interior leaks
- Rotting wood
- Mold or mildew
- Insulation damage
- Ice damming issues in winter
How to Tell If You Need an Inspection
After a hailstorm, it’s tempting to think, “If I don’t see a leak, I’m probably fine.” But hail damage often hides in plain sight, and the longer it goes undetected, the more costly it becomes. Knowing what to look for can help you take action before small issues turn into expensive repairs.
Visual Clues That Your Roof May Be Damaged
You don’t need to get on a ladder to spot potential problems. Start by walking around your home and checking for these common signs of hail impact:
On the Ground:
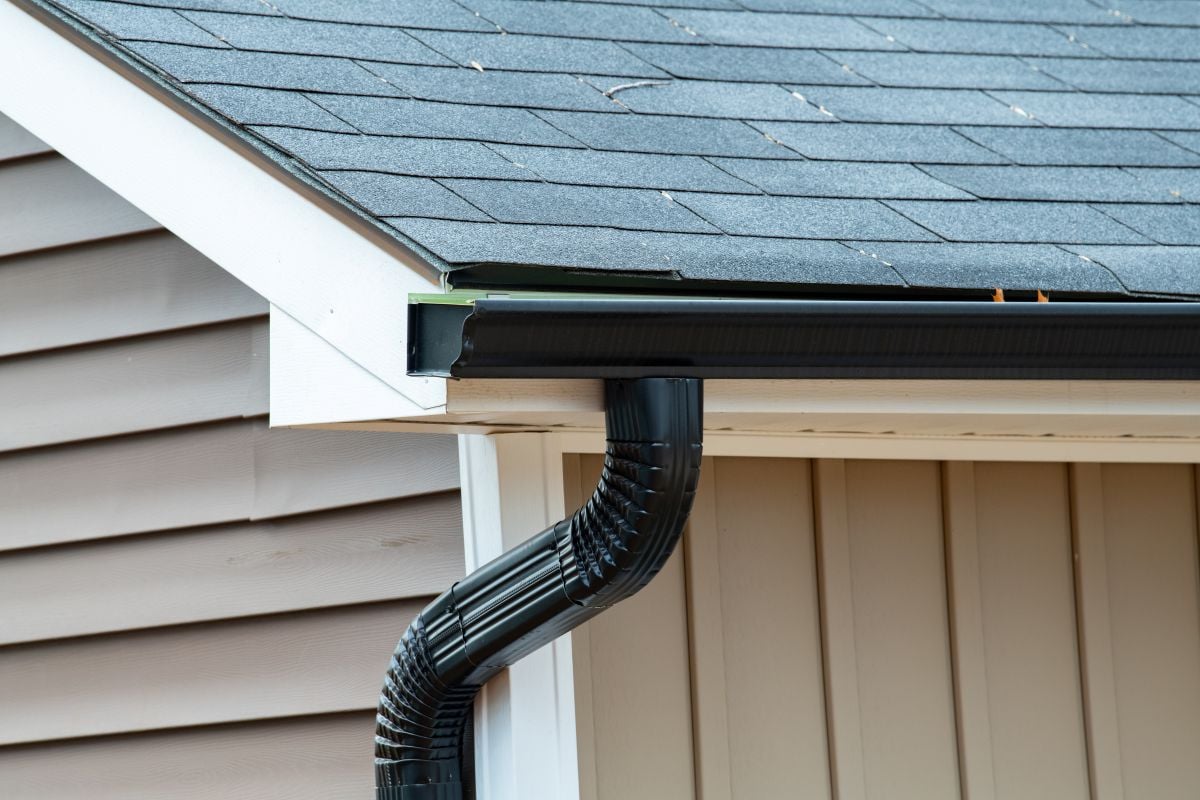
- Dents in gutters, downspouts, or metal trim
- Shingle granules collected in gutters or at the base of downspouts
- Damaged window screens or siding
- Shards of shingles or flashing in your yard
On the Roof (Visible from the Ground or with Binoculars):
- Dark spots or bruising on shingles
- Cracks, tears, or curling edges
- Exposed roof underlayment
- Missing shingles or displaced ridge caps
Warning: Even small hailstones (¾” or larger) can cause damage, especially to aging or asphalt roofs.
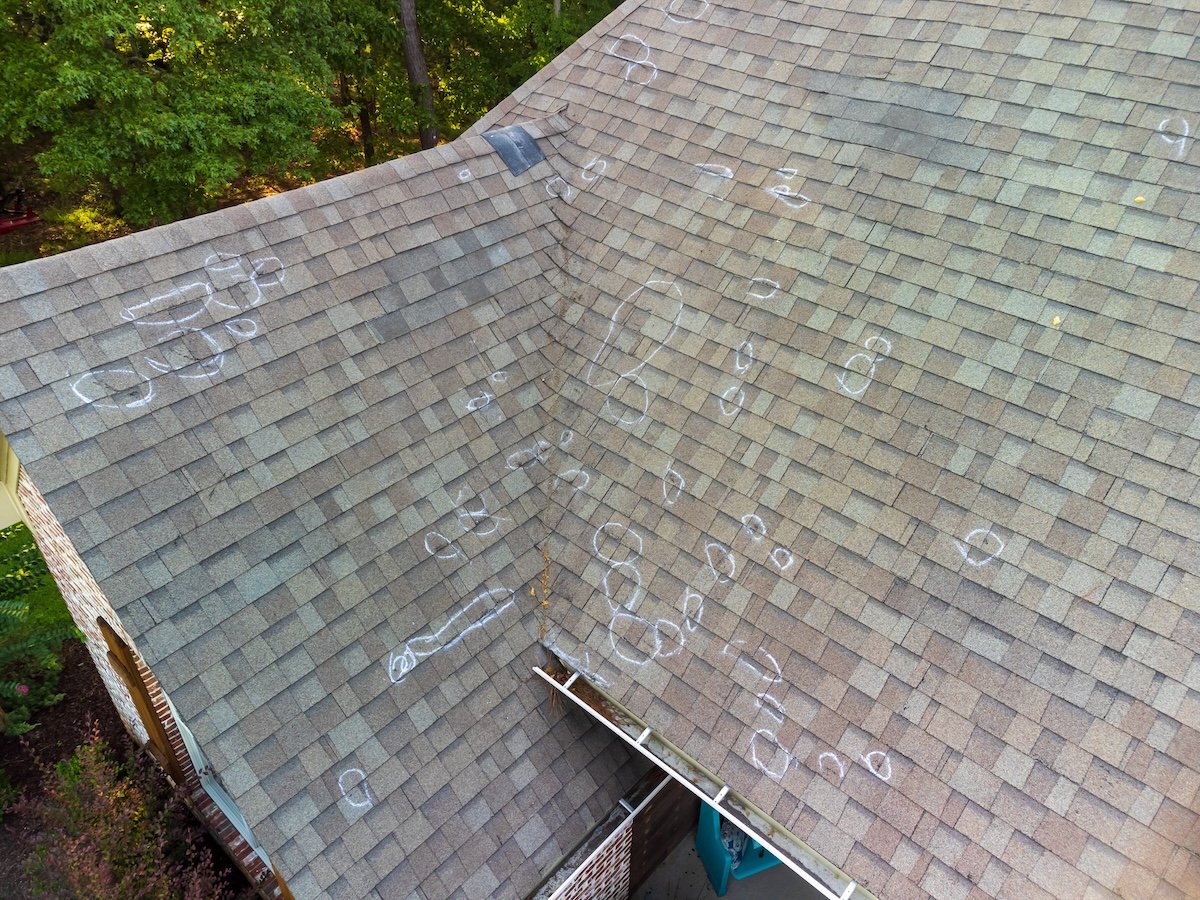
Document Damage Before It Gets Worse
If you notice any of the signs above:
- Take clear photos of the damage.
- Record the date of the storm (your insurance will ask).
- Save local weather alerts or news stories as proof of hail.
4 Signs of Hail Damage on Different Roof Types
Hail doesn’t damage every roof the same way. Depending on the material, the signs of impact can range from subtle to severe. Here’s what to look for based on your roof type:
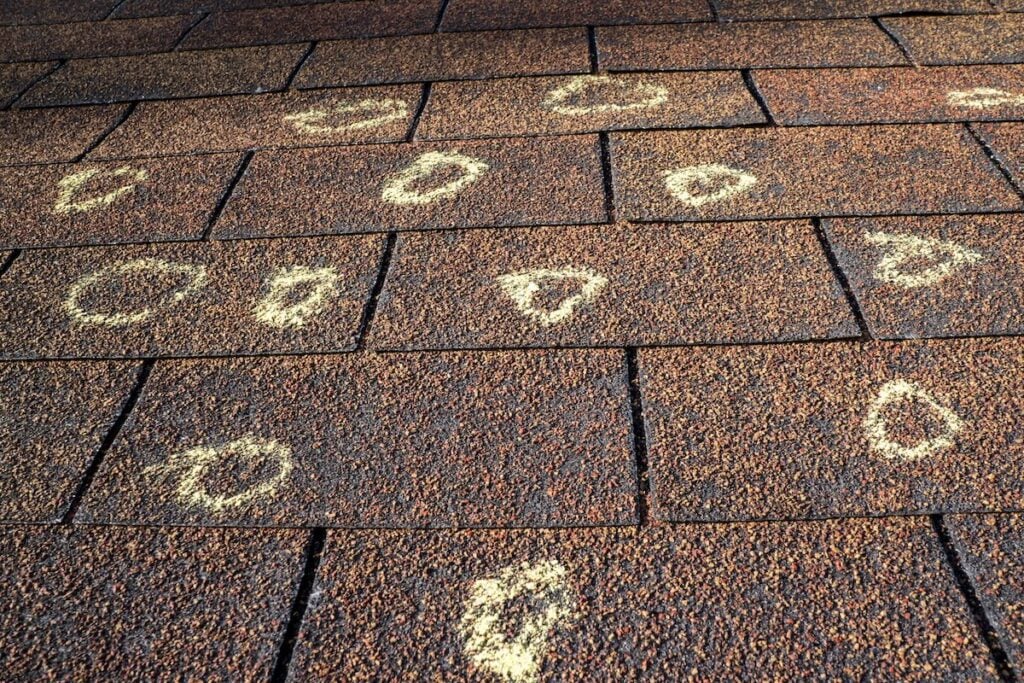
1. Asphalt Shingles
Common signs of hail damage:
- Dents or “bruises” where hailstones have struck the surface.
- Missing granules, creating bare, shiny spots.
- Cracks or splits in the shingles, especially along the edges.
- Bald patches, leaving the underlying asphalt exposed to sun and rain.
Why it matters: Missing granules reduce UV protection, while cracks can lead to hidden leaks and shortened roof life.
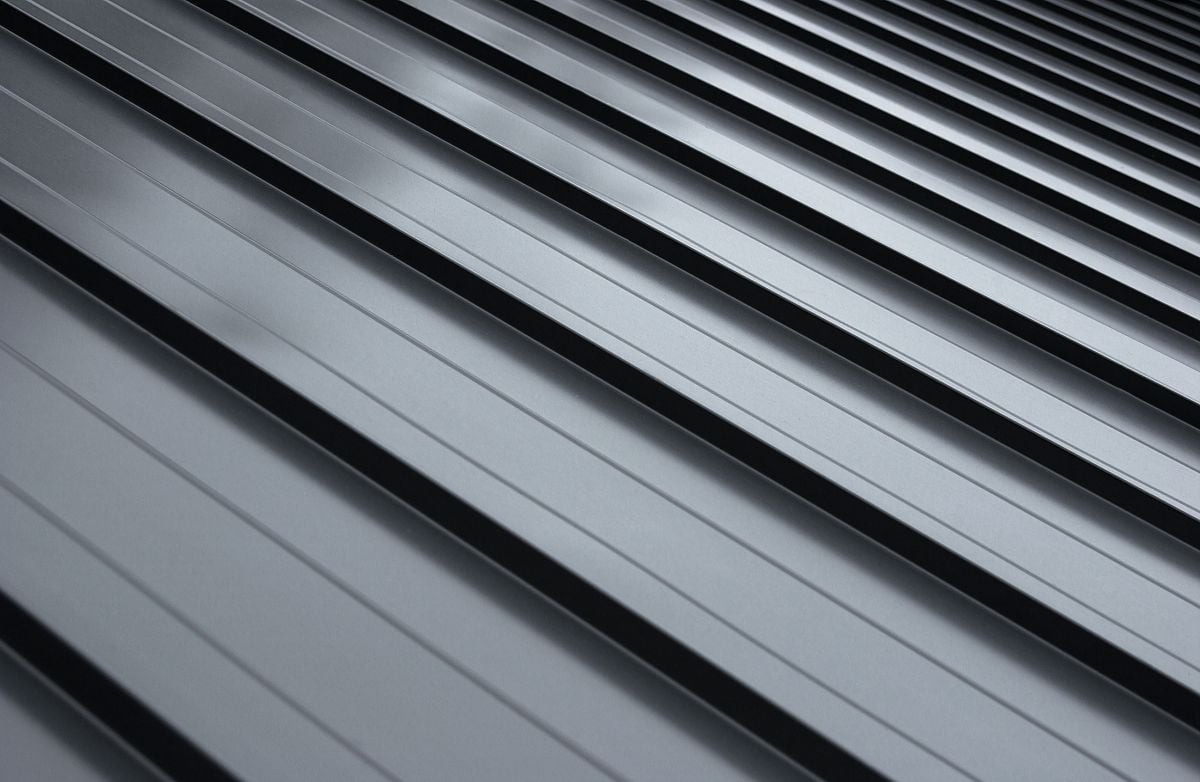
2. Metal Roofing
Common signs of hail damage:
- Dimple-like dents, especially on thinner panels.
- Distorted seams or fasteners, often where the panels connect.
- Compromised protective coatings, which can lead to rust over time.
Pro Tip: Dents may be hard to see from the ground. If you suspect damage, get a professional inspection, especially before filing an insurance claim.
3. Wood Shakes or Shingles
Common signs of hail damage:
- Fresh, sharp splits across the grain of the wood.
- Scarring or bruising, which may darken over time.
- Radiating cracks, resembling spiderwebs.
What to watch for: Even minor splits can allow water in, leading to rot, mold, and costly structural damage if left untreated.
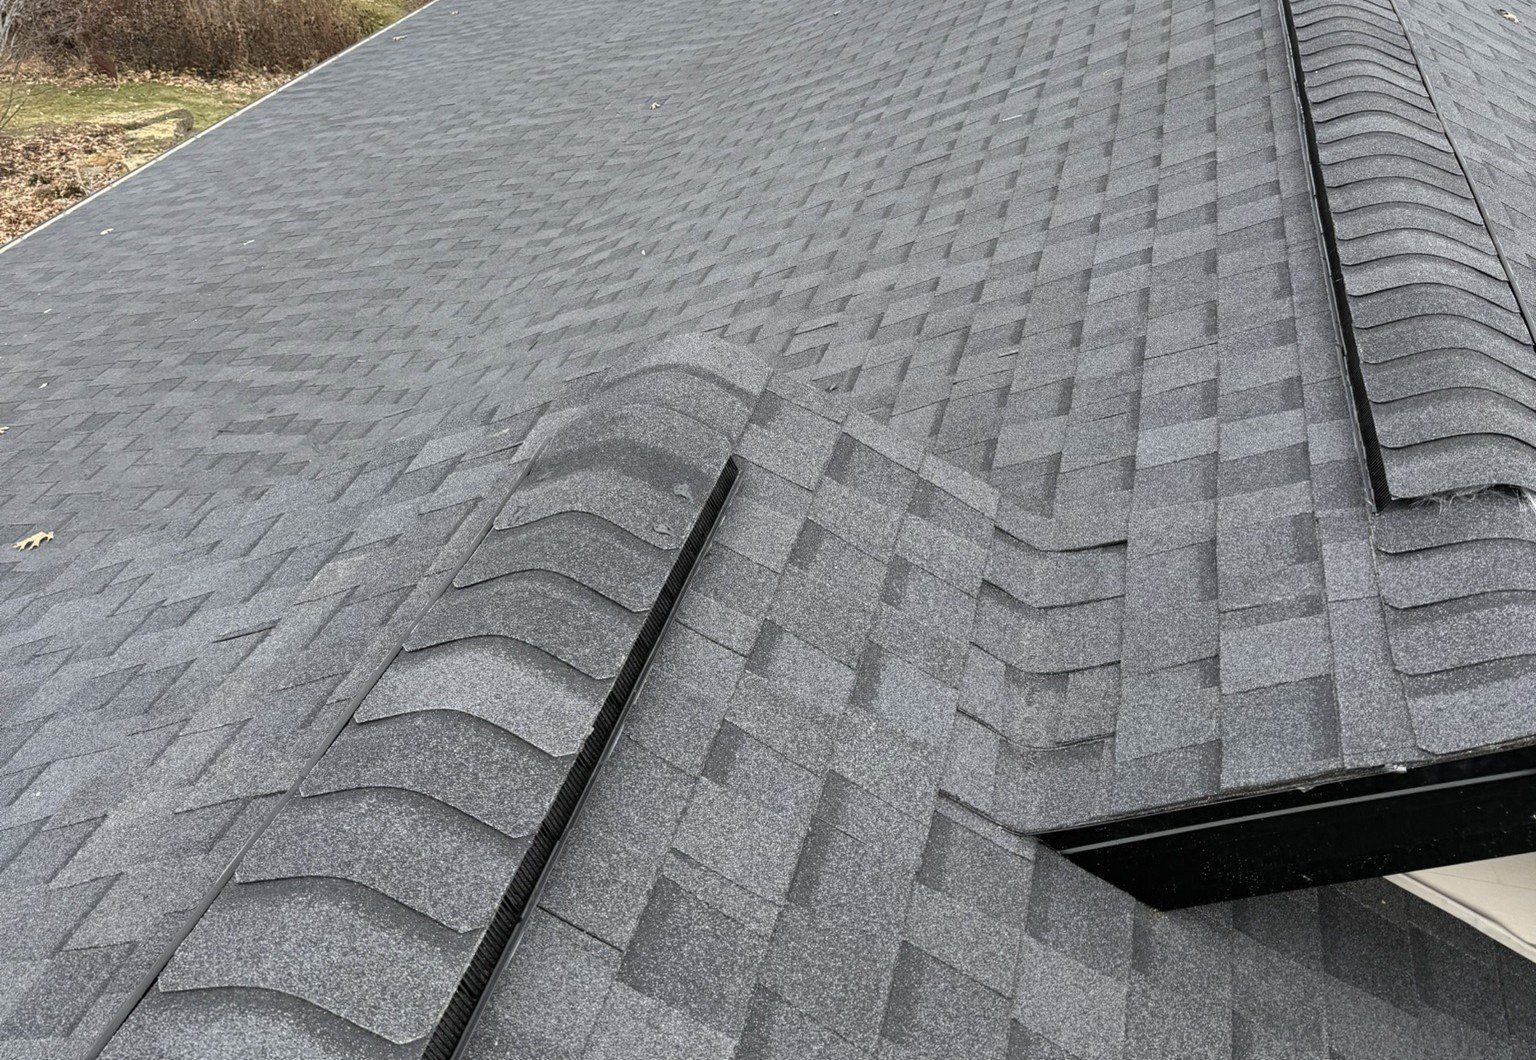
4. Tile Roofing
Common signs of hail damage:
- Hairline cracks that may be hard to see without close inspection.
- Chipped edges or corners, often near roof ridges.
- Fully broken or dislodged tiles, especially from large hailstones.
Why it matters: Damaged tiles may not leak right away — but gaps can expose the underlayment to moisture, weakening your roof over time.
Don’t Rely on Visual Checks Alone
Many hail damage signs, especially on metal or tile roofs, are subtle and easily missed. If your area experienced hail, it’s best to schedule a professional inspection, even if your roof looks “fine.”
6 Steps to Performing a Hail Damage Roof Inspection
If you’re ready to inspect your roof yourself, follow these six steps to ensure you cover all critical areas. You’ll want to exercise extreme caution or hire a professional if you’re not comfortable with climbing to your roof.
Step 1: Check the Ground Perimeter
Before climbing up to inspect your roof, start by examining your home’s exterior for any noticeable signs of hail damage. Walk around and look for dented gutters, chipped or peeling paint, or shattered windows, as these could indicate the severity of the storm’s impact. You might also find pieces of broken roof materials, such as shingles or tiles, scattered across your yard, driveway, or near the foundation. These fallen materials can give you a clear idea of where to focus your roof inspection.
Step 2: Examine Gutters and Downspouts
Hail can leave behind dents, dings, or even small cracks in your gutters and downspouts. Carefully inspect these areas for visible damage caused by hailstone impacts. Damaged gutters are not just cosmetic concerns. They can compromise your home’s water drainage system, leading to improper water flow and potential leaks. Blocked or dented gutters may also cause water to pool around your foundation, which can lead to other structural issues over time.
Step 3: Look for Damaged Flashing
Flashing, the metal material used to seal roof edges and prevent water infiltration, is highly vulnerable to hail damage. Take a close look at flashing around critical areas such as chimneys, skylights, vents, or dormer windows. Check for dents, cracks, loosened edges, or any areas where the metal may have been punctured. Damaged flashing can leave your roof exposed to moisture and lead to water seepage if not repaired promptly.
Step 4: Inspect Shingles Carefully
Climb onto your roof (if it’s safe to do so) and examine the shingles closely for signs of damage. Look for bruising, soft spots, or areas where the shingles appear discolored or weakened. If shingles feel soft or spongy underfoot, it could indicate cracking or damage to the material beneath. This kind of damage can compromise the roof’s ability to protect your home, allowing water to seep into the structure and causing long-term problems if left untreated.
Step 5: Assess Your Roof’s Ventilation System
Roof vents can often show clear evidence of hail damage. Inspect the vent covers for dents, missing pieces, or cracks that might have been caused by hailstones. Be sure to check the seals and flashing around the vents as well, as hail can cause these areas to loosen or crack, leading to potential leaks. Damaged vents may also create issues with airflow, which can affect your home’s ventilation system.
Step 6: Check Inside Your Attic
While exterior damage is often the most obvious, it’s equally important to check for hidden issues inside your attic. Look for signs of water infiltration, such as leaks, damp spots, or water stains on the wooden beams or insulation. A compromised roof can allow moisture to penetrate the attic space, leading to mold growth and structural damage if not addressed quickly. Pay attention to any changes in the attic’s smell or feel, as these can also indicate water issues.

Protect Your Roof Before It’s Too Late
When it comes to protecting your home after a hailstorm, you need a team you can trust. At Badgerland Exteriors, we combine expertise, top-notch service, and a commitment to customer satisfaction to ensure your roof is in the best hands. From uncovering hidden damage during detailed inspections to handling the insurance claims process and delivering high-quality repairs, we’re here to make the entire process stress-free.
Don’t leave your roof’s integrity to chance. Contact Badgerland Exteriors today for a professional inspection and experience the difference of working with a trusted local team. Schedule your free inspection now!
FAQ’s
Can I inspect my roof for hail damage myself?
You can inspect your roof from the ground using binoculars. Look for dents in gutters, displaced shingles, or granules in downspouts. If you’re not experienced or the roof is steep or wet, it’s safer to schedule a professional inspection.
What happens if I don’t repair hail damage?
Neglecting hail damage can lead to roof leaks, mold, wood rot, and costly structural repairs. Over time, what starts as a small issue may turn into a major problem, and insurance claims may be denied if you wait too long to act.
Will my homeowner’s insurance cover hail damage?
Most insurance policies do cover hail damage, but you must act fast. Filing a claim within the required time frame and providing inspection documentation improves your chances of approval. A professional report helps support your case.
How soon after a hailstorm should I get my roof inspected?
It’s best to schedule an inspection within a few days of the storm. Quick action helps catch hidden damage early and ensures you stay within your insurance claim window.
Let’s Get Started
Fix Your Roof the Badger Way
Got a question? Want to learn more about your options when it comes to caring for your home exterior? Our team is standing by with the information you need to start you roof replacement project today!
