How to Tarp a Roof: A Step-by-Step Guide for Homeowners
9 Min Read
POSTED 19.02.2025

When severe weather hits, your roof can take a beating. High winds, hailstorms, or falling tree branches can leave it vulnerable to leaks, causing further damage to your home. One of the quickest ways to prevent water intrusion and buy time until professional repairs can be made is by tarping your roof.
If you’ve never done it before, don’t worry—this guide will walk you through how to tarp a roof step by step. Along the way, we’ll highlight everything you need to know, from the tools you’ll need to common mistakes to avoid. Here’s what you’ll learn in this guide:
- Why tarping your roof is important and when to do it
- A detailed 7-step process to tarp your roof safely and effectively
- Advice on proper tarping techniques to help you avoid costly repairs
👉 Why Tarping a Roof is Essential

A damaged roof that is left exposed to the elements can quickly lead to serious problems, including water damage, mold growth, and even structural issues. Taking swift action to protect your roof is crucial, and placing a tarp over the damaged area is one of the most effective temporary solutions. By adding this protective layer, you can prevent further damage until professional repairs can be completed, avoiding more costly and extensive issues down the line.
Tarping is especially vital in emergency situations. After a storm, for instance, your roof may develop active leaks or sustain other damage that allows water to enter your home. Placing a tarp over these vulnerable areas can help manage leaks immediately, stopping water intrusion and protecting your home’s interior from further harm. This simple step buys you valuable time to arrange for professional repair services without worrying about worsening damage to your property. Homeowners needing urgent assistance can count on reliable roofing services in Sun Prairie to protect their home until permanent repairs are completed.
Tarping is also beneficial when undergoing roof repairs or replacements. It provides temporary coverage during this period, ensuring that your home remains protected from the weather while work is in progress. This is particularly important if there are delays in repair schedules or if bad weather strikes before the job is fully completed. This is especially important following severe storms, as outlined in this guide on emergency roof repair after a storm, where immediate action can prevent interior damage and costly structural issues.
What You’ll Need to Tarp Your Roof
- Roofing Tarp—Look for a heavy-duty, waterproof tarp large enough to cover the damaged area with additional overhang.
- Roofing Nails or Screws—Used to secure the tarp in place.
- Utility Knife or Scissors—For cutting the tarp to the appropriate size.
- 2×4 Wooden Planks—Helps weigh down the tarp and keep it secure.
- Hammer or Screw Gun—For driving in nails or screws.
- Ladder—Ensure it is stable and tall enough to reach the roof safely.
- Protective Gear—Wear sturdy shoes, gloves, and, if possible, a safety harness for added security.
✅ 7 Steps to Tarp a Roof

Follow these simple steps to tarp your roof quickly and effectively.
1. Assess the Damage
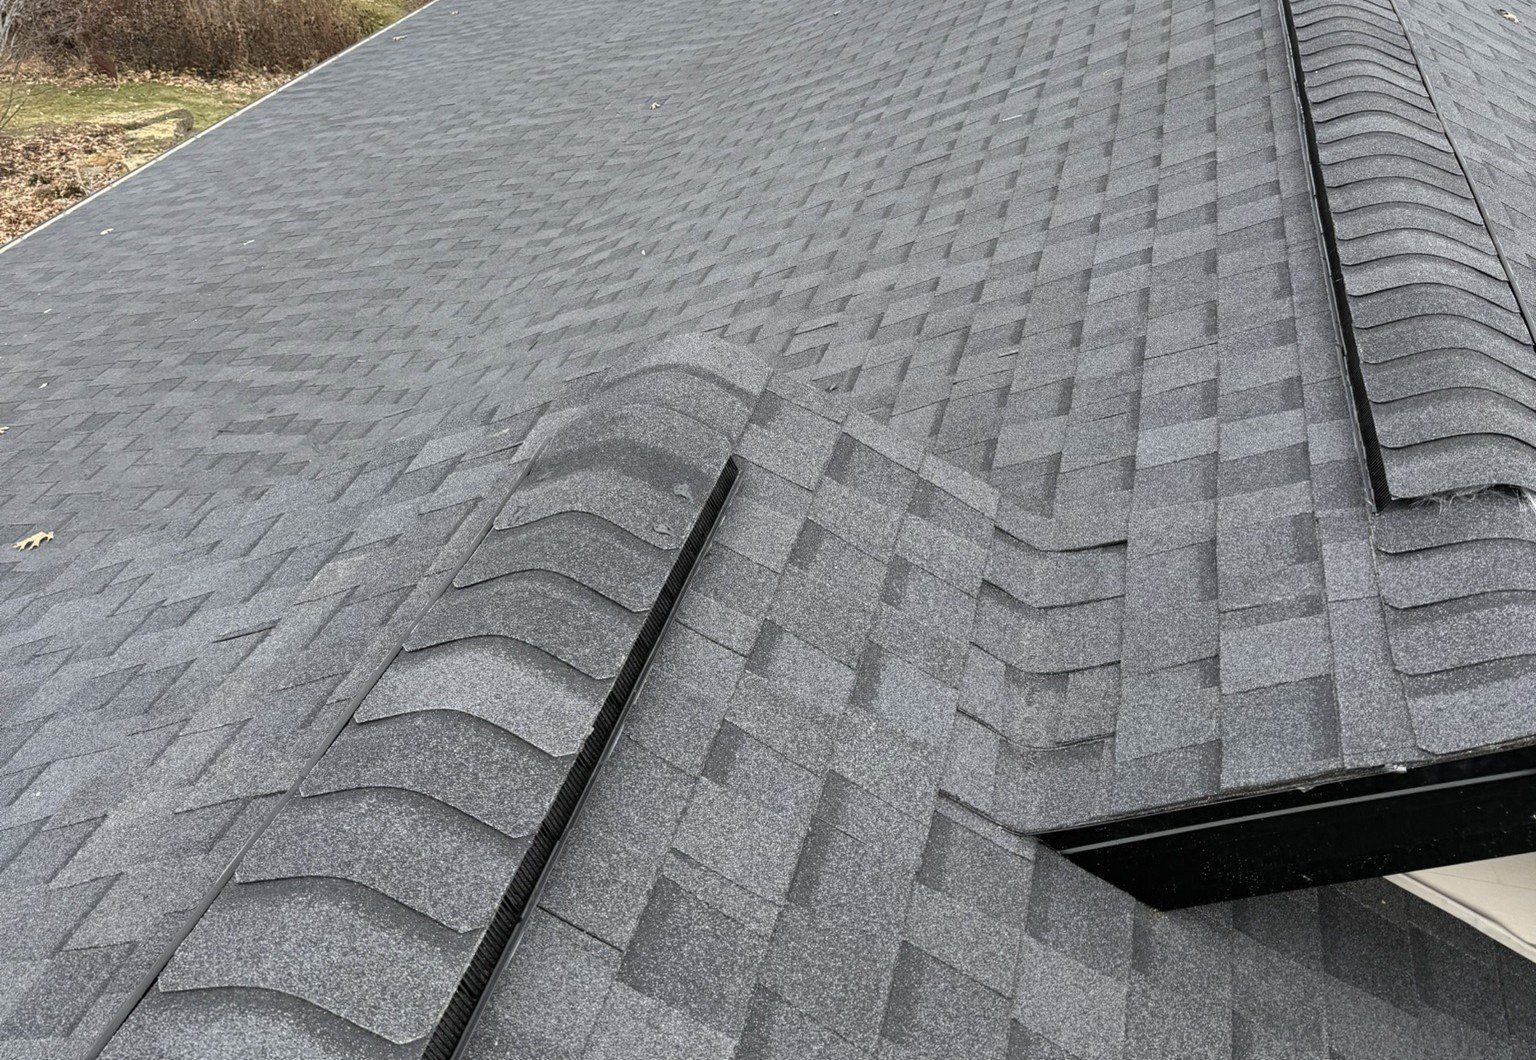
Inspect the roof carefully, but always prioritize safety first. Begin by examining the roof from the ground using binoculars or from a safe vantage point, such as a ladder, without putting yourself at risk. Look for visible signs of damage like missing or broken shingles, holes, cracks, or structural weaknesses. Check for dents, sagging areas, or other indications that the integrity of the roof may be compromised. Additionally, observe nearby gutters and surrounding areas for debris, as this could indicate damage in hard-to-see spots. Under no circumstances should you walk on the roof if it appears unstable, as this could lead to serious injury or further structural harm. A detailed assessment will help you determine the extent of the damage and lay the groundwork for a repair plan. Scheduling a professional roof inspection ensures hidden storm damage is identified early, helping homeowners decide whether tarping alone is sufficient or if urgent repairs are needed.
2. Measure and Select the Tarp
Once you’ve identified the damaged area, it’s time to measure it carefully for proper coverage. Use a tape measure to record the dimensions of the affected section, ensuring you allow for extra coverage beyond the visible damage. Choose a tarp that is large enough to fully protect the damaged area, with an additional 4–6 feet of overhang on all sides. This overhang is crucial for securely anchoring the tarp and preventing leaks. If the tarp you have is too large, you can cut it to size with a utility knife. Be sure to leave enough excess material to allow for proper fastening while avoiding leaving any gaps. The correct tarp size will ensure the roof is adequately shielded from water, wind, and further damage.
3. Build Support with 2×4 Planks
For the tarp to stay securely in place, you need to create a solid anchor. Start by rolling one edge of the tarp around a sturdy 2×4 wooden plank. Wrap the tarp tightly around the plank to ensure it doesn’t come loose, and secure it in place using nails or a heavy-duty stapler. Drive the nails or staples through both the tarp and the plank at regular intervals to make sure it’s firmly attached. This anchored section will act as a stabilizing weight that keeps the tarp taut and prevents it from shifting or flapping in the wind. A strong anchor is critical for maintaining the tarp’s position, especially during adverse weather conditions. This step provides the tarp with the foundation it needs to stay secure on the roof.
4. Position the Tarp on the Roof
With the support of another person, carefully lift the tarp onto the roof. Take your time to position it accurately over the damaged area, ensuring that it fully covers the affected section and extends well beyond the edges of the damage for optimal protection. To prevent leaks, drape the secured edge of the tarp over the peak of the roof. This placement helps redirect water flow downward and away from the damaged area. Make sure the tarp lies flat and smooth, with no wrinkles or gaps that could allow water or wind to penetrate. Proper placement is essential to create a reliable barrier that shields the roof from further harm while providing temporary protection.
5. Secure the Tarp to the Roof
Once the tarp is properly positioned, it’s time to anchor it firmly to the roof. Use nails or screws to attach the 2×4 plank (where the tarp is rolled and secured) to the roof. Be careful to drive the nails or screws into solid areas to avoid causing additional damage to the roof structure. Next, roll another 2×4 plank into the opposite end of the tarp to create a second anchor point. Secure this end in the same manner to keep the tarp evenly stretched and stable. These multiple anchoring points will ensure the tarp remains in place even during strong winds or heavy rain, protecting the roof until permanent repairs can be made.
6. Fasten the Edges
To further reinforce the tarp, pull the edges tight to eliminate any slack or loose areas. Secure the edges by nailing them down to the roof. If additional support is needed, use extra 2×4 planks along the sides of the tarp to create a stronger hold. This extra reinforcement will prevent the tarp from lifting or flapping in high winds, which could expose the damaged area. Make sure that the tarp is stretched tightly across the roof to minimize movement and enhance its resistance to bad weather. Securing the edges properly is a crucial step in creating a durable, wind-resistant barrier that will protect your roof effectively.
7. Double-Check for Gaps
Once the tarp is fully secured, take the time to inspect your work closely. Walk around the perimeter of the roof or use binoculars to check for any gaps, loose edges, or areas where water might still seep through. Look for spots where the tarp may not be tightly fastened or where additional reinforcement is needed. Adjust and secure these areas as necessary to ensure the tarp creates a watertight seal over the damaged section. Testing the tarp’s stability by gently pressing on it can help identify weak points. Performing a thorough final check will give you peace of mind, knowing that the tarp is secure and will provide reliable protection until permanent repairs are made.
💡 Pro Tips for Effective Tarping

Keep these best practices in mind for a successful tarping job:
Work Safely
Always prioritize safety when tarping a roof. Only attempt this task during stable weather conditions to avoid unnecessary risks. Wear proper protective gear, such as non-slip shoes, gloves, and a safety harness, to minimize the chance of accidents. If the situation feels unsafe, consider hiring a professional to do the job for you. Homeowners can turn to trusted roofing services in Madison for emergency tarping and storm response performed safely and correctly.
Check Regulations
Before tarping your roof, check with your Homeowners Association (HOA) or your insurance provider. Some organizations have specific rules or restrictions regarding roof tarping. Ensuring compliance can save you from potential fines or issues with your insurance claims later.
Document the Damage
Be sure to document the roof damage thoroughly before and after placing the tarp. Take clear, high-quality photos from multiple angles to provide evidence for your insurance claims. This step can help streamline the claims process and ensure you receive the necessary support for repairs.
🏡 Roof Tarping Guide
Tarping your roof is a helpful short-term solution, but when it comes to permanent repairs, you need a team you can count on. At Badgerland Exteriors, we bring years of experience, expert craftsmanship, and a dedication to customer satisfaction to every project. Whether your roof has been damaged by a storm or is showing signs of wear, our team is here to provide stress-free, high-quality repairs that last.
Badgerland Exteriors provides dependable roofing services in Middleton to help homeowners move from temporary fixes to lasting solutions. Don’t leave your home’s protection to chance—contact Badgerland Exteriors today for a free inspection and let us restore your roof with care and precision!
Let’s Get Started
Fix Your Roof the Badger Way
Got a question? Want to learn more about your options when it comes to caring for your home exterior? Our team is standing by with the information you need to start you roof replacement project today!
