9 Metal Roof Chimney Flashing Installation Tips
6 Min Read
POSTED 10.02.2026
Installing metal roof chimney flashing correctly is one of the most important steps in protecting your roof from water intrusion. In Kenosha, WI, where snow buildup, freeze thaw cycles, and heavy rainstorms are common, flashing around a chimney must be properly sealed and aligned to prevent long term roof damage. Even small installation errors can lead to leaks that spread beneath metal panels and into the attic.
Before reviewing installation tips, keep these key points in mind:
- Chimneys create a roof penetration: Every transition point requires careful sealing.
- Metal roofing expands and contracts: Flashing must allow movement without breaking its seal.
- Improper installation causes leaks: Small gaps can lead to widespread moisture damage.
We’re proud to serve homeowners in Kenosha, WI and surrounding communities with roofing inspections, metal roof installation, and system evaluations.
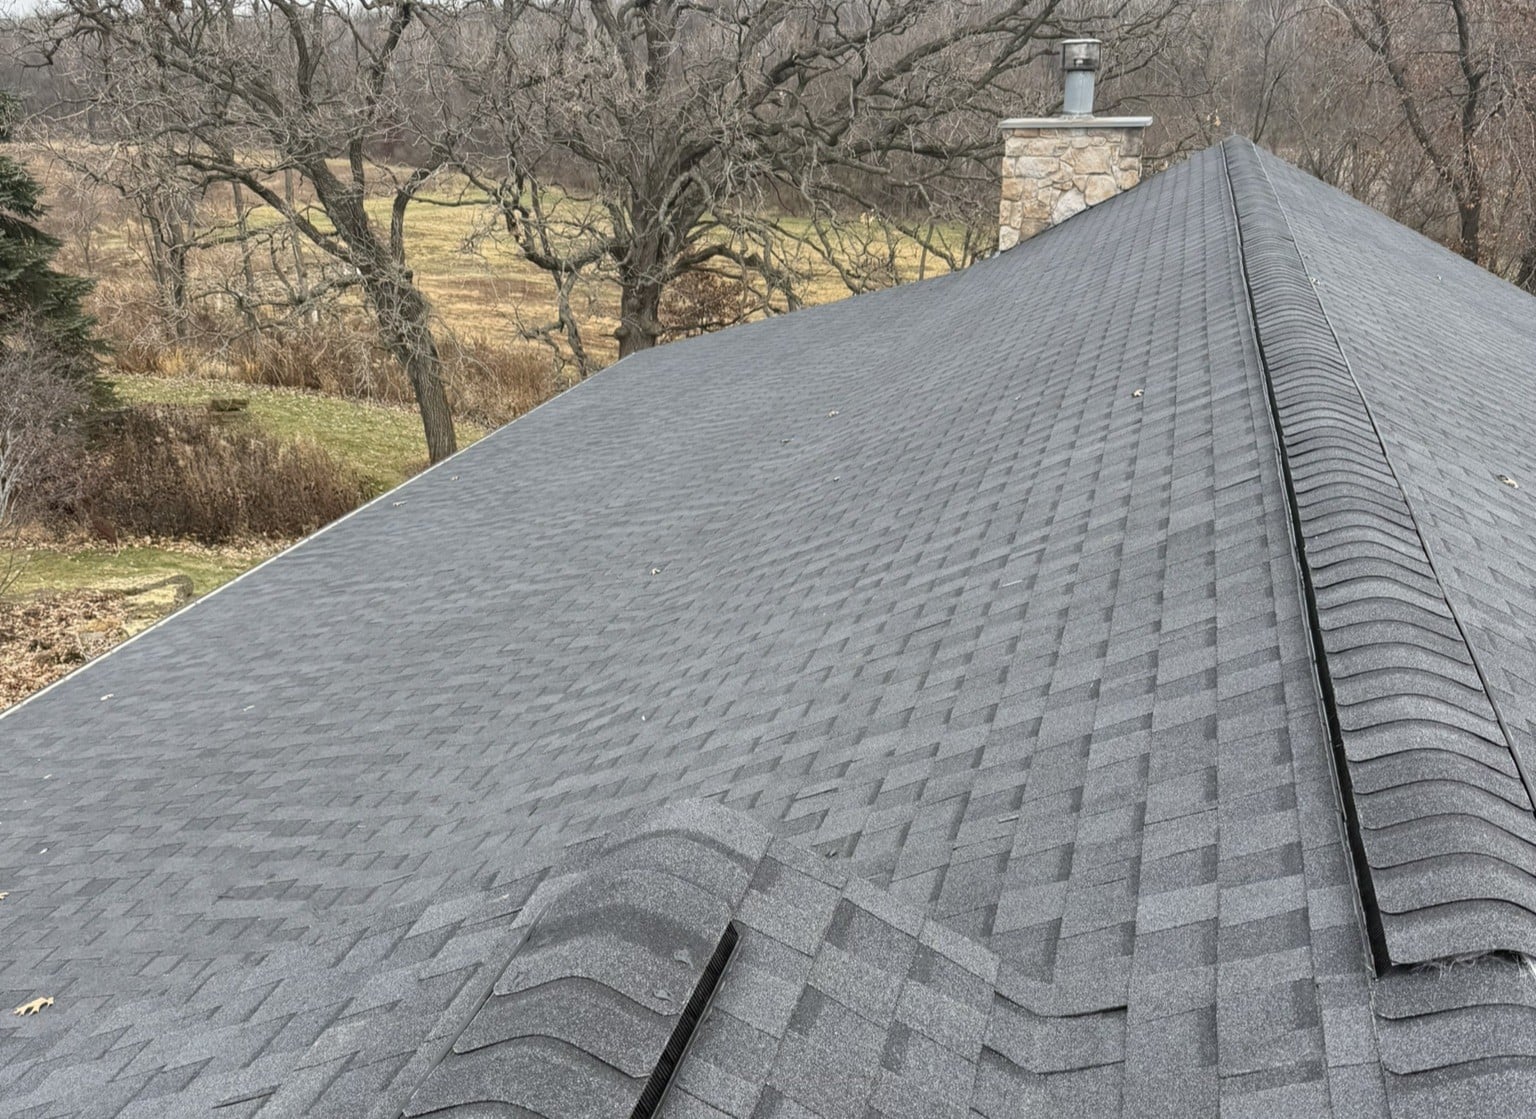
Why Chimney Flashing Is Critical on Metal Roofs
Chimneys interrupt the smooth surface of a metal roof. Without properly installed flashing, water can collect where the chimney meets the roofing panels. Over time, trapped moisture can compromise underlayment, decking, and even interior ceilings.
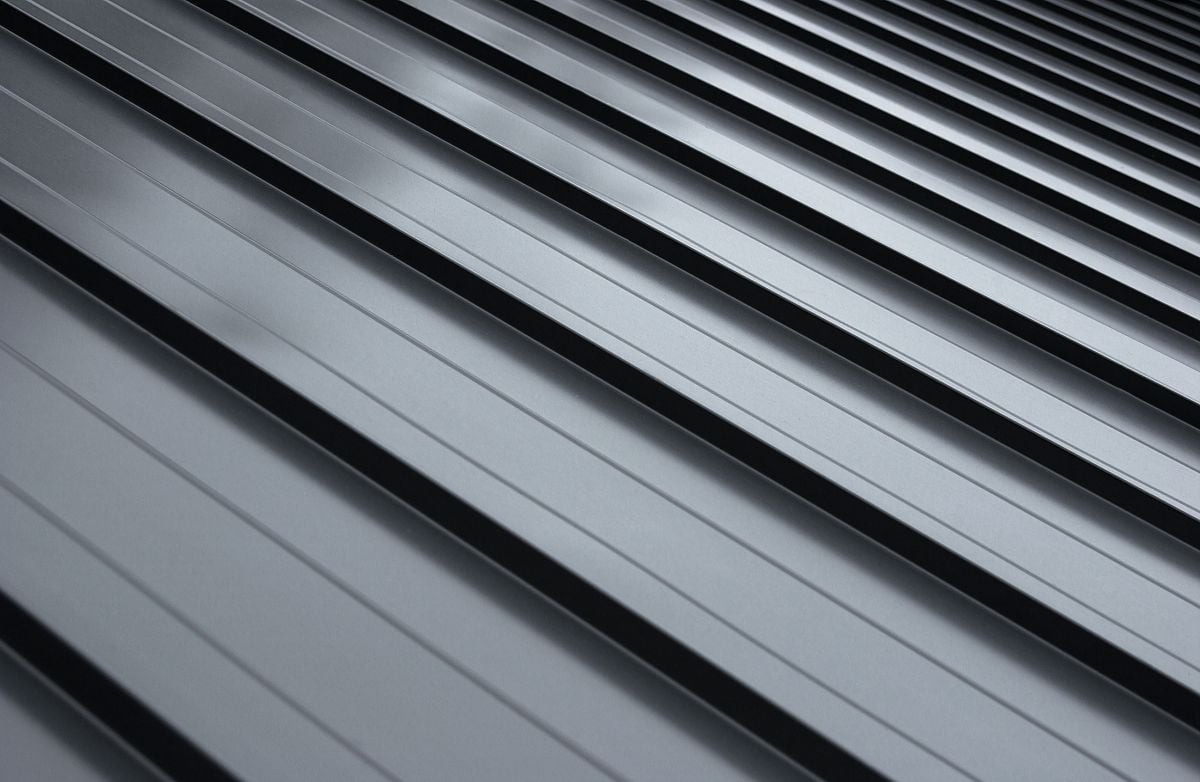
Metal roofing systems behave differently than asphalt shingles. Panels expand and contract with temperature swings, which means chimney flashing must accommodate movement without losing its seal. A poorly fitted system can allow water intrusion even if the panels themselves remain intact.
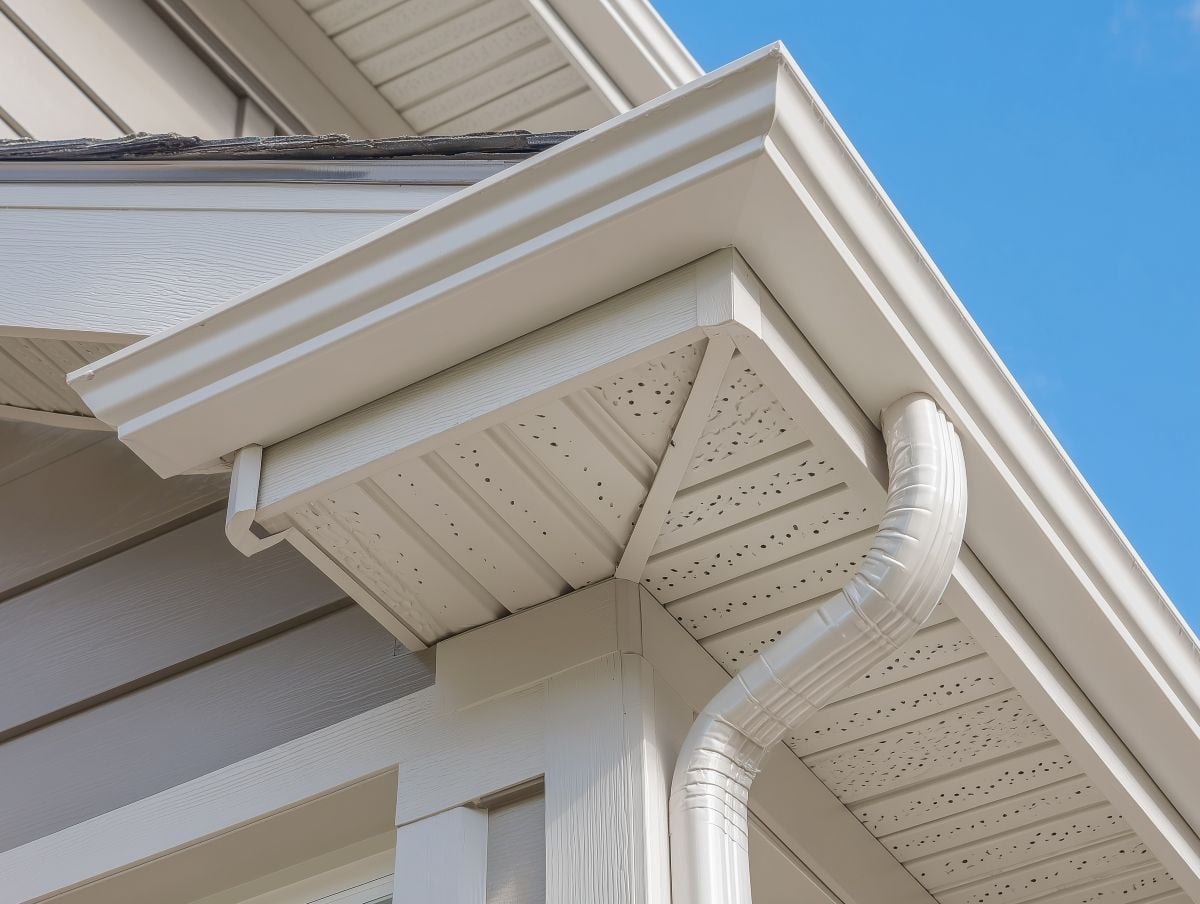
Metal Roof Chimney Flashing Components at a Glance
Understanding the parts involved in chimney flashing installation makes it easier to recognize proper workmanship and long term performance expectations.
| Component | Purpose | Why It Matters |
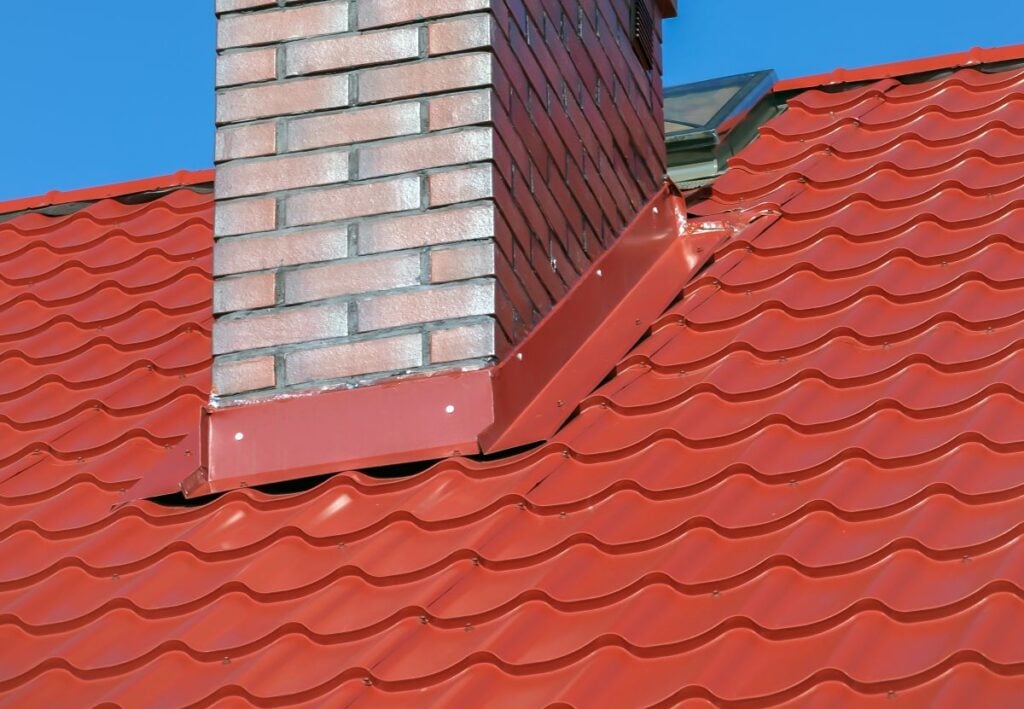
| Step Flashing | Installed along chimney sides in layers | Directs water downward across panels |
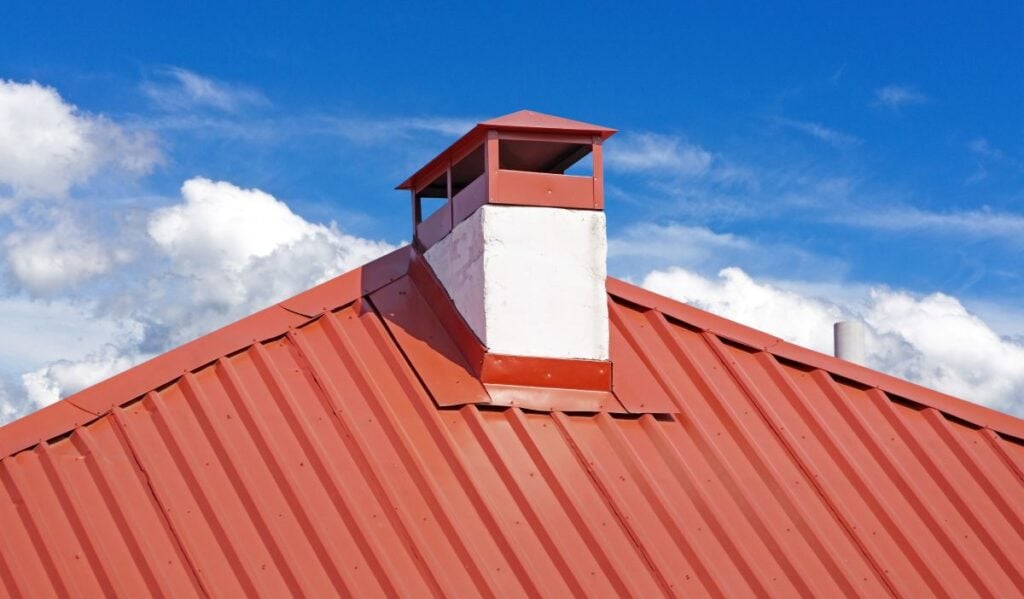
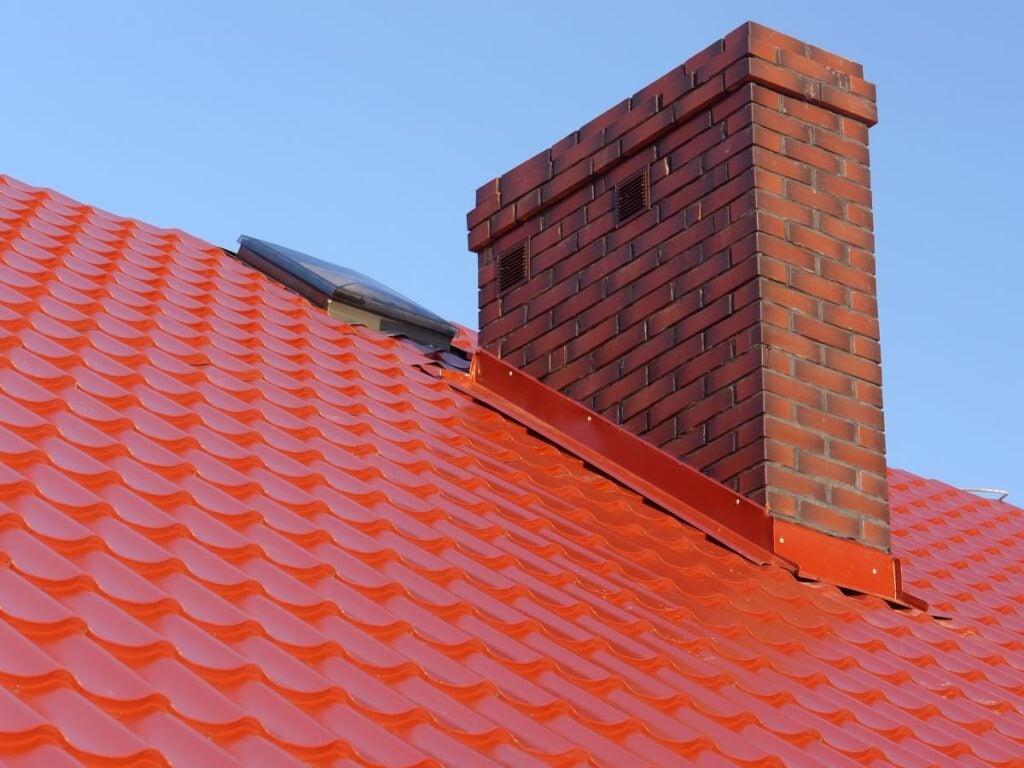
| Counter Flashing | Embedded into mortar joints | Seals the top edge of step flashing |
| Cricket | Built on uphill side of chimney | Diverts water and snow around chimney |
| Underlayment | Installed beneath flashing | Provides secondary moisture barrier |
| Sealant | Applied at joints and fasteners | Prevents water intrusion at connection points |
Each component works together as part of a complete system. If one element is missing or poorly installed, the entire flashing assembly becomes vulnerable to leaks.
9 Installation Tips for Metal Roof Chimney Flashing
Proper chimney flashing installation involves layering, sealing, and precision alignment. The following tips highlight essential considerations that help prevent roof damage and future repairs.
1. Use Step Flashing Along the Sides
Step flashing should be installed in overlapping sections along both sides of the chimney. Each piece must integrate with the panel profile to create a layered barrier that directs water downward.
- Layered placement: Each section overlaps the one below it.
- Panel integration: Flashing sits flush against metal ribs.
2. Install a Cricket on the High Side
For wider chimneys, a cricket diverts water around the chimney instead of allowing it to pool behind it. This is especially important in snowy climates where ice buildup can form.
- Water diversion: Prevents pooling behind the chimney.
- Snow management: Reduces ice dam risk.
3. Secure Proper Counter Flashing
Counter flashing covers the top edge of step flashing and is embedded into the chimney mortar joint. This protects the upper seam from moisture intrusion.
- Mortar seal: Embedded securely into masonry joints.
- Top protection: Shields underlying flashing layers.
4. Seal All Penetration Points Carefully
Every fastener or seam in the flashing system should be sealed to prevent water from entering beneath the metal roof panels.
- Sealant application: Use roofing grade sealant designed for metal.
- Fastener coverage: Protect exposed screws or connection points.
5. Allow for Expansion and Contraction
Metal roofing expands and contracts with temperature shifts. Flashing must allow controlled movement to prevent cracking or separation over time.
- Flexible design: Avoid rigid locking at panel edges.
- Thermal allowance: Plan for seasonal movement.
6. Match Flashing Material to Roof Panels
Using compatible materials reduces corrosion risk and improves long term durability. Flashing that matches the roof panel type performs better over time.
- Material consistency: Pair flashing with similar metal types.
- Corrosion resistance: Prevent material incompatibility.
7. Ensure Proper Underlayment Protection
Underlayment beneath flashing acts as a secondary moisture barrier if water bypasses surface layers. It adds an extra layer of protection during heavy rainfall or melting snow.
- Waterproof layer: Shields decking below.
- Ice protection: Supports freeze thaw resilience.
8. Avoid Over Sealing the Base
While sealing is essential, excessive sealant can trap moisture or block drainage paths. Controlled application ensures proper water flow.
- Balanced sealing: Apply only where needed.
- Drainage path: Maintain natural runoff channels.
9. Schedule a Professional Inspection After Installation
Even well installed flashing should be reviewed to ensure long term performance. A professional inspection confirms alignment, seal integrity, and water flow management.
- Alignment check: Confirm proper positioning around chimney edges.
- Leak prevention review: Verify water is directed away effectively.
Common Installation Mistakes to Avoid
Mistakes during flashing installation often lead to hidden leaks that surface months later. Improper layering, skipped sealant, or incorrect fastener placement can compromise the entire roof system. Small installation shortcuts frequently result in moisture infiltration that spreads under panels before becoming visible inside the home.
Watch for these common issues:
- Improper layering: Flashing pieces are not overlapped correctly, allowing water to slip underneath.
- Insufficient sealing: Gaps around fasteners or seams permit moisture entry.
- Incorrect fastener placement: Screws installed in water channels increase leak risk.
- Poor material matching: Incompatible metals accelerate corrosion and deterioration.
- Blocked drainage paths: Excess sealant or debris prevents proper water runoff.
Taking time to install flashing correctly helps reduce long term maintenance needs and protects the structural components beneath the metal roof.
When to Contact a Roofing Professional
Metal roof chimney flashing installation requires precision and familiarity with both masonry and metal roofing systems. If flashing shows signs of separation, rust, or leaking, it is important to schedule a professional evaluation.
Early intervention can prevent widespread moisture damage and reduce the risk of insulation deterioration or decking rot. A qualified roofing contractor can determine whether repair or replacement is the most effective solution.
Why Homeowners Trust Badgerland Exteriors
Badgerland Exteriors provides detailed roof inspections and professional metal roofing services tailored to Wisconsin homes. Our team evaluates chimney flashing, panel alignment, ventilation components, and overall roof performance to ensure long term durability. Whether you are installing a new metal roof or addressing flashing concerns, we offer clear recommendations and dependable workmanship. Contact Badgerland Exteriors today to schedule your roof evaluation in Kenosha, WI or nearby communities.
Let’s Get Started
Fix Your Roof the Badger Way
Got a question? Want to learn more about your options when it comes to caring for your home exterior? Our team is standing by with the information you need to start you roof replacement project today!
