Moss on Roof? Causes, Risks & How to Remove It Safely
6 Min Read
POSTED 18.09.2025
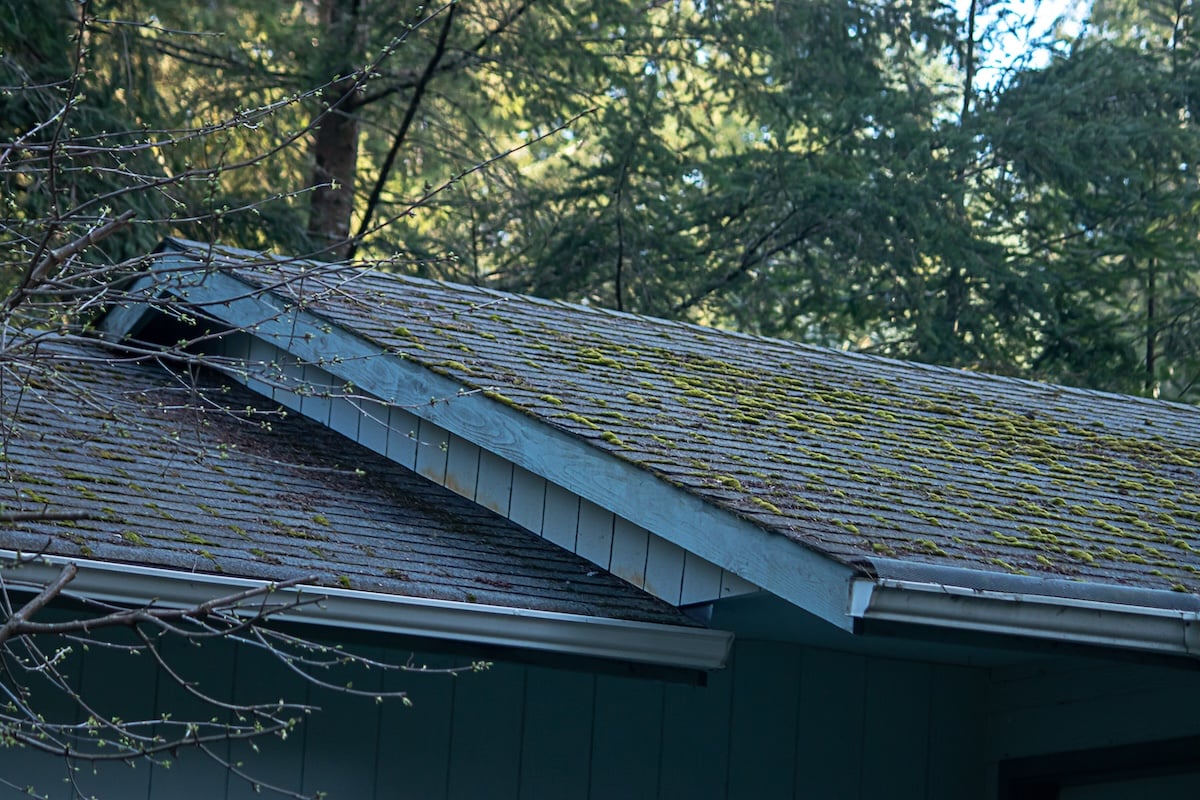
Discovering moss growing on your roof can be concerning, and rightfully so. While that green, velvety growth might look harmless or even charming, moss on roof surfaces can lead to serious structural damage if left untreated. This common problem affects thousands of homeowners, particularly in humid climates where moisture creates the perfect breeding ground for moss growth.
This comprehensive guide will cover:
- Why moss grows on roofs and the conditions that promote it
- The serious risks moss poses to your roofing system
- Step-by-step instructions for safe moss removal
- Prevention strategies to keep moss from returning
- When to call professional roofing contractors for help
🌿 Why Moss on Roof Is Important to Address

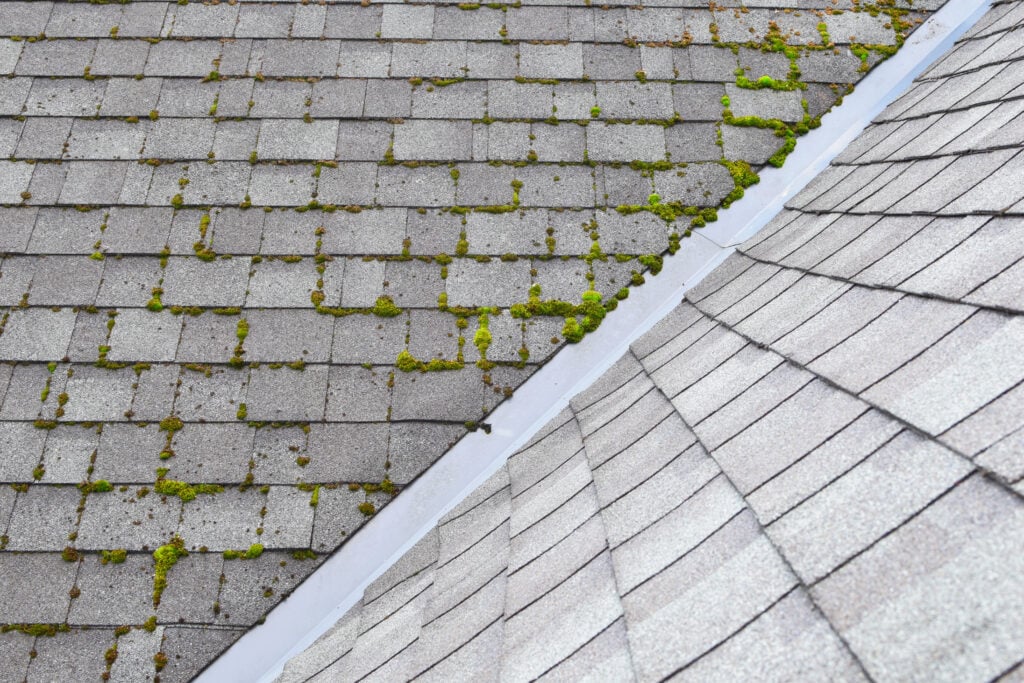
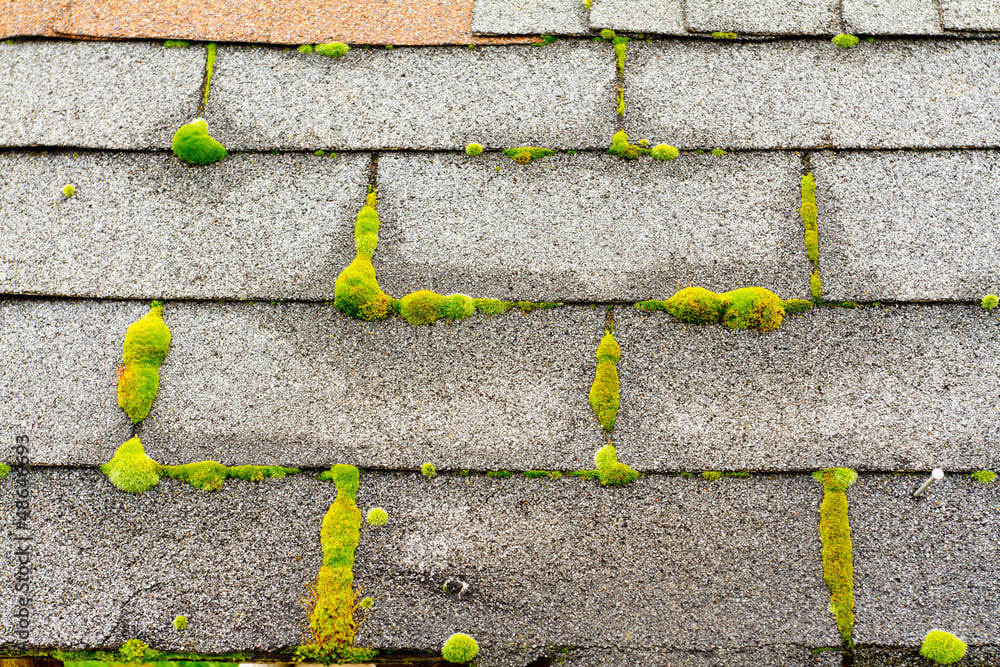
Moss thrives in damp, shaded environments, making your roof an ideal habitat under certain conditions. This isn’t just a cosmetic issue that affects your home’s curb appeal. Moss growth represents a serious threat to your roof’s integrity and your home’s overall protection.
When moss establishes itself on your roof, it acts like a sponge, retaining moisture against your shingles. This constant moisture exposure accelerates the deterioration of roofing materials, leading to premature aging and potential failure of your roof system.
Key reasons why addressing moss growth is critical:
- Structural damage prevention – Moss can lift shingles and create entry points for water
- Extended roof lifespan – Removing moss helps preserve your roofing materials
- Energy efficiency – A clean roof reflects heat better than one covered in organic growth
- Property value protection – Well-maintained roofs contribute to higher home values
- Health considerations – Excess moisture can lead to mold growth inside your home
✅ 7 Steps to Remove Moss on Roof Safely
Before starting any roof work, prioritize safety. Moss removal involves working on potentially slippery surfaces, and the cleaning solutions can be hazardous. Consider hiring professionals if your roof is steep, high, or if you’re uncomfortable working at heights.
1. Prepare Your Safety Equipment and Materials
Safety should always be your first priority when working on any roof. Gather all necessary equipment before climbing onto your roof to avoid multiple trips up and down.
- Secure a sturdy ladder and have someone spot you during the process
- Wear non-slip shoes with good traction and consider a safety harness
2. Choose Your Moss Removal Solution
Several effective solutions can kill and remove moss from your roof. Each has different application methods and safety considerations.
- Mix a solution of equal parts water and white vinegar for an eco-friendly option
- Consider commercial moss removal products for stubborn growth, following manufacturer instructions carefully
3. Apply the Moss Treatment Solution
Apply your chosen solution during overcast weather to prevent rapid evaporation and ensure better penetration into the moss.
- Use a pump sprayer to evenly distribute the solution across affected areas
- Allow the solution to sit for the recommended time (usually 15-30 minutes) before proceeding
4. Gently Remove Dead Moss
After the treatment has had time to work, you can begin the physical removal process. Patience is key during this step to avoid damaging your shingles.
- Use a soft-bristled brush or plastic scraper to gently remove loosened moss
- Work in the direction of the shingles to avoid lifting or damaging them
5. Rinse the Treated Area Thoroughly
Proper rinsing ensures that all chemical residues are removed from your roof surface, protecting both your roofing materials and surrounding vegetation.
- Use a garden hose with low pressure to rinse away debris and cleaning solution
- Direct water flow downward to prevent water from getting under shingles
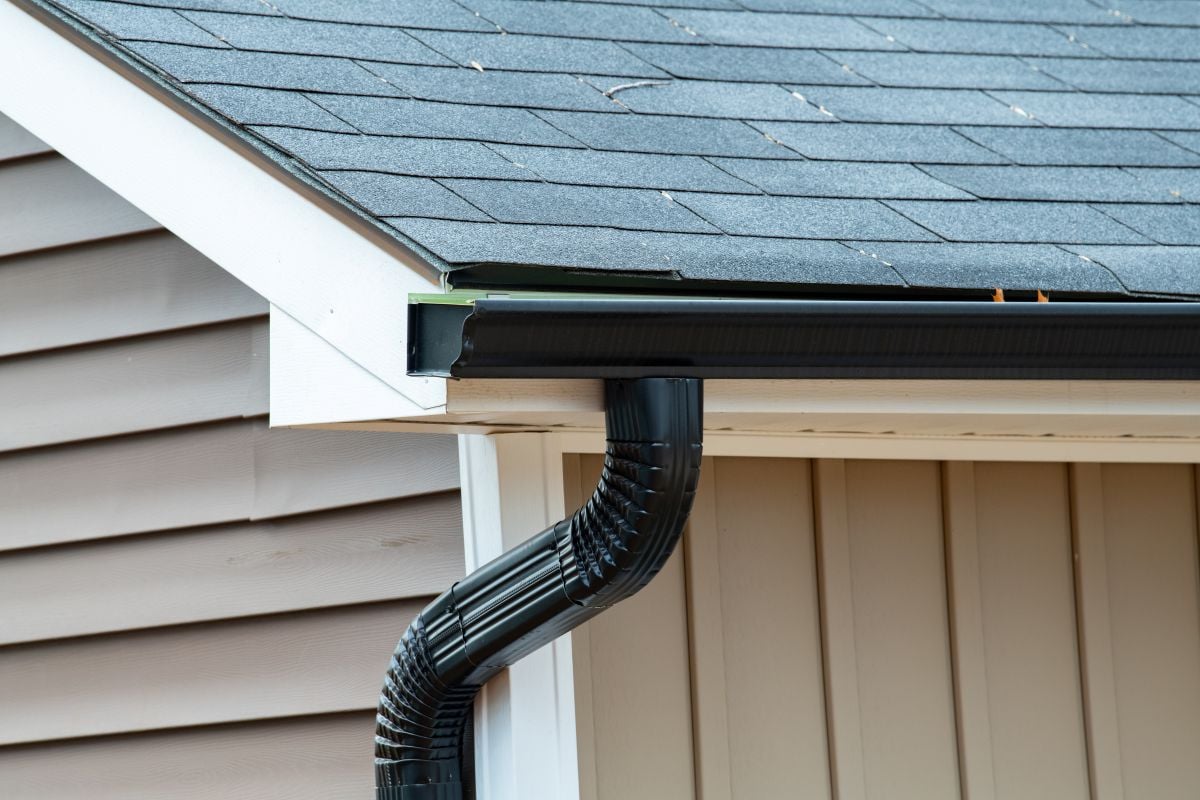
6. Clean Your Gutters and Downspouts
Moss removal creates debris that can clog your drainage system, leading to additional water damage issues.
- Remove all moss debris from gutters to ensure proper water flow
- Check downspouts for blockages and clear them if necessary
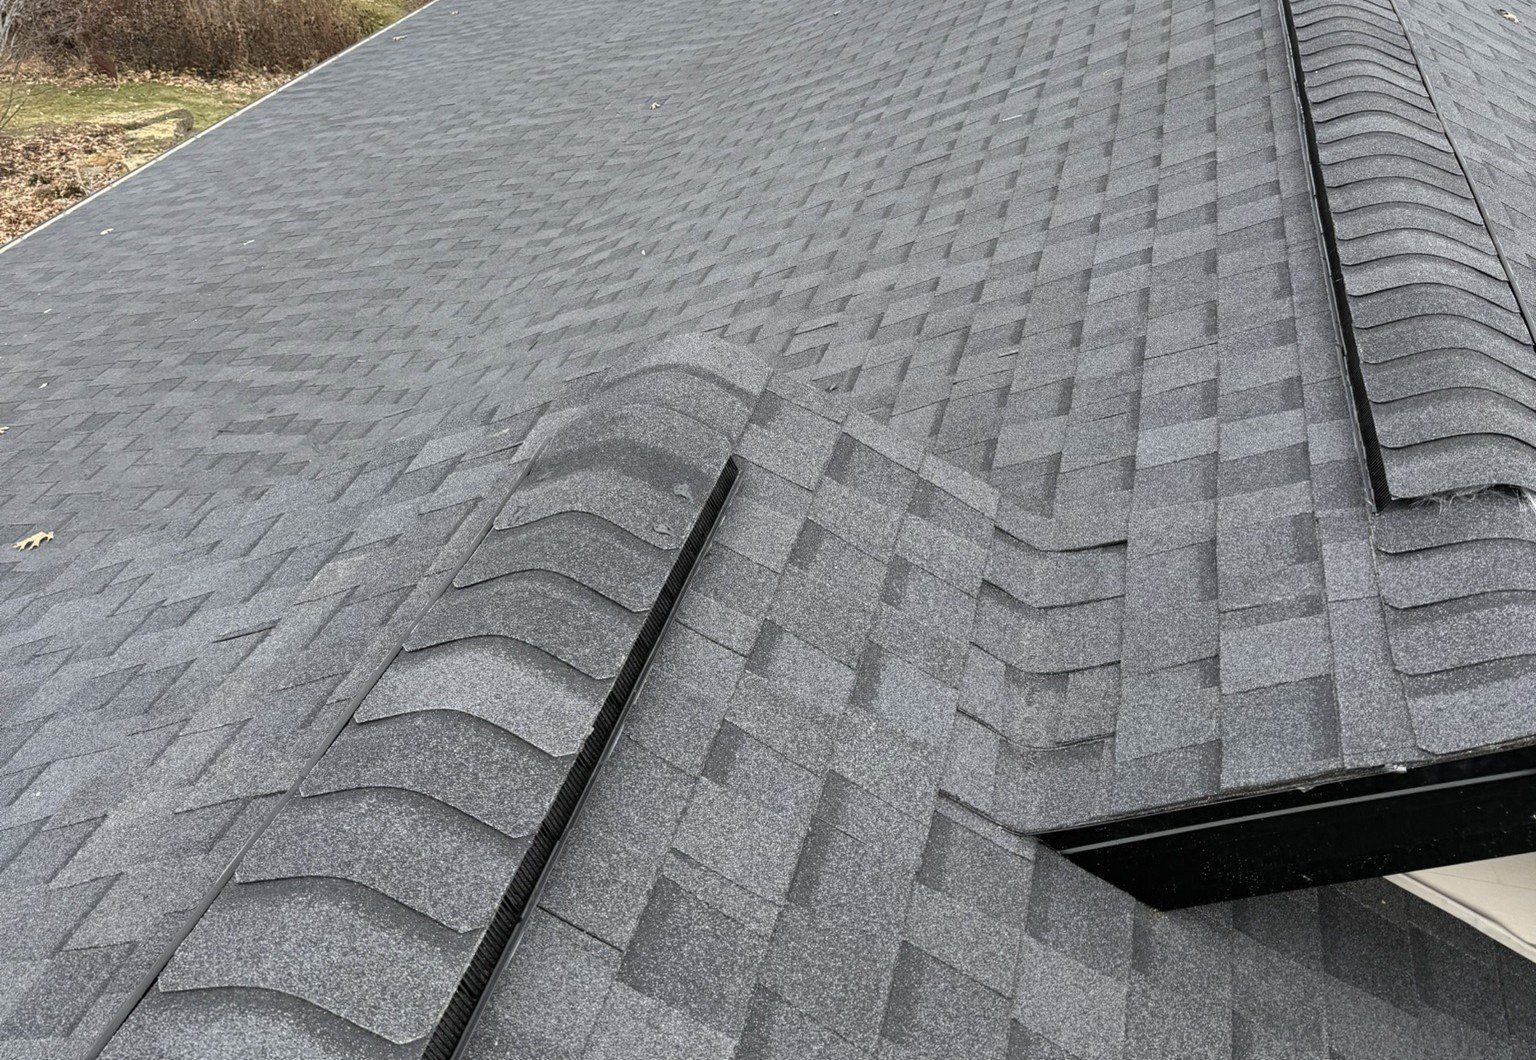
7. Inspect for Roof Damage
The moss removal process provides an excellent opportunity to assess your roof’s overall condition and identify any issues that need professional attention.
- Look for loose, cracked, or missing shingles that may need replacement
- Check for any signs of water damage or areas where moss may have caused lifting
⚠️ Prevention and Long-Term Roof Maintenance
Preventing moss growth is far easier and more cost-effective than removing it repeatedly. Understanding the conditions that promote moss growth helps you create an environment where moss cannot thrive.
Create an Unfavorable Environment for Roof Moss Growth
Moss requires three key elements to survive: moisture, shade, and organic debris. By limiting these elements, you can significantly reduce the likelihood of moss establishing itself on your roof.
Improve sunlight exposure:
- Trim overhanging tree branches that create shaded areas on your roof
- Remove any structures that cast shadows on your roof for extended periods
Reduce moisture retention:
- Ensure proper attic ventilation to prevent condensation buildup
- Fix any roof leaks promptly to eliminate water sources
Regular Roof Maintenance Schedule
Establishing a consistent maintenance routine helps catch moss growth early and prevents minor issues from becoming major problems.
Seasonal inspections: Examine your roof at least twice yearly, preferably in spring and fall, looking for early signs of moss growth or other issues.
Debris removal: Keep your roof clean by removing leaves, branches, and other organic matter that can retain moisture and provide nutrients for moss growth.
Gutter maintenance: Clean gutters regularly to ensure proper drainage and prevent water backup that can contribute to moss-friendly conditions.
Professional assessment: Schedule annual inspections with qualified roofing contractors who can identify potential problems before they become costly repairs.
🏠 Take Action to Protect Your Roof Today
Addressing moss growth on your roof is an investment in your home’s long-term protection and value. While some homeowners can handle minor moss issues themselves, significant growth or recurring problems often require professional intervention.
The experienced team at Badgerland Exteriors understands Wisconsin’s unique climate challenges and how they affect your roof. We provide comprehensive roofing services, from moss treatment and prevention to complete roof replacement when necessary.
Don’t let moss compromise your roof’s integrity and your family’s protection. Contact Badgerland Exteriors today to schedule a thorough roof inspection and discuss the best solutions for your specific situation. Our expert team will help you develop a maintenance plan that keeps your roof moss-free and functioning at its best for years to come.
Let’s Get Started
Fix Your Roof the Badger Way
Got a question? Want to learn more about your options when it comes to caring for your home exterior? Our team is standing by with the information you need to start you roof replacement project today!
