How To Build A Pitched Roof? (Types, Benefits & More)
9 Min Read
POSTED 30.07.2025
Building a pitched roof is one of the most important investments you can make in your home’s protection and value. Whether you’re constructing a new home, adding an extension, or replacing an aging roof, understanding the fundamentals of pitched roof construction helps you make informed decisions that will benefit your family for decades to come.
A pitched roof offers superior weather protection, energy efficiency, and architectural appeal compared to other roofing styles. The sloped design naturally sheds water and snow while creating valuable interior space and enhancing your home’s curb appeal. However, successful pitched roof construction requires careful planning, quality materials, and expert installation techniques.
This comprehensive guide covers everything you need to know about pitched roofs, including:
- Different types of pitched roofs and their unique characteristics
- Essential materials and tools required for construction
- Key benefits that make pitched roofs a popular choice
- Step-by-step building process from planning to completion
🔎 Understanding Pitched Roof Fundamentals
A pitched roof features two or more sloping surfaces that meet at a ridge, creating the familiar triangular profile you see on most residential homes. The angle of the slope, measured in degrees or as a ratio, determines how effectively your roof sheds water and snow while providing the structural stability your home needs.
The pitch of your roof directly affects both performance and appearance. Steeper pitches provide excellent water drainage and create more usable attic space, but they require additional materials and more complex installation techniques. Gentler slopes use fewer materials and may be easier to work on, but they need enhanced waterproofing measures to prevent water infiltration.
Types of Pitched Roofs
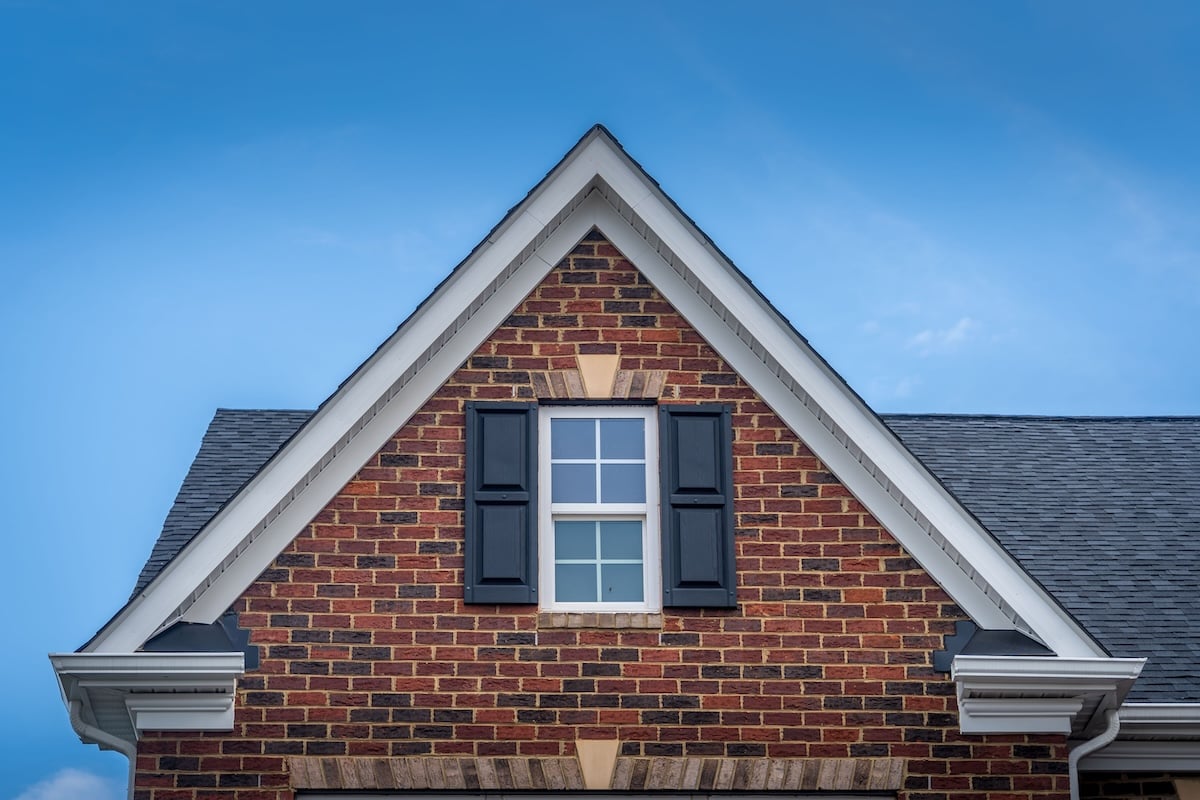
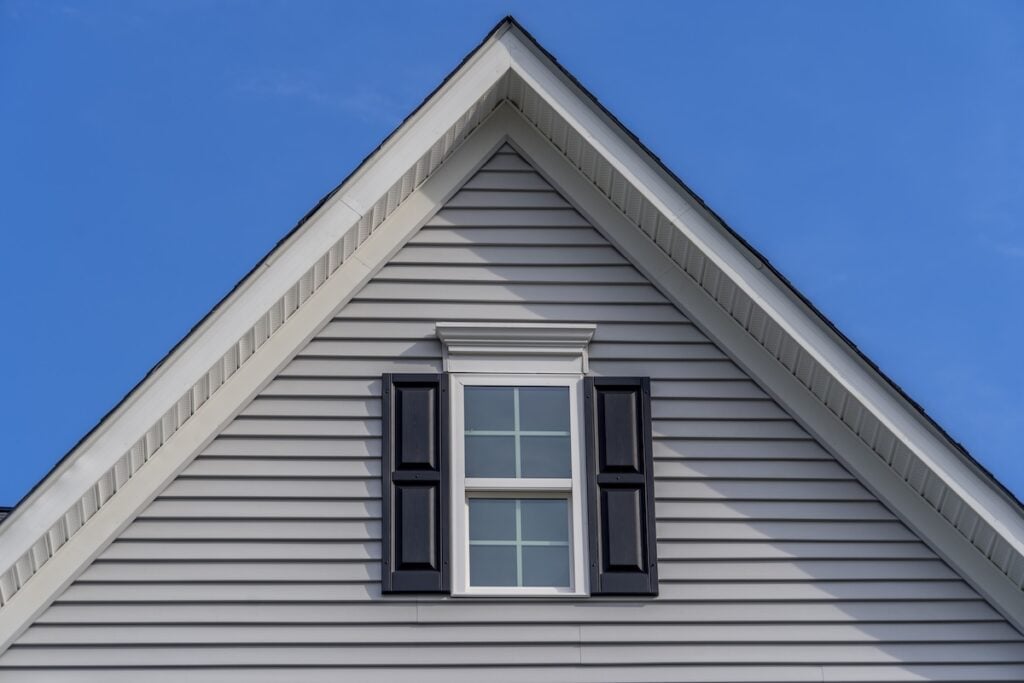
- Gable Roofs: With two sloping sides meeting at a central ridge, gable roofs are cost-effective, easy to maintain, and great for water/snow runoff. They complement various architectural styles and are straightforward to construct, making them popular among contractors and DIY builders.
- Hip Roofs: Sloping on all four sides, hip roofs offer excellent stability and weather resistance, ideal for areas with high winds or severe weather. Though more complex and costly to build, they provide a streamlined look, higher resale value, and long-term durability.
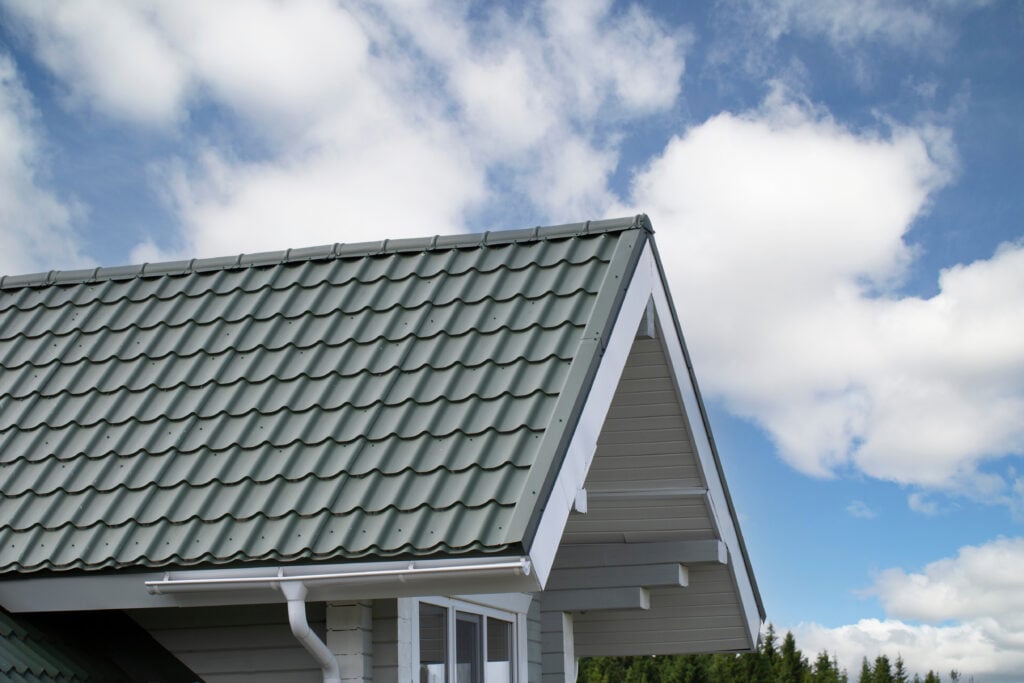
- Shed Roofs: Featuring a single sloping surface, shed roofs are simple to design and construct, perfect for modern homes or solar panel installation. Proper drainage and flashing are key for performance in heavy rainfall or snow areas.
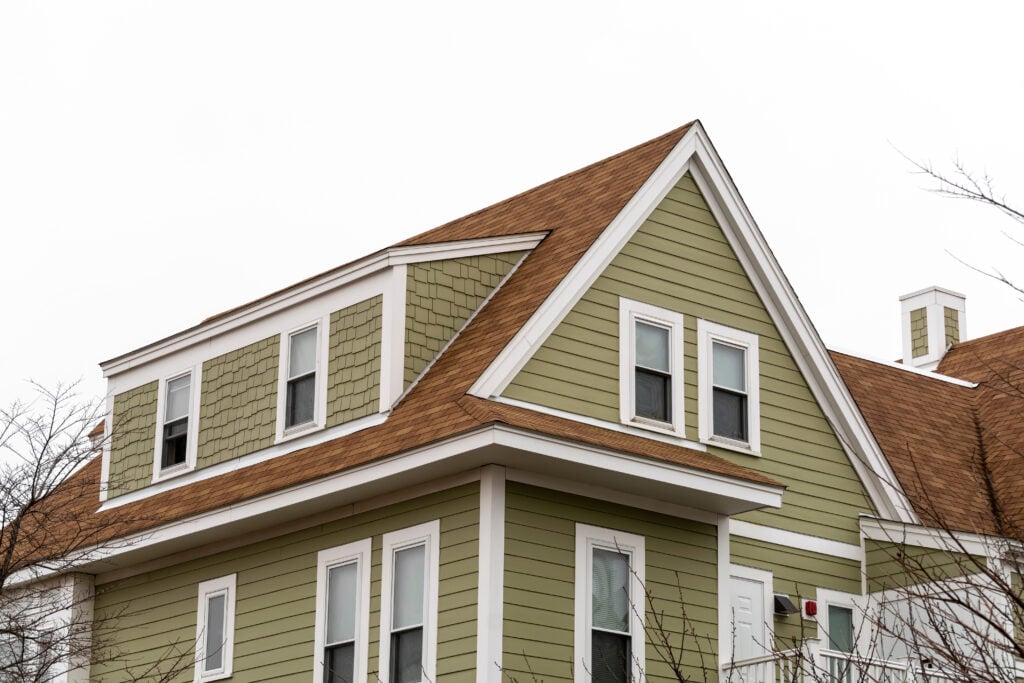
- Gambrel & Mansard Roofs: Combining dual-slope designs, gambrel roofs maximize attic space, while mansard roofs extend this concept on all four sides for even more usable interior space. Both require advanced framing but add significant value by increasing square footage.
⭐️ 6 Key Benefits of Pitched Roofs
Pitched roofs are designed to efficiently drain water and withstand harsh weather conditions, making them a durable choice for homes. They also offer additional attic space, improving insulation and increasing energy efficiency.
1. Superior Water Management
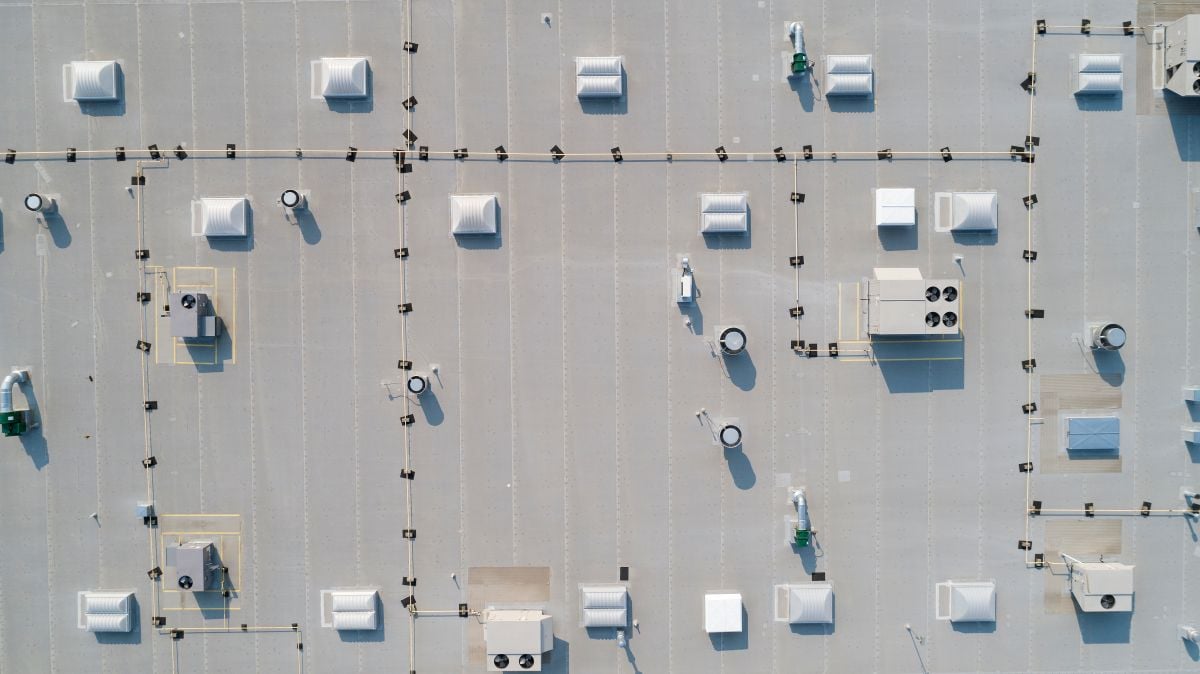
Pitched roofs excel at quickly and efficiently shedding water from their surfaces. The sloped design naturally directs rainwater and melting snow toward gutters and away from your building structure, significantly reducing the risk of leaks and water damage compared to flat or low-slope roofing systems. This natural drainage capability protects your home’s interior, foundation, and structural components from moisture-related problems.
2. Enhanced Structural Strength
The triangular geometry of pitched roofs creates inherent structural stability that effectively resists both vertical loads and lateral wind forces. This geometric strength allows pitched roofs to support heavy snow loads while withstanding high winds that might damage other roof types. The framework distributes loads evenly across supporting walls and foundations, preventing stress concentrations that could lead to structural problems.
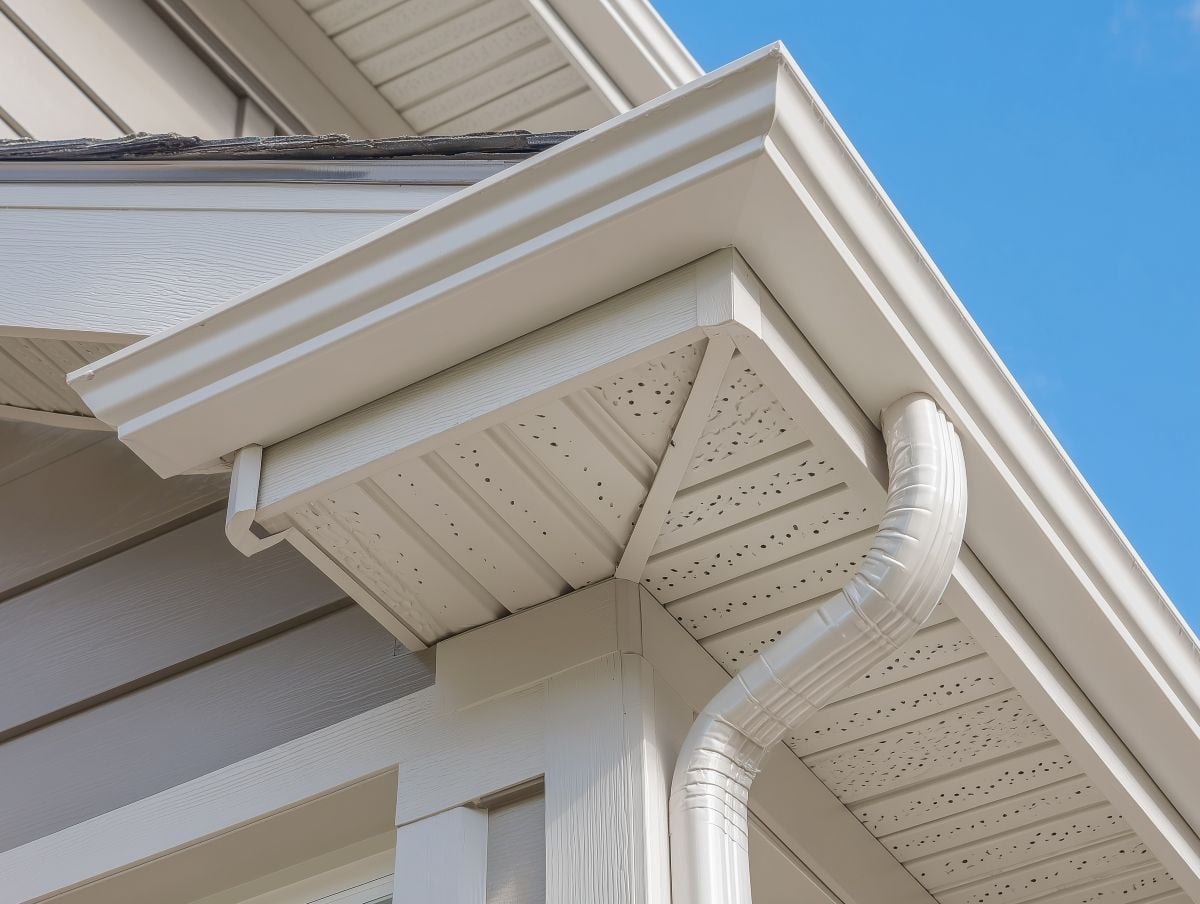
3. Improved Energy Efficiency
Pitched roofs create natural ventilation pathways that help regulate attic temperatures throughout the year. Hot air rises and escapes through ridge vents while cooler air enters through soffit vents, reducing cooling costs and preventing ice dam formation. The steep angles also shed snow more effectively than flat surfaces, preventing ice dams that can force water back under roofing materials.
4. Increased Living Space
The sloped design creates valuable attic space that can be converted into living areas, storage rooms, or recreational spaces. This additional square footage adds significant value to your home without expanding the building’s footprint. Many homeowners find that finished attic spaces provide quiet retreats perfect for home offices, bedrooms, or hobby areas with unique architectural character.
5. Long-Term Durability
Pitched roofs typically outlast flat roofing systems because they shed water more effectively and experience less thermal stress from standing water and ice. The materials used in pitched roof construction are time-tested and readily available, making maintenance and repairs straightforward and cost-effective throughout the roof’s lifespan.
6. Versatile Design Options
Pitched roofs complement virtually any architectural style, from traditional colonial homes to contemporary designs. The basic structure can be enhanced with dormers, skylights, and other features to create unique appearances while maintaining fundamental performance benefits. Different roofing materials allow you to customize the look while preserving structural advantages, whether you prefer classic asphalt shingles, elegant slate, or durable metal roofing.
✅ Step-by-Step Building Process
The step-by-step building process ensures clarity and organization, making complex projects easier to manage. It also helps avoid mistakes by providing a clear roadmap from start to finish.
Planning and Preparation
Start your pitched roof project by obtaining all necessary permits and ensuring your design meets current local building codes. These requirements vary by location and climate zone, so work with your local building department to understand specific requirements for your area. Review your construction plans carefully to understand all structural requirements, material specifications, and connection details before ordering materials. Prepare your work area by establishing safe access routes and setting up appropriate scaffolding or roof brackets. Safety should be your top priority throughout the construction process, so invest in proper equipment and take time to organize your workspace effectively. Order materials well in advance to avoid delays, and check weather forecasts to schedule work during favorable conditions. Create a detailed timeline that accounts for each phase of construction, including time for inspections and potential weather delays. Having a realistic schedule helps you coordinate with other trades and ensures your project stays on track from start to finish.
Framing the Structure
Begin structural work by installing the ridge board at the precise height and location specified in your plans. This critical component must be perfectly straight and level because it determines the alignment of your entire roof structure. Use temporary braces and supports to hold the ridge board in position while you install the rafters. Cut and install each rafter according to your construction plans, ensuring precise measurements and consistent angles. Each rafter must fit properly against both the ridge board and the wall’s top plate to transfer loads effectively throughout the structure. Use a speed square or rafter square to mark cuts accurately, and test-fit each piece before making final installations. Secure rafters using appropriate fasteners specified by your building codes and engineering requirements. Install ceiling joists to tie the structure together and prevent the walls from spreading under roof loads. Add collar ties, rafter ties, or other bracing elements as required by local codes to ensure long-term structural stability.
Installing Sheathing and Underlayment
Cover your completed rafter structure with properly sized plywood or OSB sheathing, starting at the bottom edge and working systematically toward the ridge. Ensure each panel is square and properly fastened according to manufacturer specifications. Leave appropriate expansion gaps between panels as specified by the manufacturer to accommodate thermal movement. Install underlayment starting at the eaves and working toward the ridge, overlapping each course according to manufacturer recommendations. Most standard underlayments require 2-4 inch overlaps, but check specific product instructions for your chosen material. Pay particular attention to valleys, penetrations, and other areas where water might concentrate or change direction. Apply ice and water shield in vulnerable areas where ice dams might form or where water could potentially pond during severe weather. This self-adhering membrane should extend at least 24 inches beyond the interior wall line in cold climates and around all roof penetrations regardless of climate zone.
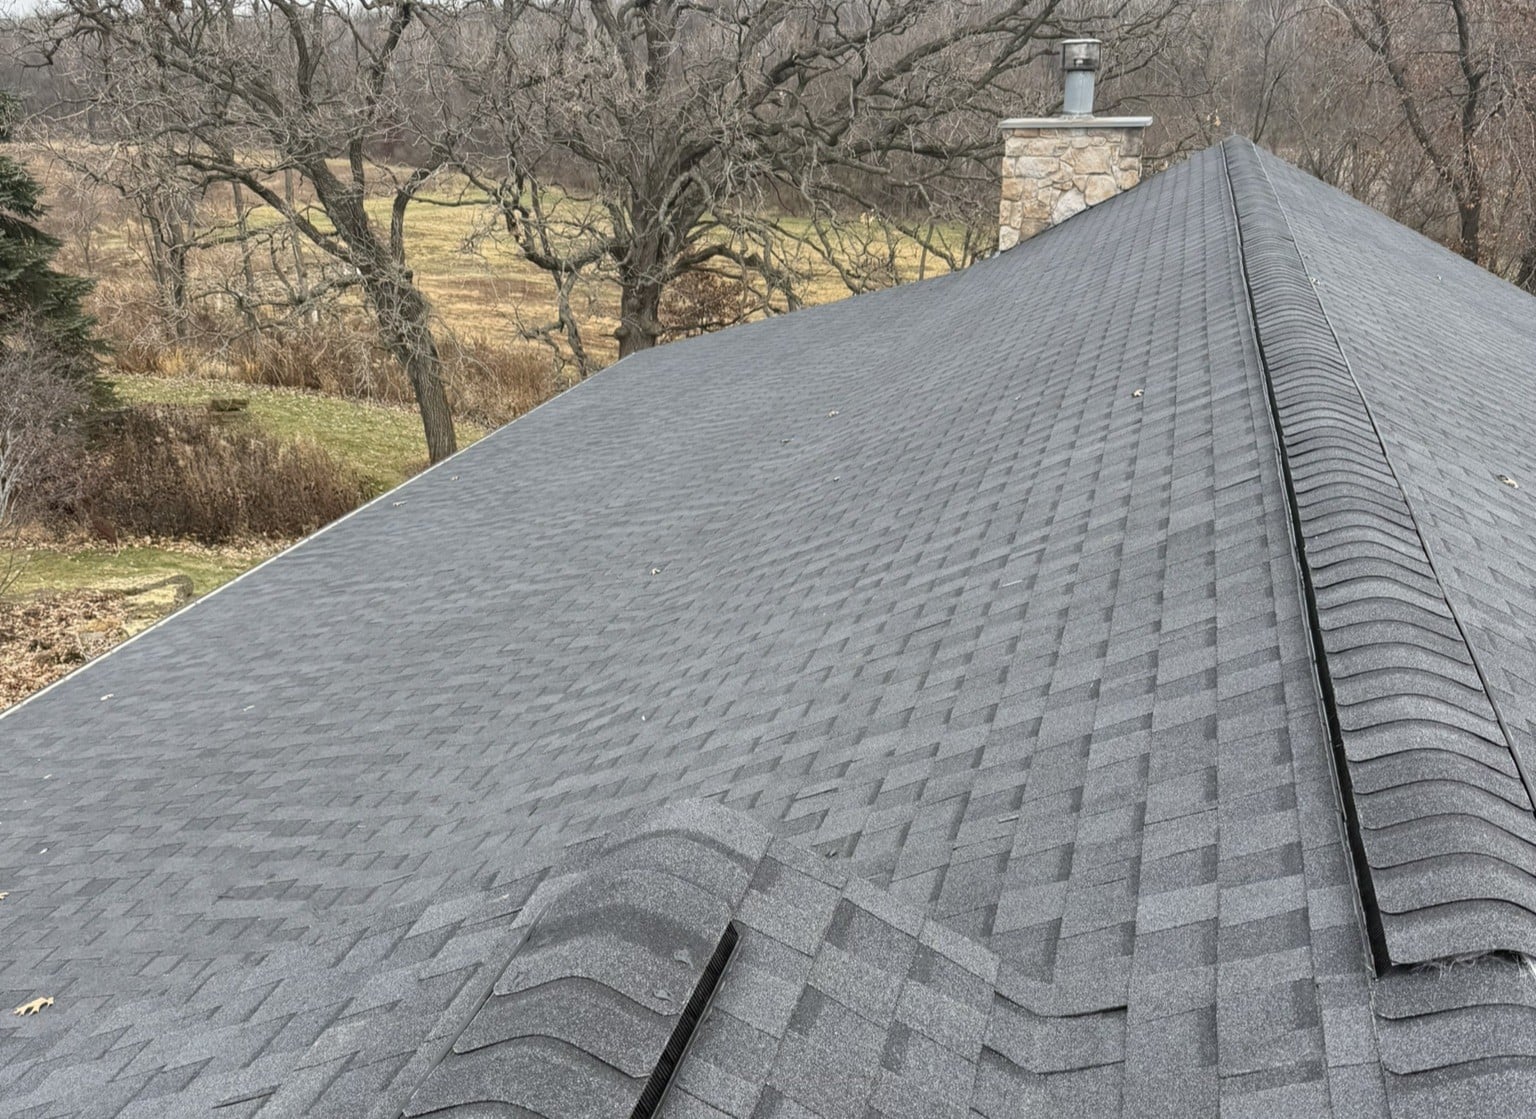
Final Roofing Installation
Install your chosen roofing material following manufacturer instructions and local building code requirements precisely. Start with a proper starter course at the eaves to ensure water sheds correctly off the roof edge without backing up under the roofing material. Work systematically across and up the roof surface, maintaining consistent exposure distances and proper alignment. Install flashing around chimneys, vent penetrations, skylights, and other roof interruptions using compatible materials that won’t cause corrosion problems over time. Proper flashing installation prevents water infiltration and ensures your roof performs reliably throughout its expected lifespan. Take extra care at these critical areas because they’re often the source of future leak problems. Complete your installation with appropriate ridge caps or ridge vents that seal the peak while providing necessary attic ventilation. Install gutters and downspouts to direct water away from your foundation and prevent erosion or basement flooding. Perform a thorough final inspection to ensure all components are properly installed and secured according to manufacturer and code requirements.
👨🔧 Trust Our Expert Team for Your Pitched Roof Project
When it comes to your pitched roof, you need a team you can trust to deliver quality, reliability, and exceptional service—and that’s exactly what we provide. With years of experience, certified technicians, and a commitment to using only the best materials, we ensure your roof not only looks great but stands strong for years to come.
From start to finish, we handle every detail with care, so you can enjoy a stress-free process and the peace of mind that comes with a job done right. Let us help protect your home and enhance its value with a roof built to last. Contact us today to schedule your consultation and take the first step toward your perfect pitched roof!
Let’s Get Started
Fix Your Roof the Badger Way
Got a question? Want to learn more about your options when it comes to caring for your home exterior? Our team is standing by with the information you need to start you roof replacement project today!
