What Is Roof Flashing & Why Does It Matter?
10 Min Read
POSTED 28.11.2024

Roof flashing is one of the most critical, yet overlooked, components of a weatherproof roof. Acting as a protective barrier, flashing seals vulnerable joints where different surfaces meet; usually around chimneys, vents, skylights, and roof edges. Without proper flashing, even a new roof can quickly develop costly leaks. In Wisconsin, where freeze-thaw cycles and heavy snow loads are common, having correctly installed, durable flashing is essential for protecting your home. This guide covers flashing types, installation best practices, troubleshooting, and local considerations to ensure your roof stays watertight year-round.
Quick Reference: Main Takeaways About Roof Flashing
- Purpose: Directs water away from roof joints & prevents leaks
- Common Materials: Aluminum, copper, galvanized steel
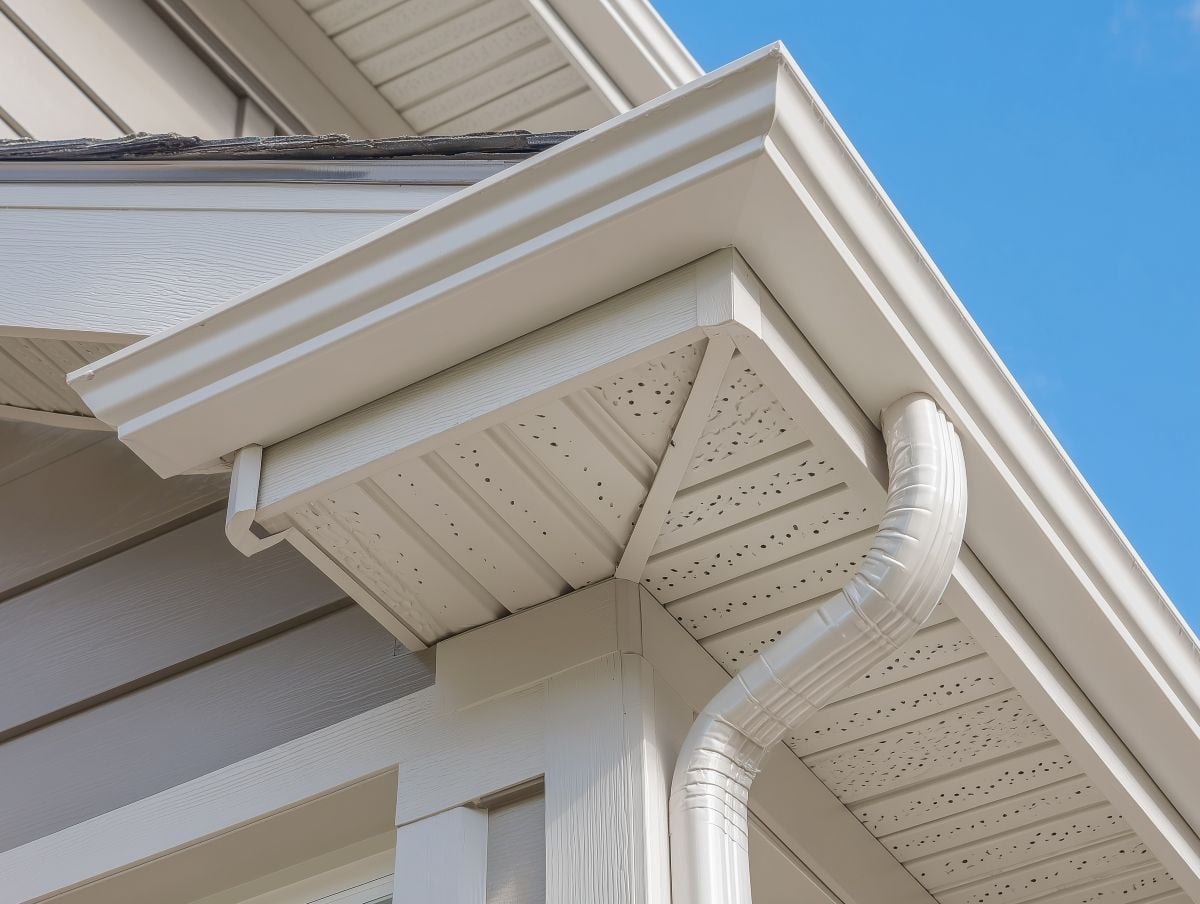
- Placement: Around chimneys, skylights, roof valleys, eaves
- Lifespan: Typically 15–30 years, depending on material & climate
- Signs of Trouble: Rust, gaps, water stains, loose sections

What Is Roof Flashing?
Roof flashing is a protective barrier installed on your roof to keep water out of the areas most vulnerable to leaks. Typically made from durable metals like aluminum, copper, or galvanized steel, flashing may also be crafted from PVC or rubber for specific applications.
Flashing is placed anywhere the roof’s surface is interrupted or joined to another structure, including:
- Chimneys
- Vents and plumbing stacks
- Skylights and dormers
- Roof valleys
- Where the roof meets vertical walls or edges
Why Does This Matter?:
Without flashing, rainwater, melting snow, or ice can seep into the roof deck and underlying structure. This leads to rot, mold growth, and costly structural damage. Flashing serves as your roof’s watertight shield, redirecting water safely to gutters or the roof edge, preserving your home’s integrity and extending roof lifespan. Scheduling a professional roof inspection helps identify early signs of flashing failure, corrosion, or improper installation before moisture causes structural damage.
How Does Roof Flashing Work?
Roof flashing works by sealing and guiding water away from joints, seams, and roof penetrations.
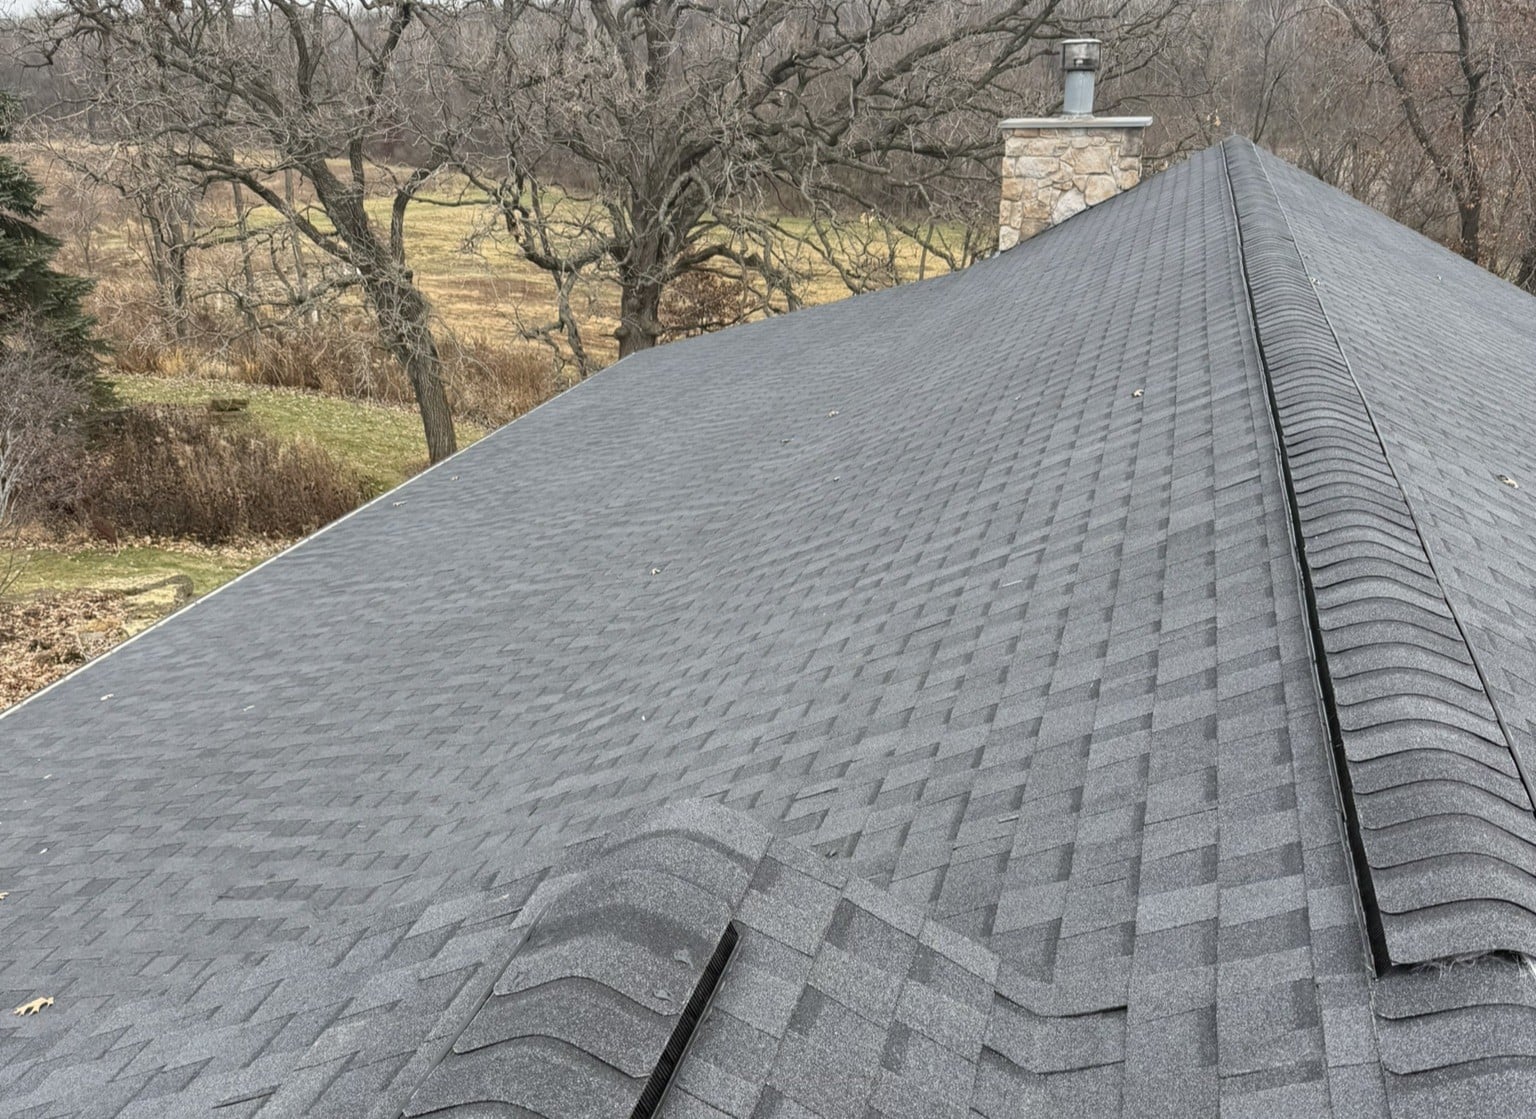
- Around chimneys and sidewalls, step flashing is layered between shingles to direct water downhill.
- For vent pipes and skylights, specialized flashing wraps around the base, overlapping shingles to keep water out.
- In valleys where two slopes meet, valley flashing channels large volumes of water straight to the gutters.
The Goal: Keep water moving over the roof, not into it. In climates like Wisconsin, where freeze-thaw cycles can force water into small cracks, proper flashing installation and maintenance is essential to prevent long-term damage.
Pro Tip from Local Experts: Choose corrosion-resistant materials and have flashing inspected annually especially before winter to catch damage early.
Roof Flashing Types & Materials
| Flashing Type | Common Use | Material Options | Key Advantage |
|---|---|---|---|
| Step Flashing | Where roof meets walls or chimneys | Aluminum, galvanized steel, copper | Creates layered waterproof barrier |
| Valley Flashing | Where two roof slopes meet | Galvanized steel, copper | Channels large volumes of water |
| Drip Edge | Roof edges/eaves | Aluminum, steel | Prevents water from seeping under shingles |
| Vent Pipe Flashing | Around plumbing vents | Rubber boot, metal base | Seals tight around circular penetrations |
| Continuous (Apron) Flashing | Long roof-to-wall intersections | Aluminum, galvanized steel | Simple installation, long coverage area |
| Base & Counter Flashing | Chimneys | Copper, galvanized steel | Two-part system for maximum protection |
4 Benefits of Roof Flashing
Roof flashing is essential for protecting your home from leaks by directing water away from vulnerable areas like chimneys, vents, and edges. It helps prevent long-term damage and ensures your roof lasts longer.
1. Protects Your Home from Water Damage
Roof flashing is your home’s first line of defense against water leaks. It works by directing rainwater away from areas prone to pooling, such as joints, valleys, and roof edges. Without flashing, water can seep into these vulnerable spots, causing damage to your home’s interior, including stained walls, ruined ceilings, and warped flooring. Over time, water infiltration can also lead to mold and mildew growth, which poses health risks and requires costly remediation. Properly installed flashing reduces the chances of these problems, ensuring your home stays dry and safe. For homeowners looking to safeguard their property, professional roofing services in Sun Prairie provide expert flashing inspections and repairs designed to keep homes dry year-round.

2. Extends Roof Lifespan
Your roof is exposed to harsh elements daily—rain, wind, snow, and heat can all take a toll. Roof flashing acts as a barrier, preventing water from penetrating under shingles or into wooden components. This protection is crucial because water damage can weaken the structural integrity of your roof, causing wooden beams to rot and shingles to degrade prematurely. By diverting water and reducing wear and tear, flashing significantly extends the lifespan of your roof, saving you money on repairs or early replacement. A roof with proper flashing is built to last for many years with minimal issues.
3. Enhances Energy Efficiency
Moisture buildup caused by roof leaks can compromise your home’s insulation. When insulation becomes wet, it loses its ability to regulate heat effectively, leading to drafts and inconsistent indoor temperatures. This can drive up your energy bills as your HVAC system works overtime to compensate. Roof flashing plays a key role in maintaining your home’s energy efficiency by keeping water out and ensuring the insulation stays dry and functional. A well-sealed roof not only keeps your home comfortable but also reduces your environmental footprint by lowering energy consumption.
4. Boosts Resale Value
A well-maintained roof is one of the first things potential buyers notice when evaluating a home. Roof flashing adds to your home’s overall appeal by ensuring the roof is structurally sound, free from leaks, and built to last. Buyers are more likely to pay a premium for a home with a roof that doesn’t need immediate repairs or replacements. Additionally, having quality flashing installed demonstrates that you’ve taken steps to protect your investment, giving buyers peace of mind. This small but important detail can significantly increase your home’s resale value and marketability.

Pro Tips For Each Flashing Type
Roof flashing is crucial for preventing water leaks and protecting your home from damage. Here are some good pro tips for Wisconsin homeowners to consider depending on what flashing you either have or are looking to install.
Step Flashing
Best for roof-to-wall connections and chimneys. Always install step flashing in alternating layers with shingles to ensure proper water flow. In Wisconsin, ice damming is a real risk. Pair with an ice and water shield underlayment for added protection.
Vent Pipe Flashing
Seals the gap around plumbing vents. Rubber boots can crack in extreme cold. In Wisconsin, choose cold-rated materials or metal collars with sealant for longer life.
Valley Flashing
Handles high volumes of water where two roof slopes meet. Use wide, corrosion-resistant metal to withstand snowmelt. Avoid debris buildup, which can trap moisture and lead to rust or rot.
Drip Edge
Essential for directing water away from fascia and into gutters. Install drip edge flashing under the underlayment at the eaves and over it along the rakes for proper drainage. In high-wind areas, secure with additional fasteners to prevent lift.
Continuous (Apron) Flashing
Protects long roof-to-wall intersections. While quick to install, ensure you leave room for material expansion and contraction to prevent buckling.
Base & Counter Flashing
The gold standard for chimney protection. Base flashing sits under shingles, while counter flashing overlaps it, creating a two-part seal. Mortar joints should be cut and flashed, not just caulked, for long-term durability in freeze–thaw conditions.
Troubleshooting Roof Flashing Problems With Solutions
While roof flashing is highly durable, it’s not immune to problems, especially if improperly installed or maintained. Some common issues include:
| Problem | Possible Cause | Recommended Solution |
|---|---|---|
| Water leaks around chimney | Damaged or improperly installed step flashing | Replace damaged flashing; ensure step flashing overlaps each shingle layer per NRCA guidelines |
| Rust or corrosion visible | Galvanized flashing exposed to moisture over time | Replace with corrosion-resistant material such as aluminum or copper |
| Loose flashing pieces | Nails/screws have pulled out due to wind or thermal expansion | Re-secure with roofing nails/screws; seal with roofing-grade caulk |
| Flashing pulling away from roof | Roof deck shifting or improper installation | Refit flashing, checking alignment and fastening |
| Water stains in attic near roof edge | Drip edge flashing missing or damaged | Install or replace drip edge flashing to channel water away from fascia |
| Moss/mold near flashing | Water is pooling due to improper slope | Correct slope and improve drainage; clean and treat affected area |
Regular roof inspections by a professional can help identify and address these issues before they escalate. If you’re seeing signs of trouble, don’t miss our post on repairing common roofing problems for guidance on what to look for. This guide on repairing common roofing problems breaks down what homeowners should look for and when professional repairs are necessary to prevent recurring leaks.
Flashing Problems In Wisconsin
Wisconsin homeowners face unique weather patterns. Harsh winters, fluctuating temperatures, and heavy precipitation that put flashing under constant stress. Addressing these conditions during installation and maintenance can prevent costly repairs. Homeowners needing expert help can rely on trusted roofing services in Madison to ensure flashing is installed and maintained to withstand local climate conditions.
Challenges and Solutions
Freeze–Thaw Cycles
- Challenge: Water seeps into micro-gaps around flashing, freezes, expands, and pries materials apart.
- Solution: Use ice and water shield underlayment beneath all flashing areas and check seals annually in late fall.
Heavy Snow Loads & Ice Damming
- Challenge: Melting snow refreezes at roof edges, forcing water backward under shingles and flashing.
- Solution: Ensure proper attic ventilation to reduce heat loss, install drip edge flashing, and use self-sealing underlayment in valleys.
High Wind Events
- Challenge: Gusts can lift flashing edges, creating gaps for water entry.
- Solution: Secure flashing with corrosion-resistant nails/screws and consider a dab of sealant at fastener heads.
Corrosion from Moisture & Salt
- Challenge: Near the Great Lakes, salt in the air and extra humidity accelerate metal corrosion.
- Solution: Choose stainless steel or copper flashing; avoid untreated steel.
Local Building Codes
- Challenge: Wisconsin codes often require flashing installation that aligns with NRCA standards, but municipalities may add their own requirements.
- Solution: Always verify with your local building inspector before starting work.
Pro Tip:
Schedule a spring inspection after snowmelt to catch any winter damage early. This helps prevent minor flashing issues from becoming major leaks during summer storms.
Protect Your Roof with Badgerland Exteriors
Looking for roof flashing repair or installation in Wisconsin? At Badgerland Exteriors, we know that well-installed roof flashing is more than a detail, it’s your home’s first defense against costly water damage. Our experienced, locally trusted team has helped homeowners across Wisconsin protect their properties through expert roofing, siding, and gutter services. Homeowners seeking reliable solutions can trust proven roofing services in Middleton to protect their roof’s most vulnerable points and prevent long-term damage.
Whether you need a thorough flashing inspection, targeted repairs, or a complete installation, we bring:
- Proven Expertise: Backed by years of hands-on experience and in-depth knowledge of Wisconsin’s unique climate challenges
- Quality Craftsmanship: Every job meets or exceeds NRCA and local building code standards
- Trust and Reputation: 4.9-star rating and glowing customer reviews from satisfied homeowners
- Convenience and Value: One-stop service for all your roofing needs, plus flexible financing options
Your roof is only as strong as its most vulnerable point and flashing is where small issues become big problems. Don’t wait for leaks to cause damage.
Contact Badgerland Exteriors today to schedule your inspection and see why Wisconsin homeowners trust us to keep their homes safe, dry, and protected year-round.
FAQ
Do shingles go over or under flashing?
Shingles should overlap flashing in a way that channels water onto the shingle surface and away from joints. Step flashing, for example, is installed in layers between each course of shingles.
Can roof flashing cause leaks?
Yes. Damaged, loose, corroded, or improperly installed flashing can allow water to penetrate the roof structure, leading to leaks and wood rot.
How often should I replace my roof flashing?
Inspect annually. Replacement is typically needed every 15-30 years, but Wisconsin’s harsh winters can shorten this timeline.
How should roof flashing be installed?
Installation varies by type but always follow NRCA and manufacturer guidelines. Ensure proper overlap, secure fastening, and sealing against moisture.
Let’s Get Started
Fix Your Roof the Badger Way
Got a question? Want to learn more about your options when it comes to caring for your home exterior? Our team is standing by with the information you need to start you roof replacement project today!
