How to Measure a Roof for Shingles Like a Pro (6 Steps)
6 Min Read
POSTED 09.12.2025
Knowing how to measure a roof for shingles is essential for any roofing project. Whether you’re planning a roof replacement, repair, or new installation, accurate measurements ensure you purchase the right amount of material and avoid costly mistakes or delays. Understanding the process can save you time, money, and frustration, and ensure your results match the quality you expect from a professional roofing company.
• Avoid waste: Accurate measurements help you buy only what you need
• Save money: Prevent overordering or last-minute supply runs
• Plan efficiently: Stay organized with correct material quantities
• Improve durability: Proper fit enhances weather protection and longevity
Why Accurate Roof Measurements for Shingles Are Crucial
Accurately measuring your roof before installation plays a vital role in the success of any roofing project. Overestimating or underestimating roof size can lead to material shortages, wasted time, and added costs. When you or your roofing contractor start with precise data, the installation runs smoothly and safely.
• Cost-efficiency: Precise measurements calculate exact shingle bundles needed.
• Safety considerations: Knowing dimensions determines equipment requirements.
• Material waste reduction: Reduces excess shingles and disposal needs.
• Improved performance: Proper layout ensures tight, weatherproof installation.
6 Essential Steps to Measure Your Roof for Shingles
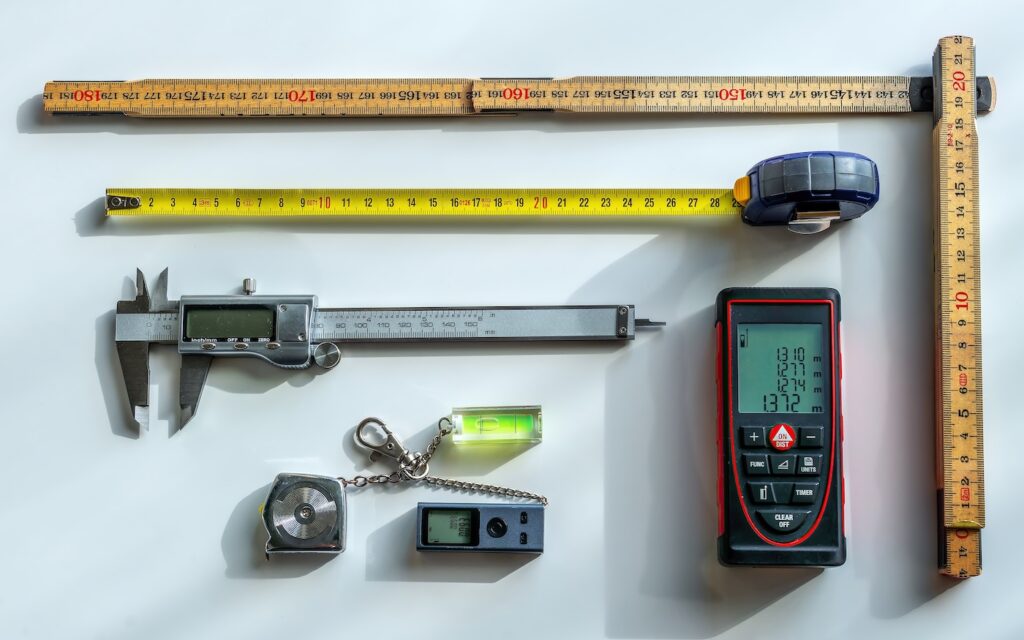
Before you begin, gather your tools: a 100-foot tape measure, calculator, notebook or roof measurement app, ladder, and safety gear. Follow these six steps to measure like a professional roofing contractor.
Step 1: Assess the Roof’s Shape and Structure
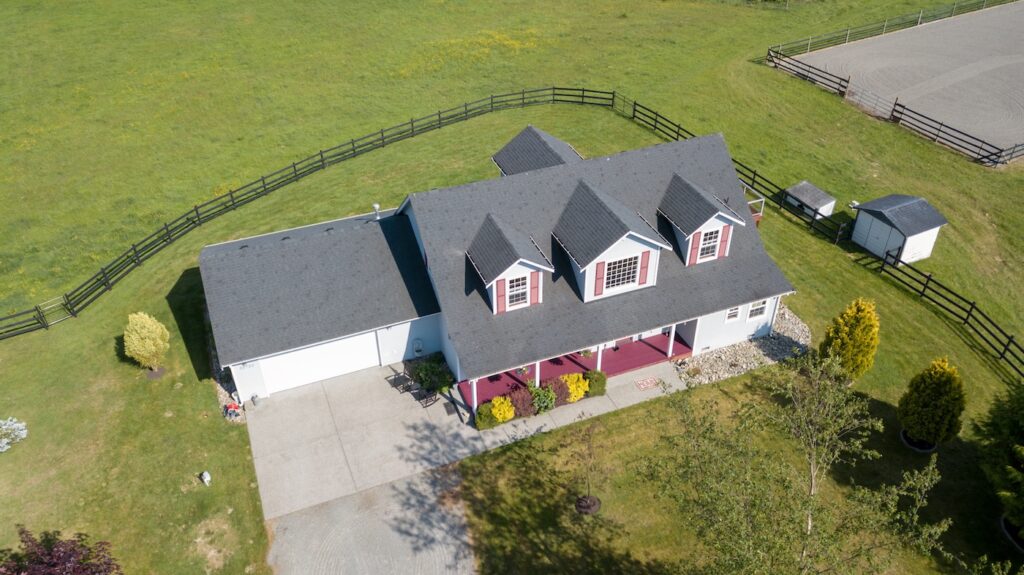
Examine your roof’s type—gable, hip, flat, or combination—since each requires a unique approach. Complex roofs with multiple slopes or dormers add difficulty.
• Identify all roof sections needing shingles.
• Note architectural features like valleys and dormers.
• Sketch a simple diagram for reference.
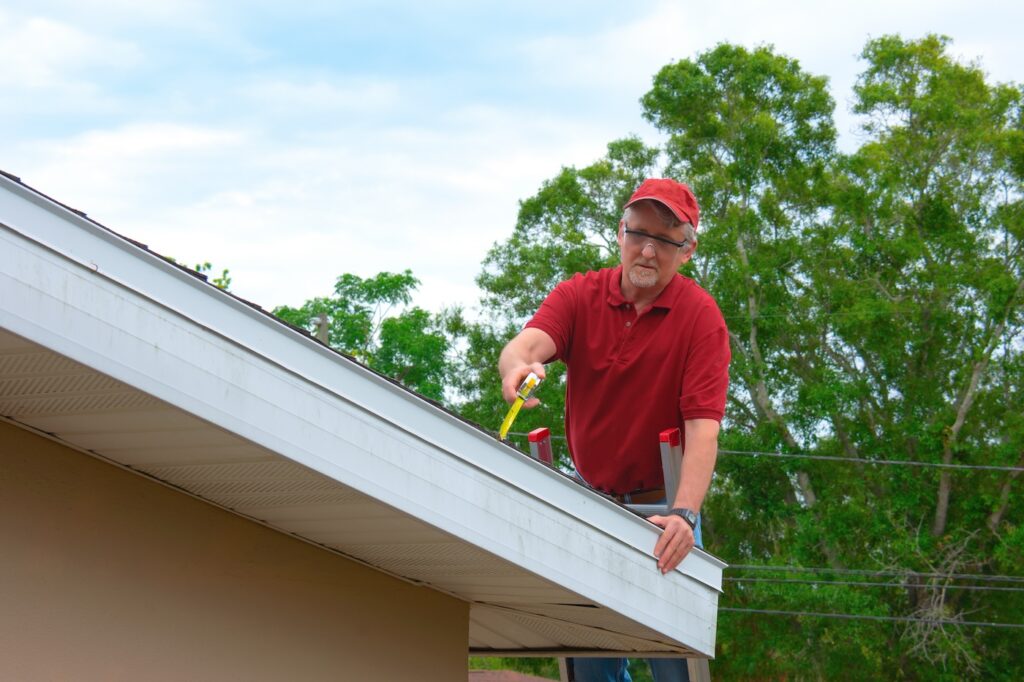
Step 2: Measure Roof Length and Width
Use a tape measure to record each section’s length and width. If your roof is steep, consider a drone or laser tool for safety.
• Measure at eaves and peaks for consistency.
• Double-check all dimensions for accurate results.
Step 3: Calculate the Roof Area
Multiply each section’s length by its width to get total square footage.
• For rectangles: length × width.
• For triangles: 0.5 × base × height.
• Add all areas together for total roof size.
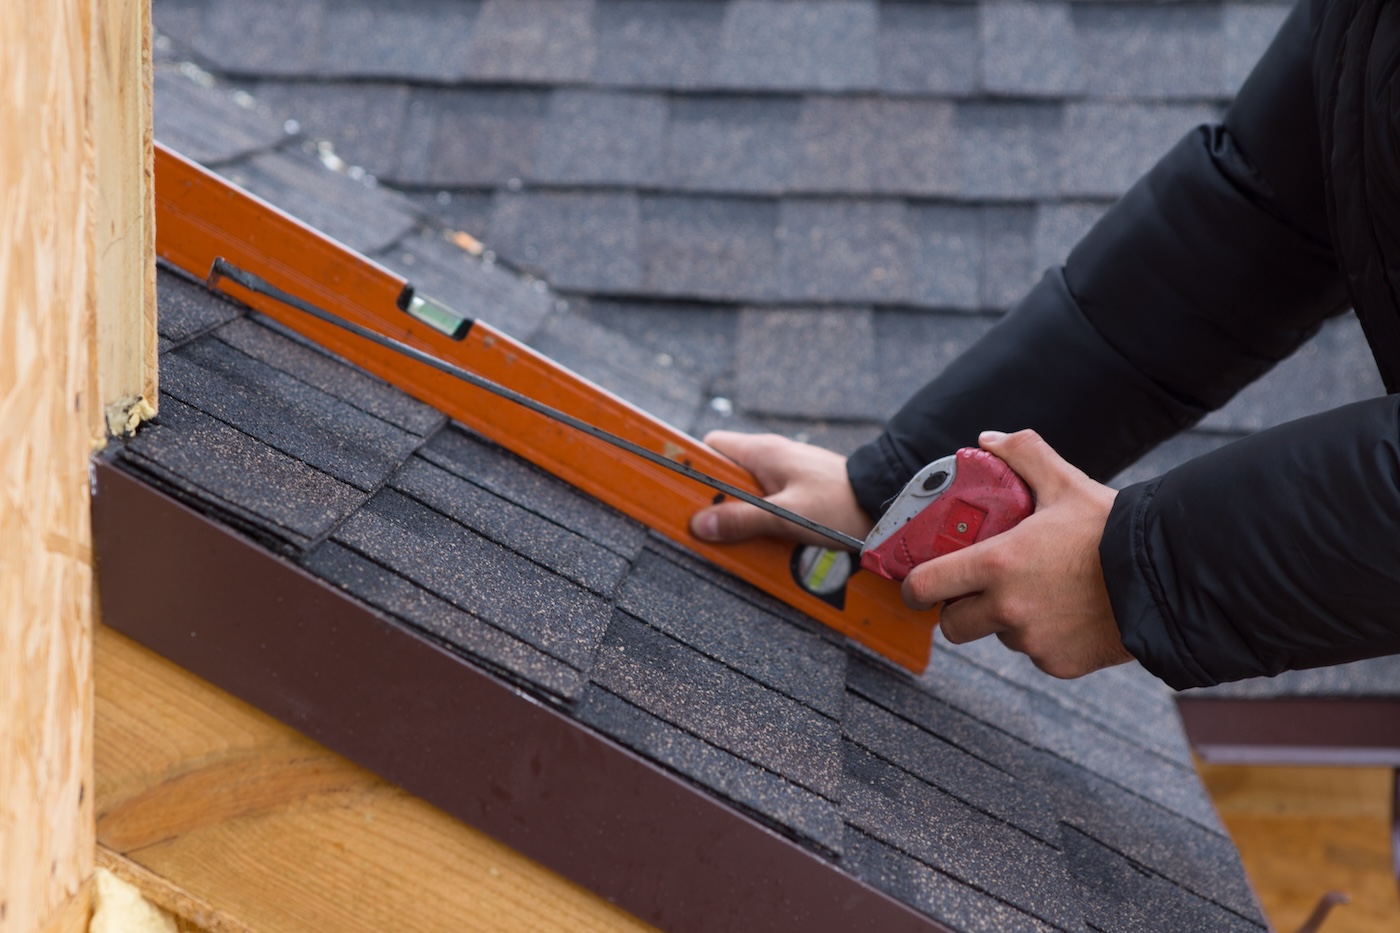
Step 4: Account for Roof Pitch
Roof pitch affects surface area and material needs. Steeper slopes mean more square footage.
• Measure rise and run using a level and tape.
• Apply pitch multiplier = √(rise² + run²) ÷ run.
• Multiply total area by multiplier for adjusted coverage.
If accessing your roof safely is a concern, especially on steep slopes, tools like drones can help—learn more about how professionals use aerial technology in our guide to drone roof inspection for safer and more precise measurements.
Step 5: Include Waste Factor
During roof replacement or installation, some waste is unavoidable. Add 10–15% to account for cuts, fitting, and minor errors.
• More complex roofs require higher waste factors.
• Helps avoid costly delays from running short on shingles.
Step 6: Convert Square Footage to Shingle Bundles
Shingles are sold in bundles—three bundles per roofing square (100 sq. ft.).
• Divide adjusted area by 100, then multiply by 3.
• Round up to the nearest whole number.
• Consult your roofing company for bundle coverage specifics.
Common Pitfalls and How to Avoid Them
Even simple measurement mistakes can lead to costly repairs or delays. Avoid these common missteps:
• Inaccurate measurements: Always measure twice for reliability.
• Ignoring roof pitch: Underestimating slope leads to shortages.
• Forgetting complex features: Include dormers, valleys, and chimneys.
• Low waste factor: Too little overage causes unnecessary stress mid-project.
• Material confusion: Not all shingles cover the same area—verify product specs.
If your roof has been exposed to severe weather, it’s smart to review the signs of impact first—our article on metal roof hail damage explains what to look for before finalizing your measurements.
How to Make Measurement Easier
A professional roofing contractor uses tools and methods that simplify the process and increase accuracy. You can apply some of the same techniques at home or hire experts for guaranteed precision.
Use Digital Tools and Apps
Roof measurement apps like RoofSnap or EagleView provide near-instant results.
• Speed and safety: Get data without climbing.
• Accurate mapping: Software converts roof geometry into measurements.
• Professional sharing: Export details for contractor or supplier use.
Work With Roofing Professionals
If your roof is steep or complex, hiring a local roofing company ensures safety and accuracy.
• Expert accuracy: Professionals provide verified dimensions.
• Safety advantage: Avoid injury from roof access.
• Tailored advice: Get guidance on materials and quantities for your project.
Homeowners in the Madison area can rely on experienced local experts who understand regional building standards and roof designs—our team provides professional roofing services in Madison, WI to ensure every measurement is precise from the start.
Keep a Record for Maintenance
Documenting your roof’s layout helps with future work.
• Keep a diagram of all measurements.
• Track leftover shingles for future patchwork.
• Reference dimensions for future inspections or repairs.
If you’re located just outside the city, our roofing specialists also serve homeowners in Verona, WI, delivering accurate measurements, material guidance, and dependable craftsmanship for residential roofing projects of all sizes.
Comparing Roof Measurement Methods
| Method | Accuracy | Safety | Equipment Needed | Best For |
| Manual tape measure | High | Moderate | Tape measure, ladder | Small simple roofs |
| Laser distance meter | Very high | Better | Laser meter, tripod | Ground-level measuring |
| Aerial drone | Highest | Best | Drone, software | Large or complex roofs |
| Professional survey | Guaranteed | Safest | Professional tools | All roof types |
Real-World Benefits of Accurate Roof Measurements
Homeowners who start their roofing project with accurate measurements see fewer delays, smoother installations, and less waste. Professional measurement also protects you from costly repairs caused by poor shingle fit or material shortages. Working with a skilled roofing company ensures every square foot of your roof is accounted for—saving you time, money, and stress.
Key Advantages
• Budget control: Order only what you need.
• Better timelines: Reduce project slowdowns.
• Long-term value: A properly measured roof performs better and lasts longer.
Partner With Badgerland Exteriors for Roofing Accuracy
At Badgerland Exteriors, we combine precise measurement methods with years of installation experience to ensure every project starts right. Whether you’re planning a roof replacement, new installation, or repair, our team provides expert guidance and reliable results. We serve homeowners in Milwaukee and surrounding communities with accurate measurements, professional craftsmanship, and transparent communication from start to finish. From detailed roof assessments to complete replacements, our team proudly serves surrounding communities, including Waunakee, WI, with reliable service, transparent communication, and roofing solutions built to last.
Contact Badgerland Exteriors today to schedule a consultation or inspection for your next roofing project. Let our experienced roofing contractors help you plan efficiently, avoid costly mistakes, and get the durable roof your home deserves.


Recent Articles
Read the Badger Blog
Let’s Get Started
Fix Your Roof the Badger Way
Got a question? Want to learn more about your options when it comes to caring for your home exterior? Our team is standing by with the information you need to start you roof replacement project today!
