How to Prepare Your Roof for Winter in 7 Steps
9 Min Read
POSTED 22.10.2026
Knowing how to prepare your roof for winter is the difference between a roof that gets through a Wisconsin winter without incident and one that develops ice dam damage, leaks, or gutter failure by February. The good news is that most winter roof problems are preventable with a systematic fall inspection and targeted maintenance tasks completed before winter weather arrives. The bad news is that homeowners who skip this checklist consistently end up paying five to ten times more in repairs than they would have spent on prevention. This guide walks through the seven steps every Wisconsin homeowner should complete before winter arrives. If you’d rather have a professional handle the pre-winter assessment, free roof inspections from a Wisconsin contractor take the guesswork out of the process.
Here is what this guide covers:
- Why fall preparation prevents winter roof problems
- The 7 steps every Wisconsin homeowner should complete before winter
- What to leave to professionals
- Signs your roof needs help before the snow flies
- Common questions Wisconsin homeowners ask about winter roof prep
Why Winter Preparation Actually Matters
Wisconsin winters bring some of the most challenging winter weather in the country for residential roofing. Freeze-thaw cycles, heavy snow loads, ice dam conditions, and periods of extreme cold create harsh winter weather that stresses the roofing system in ways summer never does. A roof that was performing well in October can develop serious problems by February if fall preparation was neglected.
According to the National Weather Service, preventing ice dams and winter roof damage requires clearing gutters and downspouts thoroughly, keeping snow loads off the roof, and ensuring attic insulation reaches at least R-30, with R-38 preferable in northern climates. Wisconsin’s climate puts most of the state in the “northern climates” category, meaning our target should be R-38 to R-60 for winter performance and ice dam prevention.
We’re proud to serve homeowners in Waunakee, WI, and nearby communities with roof inspections, storm damage assessments, and full roof replacement services.
7 Steps to Prepare Your Roof for Winter
Complete these steps in order, ideally by mid-November before the first hard freeze. Most can be done from the ground or from inside your attic without getting on the roof.
1. Clean Gutters and Downspouts Thoroughly
Taking time to clean gutters in fall is the single most important winter preparation task. A clogged gutter full of leaves backs water up at the eaves, where it freezes into ice dams that force water back under the shingles.
- Clear all debris: Remove every leaf, pine needle, seed pod, and twig from gutters and downspouts before the first freeze
- Check attachment: Look for gutter sections that have pulled away from fascia or sagged since summer
- Confirm downspout extensions: Downspouts should direct water at least 4 to 6 feet from the foundation
- Flush with water: Run water through gutters and downspouts to confirm they drain properly
2. Inspect Shingles From the Ground
Use binoculars to examine every slope of the roof. Focus on asphalt shingles and other traditional roofing materials that show wear, damage, or displacement. Damaged shingles and other roofing material that survived summer often fail under winter snow load and freeze-thaw stress.
- Missing or lifted shingles: Any gaps or displaced shingles need attention before snow arrives
- Curled or cracked shingles: Age-related failures that reduce wind resistance
- Granule loss patches: Bare spots on shingles indicate advanced wear
- Discoloration or streaking: Signs of moisture retention or biological growth
3. Check All Flashing and Sealants
Flashing at chimneys, skylights, vents, and wall transitions is the most common source of roof leaks on roofs that are otherwise in reasonable condition. Fall is the last chance to address flashing issues before cold weather and snow hide them for months.
- Chimney flashing: Look for lifted, separated, or rusted flashing where the chimney meets the roof
- Vent and pipe boots: Rubber pipe boots crack and shrink with age; replace before winter
- Skylight seals: Check sealant condition around all four sides of skylight installations
- Re-caulk cracked joints: Any caulk that has cracked or pulled away should be refreshed
4. Assess Attic Insulation and Ventilation
Inadequate attic insulation and poor ventilation are the underlying causes of most ice dam formation. Fall is the right time to address both before ice dams begin forming.
- Measure insulation depth: Blown-in insulation should reach 14 to 18 inches for R-49 minimum; more for R-60
- Check for air leaks: Warm air escaping around penetrations warms the roof deck and creates ice dams
- Confirm soffit vents are clear: Insulation baffles should keep soffit airflow unobstructed
- Verify ridge vents: Ridge or gable vents must be intact and unobstructed for proper attic ventilation
5. Trim Overhanging Branches
Snow-loaded branches contact the roof surface, causing shingle damage and creating entry points for pests. A roof rake used from the ground during winter can help clear branches you missed and remove excess snow. Fall is the ideal time to trim before the first significant snow event.
- Trim branches within 6 feet of the roof: These pose the highest risk under snow and ice load
- Remove dead or dying branches entirely: Dead limbs are far more likely to fall in winter wind events
- Address branches directly over the roof: Even branches that don’t currently touch the roof can under snow load
- Clear debris after trimming: Leaves and small branches on the roof create moisture retention issues
6. Confirm Ice and Water Shield Coverage
Wisconsin building code requires ice and water shield at eaves and in valleys on most residential roofs installed after 2000. If your roof pre-dates this requirement or you’ve never had ice and water shield installed, understanding your protection level going into winter is important.
- Check your roof’s age: If the roof was installed before 2000, ice and water shield may not be present
- Look for past ice dam damage: Water staining on interior ceilings near exterior walls indicates missing or failed ice and water shield
- Plan for next replacement: Adding ice and water shield during your next roof project is the most effective long-term winter protection
- Consider a professional inspection: A qualified roofing contractor can assess your current level of protection
7. Have a Professional Pre-Winter Inspection
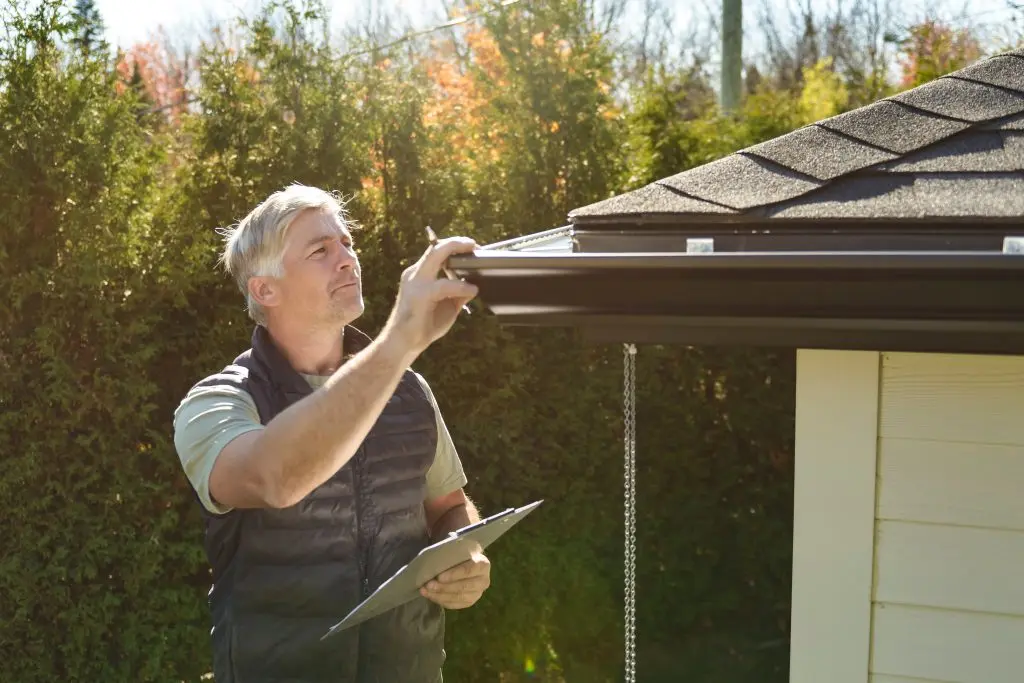
Even after completing the homeowner checklist, a professional roof inspection catches problems that ground-level checks reliably miss. Shingle-level damage, subtle flashing failures, and decking issues are difficult to identify without physical roof access.
- Timing: Schedule by mid-October to complete any needed repairs before winter
- Free assessments: Badgerland Exteriors provides free roof inspections that identify winter readiness issues
- Written documentation: A professional assessment creates baseline documentation useful for insurance claims later
- Actionable recommendations: A good inspection tells you what needs attention now versus what can wait
What to Leave to Professionals
Ground-level inspections and attic checks catch a lot, but some winter preparation tasks require professional expertise. These are not homeowner-level tasks:
- Physical roof access for detailed shingle assessment
- Flashing repair or replacement at penetrations
- Decking assessment for softness or rot beneath shingles
- Attic insulation upgrades to R-49 or R-60
- Ice and water shield installation or upgrades
- Any work involving getting on the roof, particularly in fall conditions with wet leaves and morning frost
Signs Your Roof Needs Help Before the Snow Flies
Some conditions warrant immediate professional attention rather than routine fall preparation. Contact a roofing contractor promptly if you observe any of these:
- Active leaks or water staining: New interior water damage that appeared this year
- Sagging roof deck or wavy roofline: Indicates structural damage that must be addressed before snow load
- Multiple missing shingles across different areas: Suggests systemic failure rather than isolated damage
- Daylight visible through the roof deck from the attic: An urgent condition requiring immediate professional response
- Ice dam damage from last winter that wasn’t fully addressed: Underlying causes will produce the same result again
Frequently Asked Questions About Winter Roof Preparation
Wisconsin homeowners preparing for winter tend to ask the same questions. Here are direct answers.
When should I complete winter roof preparation in Wisconsin?
Ideally by mid-November, before the first hard freeze. Wait until leaf drop is largely complete so you can clean gutters thoroughly, but complete all inspection and repair work before overnight temperatures consistently drop below freezing. October and early November are the ideal window in south-central Wisconsin.
Can I do winter roof preparation myself?
Most of it, yes. Ground-level roof maintenance including inspection with binoculars, attic checks, and gutter cleaning are safe homeowner tasks. Getting on the roof is not, particularly in fall conditions with wet leaves and morning frost. Leave physical roof access, flashing repairs, and any work at height to professionals.
How much does professional winter roof preparation cost in Wisconsin?
A basic professional inspection typically runs $150 to $400, but many Wisconsin roofing contractors, including Badgerland Exteriors, offer free assessments as part of estimate visits. Actual repair costs depend entirely on what the inspection identifies, ranging from minor caulk work at $100 to $300 up to full shingle replacements in problem areas.
What’s the biggest mistake homeowners make in winter roof preparation?
Skipping the attic. Homeowners focus on shingles and gutters but rarely check attic insulation, ventilation, or air sealing, which are the underlying causes of most winter roof problems. A well-maintained attic prevents ice dams in the same conditions that damage neighboring homes.
Does Badgerland Exteriors offer pre-winter roof inspections?
Yes. Badgerland provides free estimates that include a full roof condition assessment, and storm damage inspections are always free. Our team can typically reach your property within 24 to 48 hours of first contact.
Get Winter-Ready With Badgerland Exteriors
Winter preparation is the cheapest insurance a Wisconsin homeowner can buy for their roof. A morning spent on this checklist in October saves thousands of dollars and countless headaches in February. Badgerland Exteriors has been helping Waunakee homeowners and their neighbors across central Wisconsin get roofs winter-ready since 2009, with free assessments, honest recommendations, and no-pressure consultations that focus on what your roof actually needs.
Request your free winter roof assessment from Badgerland Exteriors today.
Let’s Get Started
Fix Your Roof the Badger Way
Got a question? Want to learn more about your options when it comes to caring for your home exterior? Our team is standing by with the information you need to start you roof replacement project today!