Siding Installation Guide: Explaining How Siding Is Installed
7 Min Read
POSTED 13.11.2025
Choosing the right exterior finish is crucial for both the look and protection of your home. When it comes to enhancing your property’s curb appeal and defending it against the elements, siding installation plays an essential role. If you are considering an upgrade or new construction, understanding how siding is installed can help you make informed decisions and ultimately ensure a durable and attractive exterior. For homeowners aiming for professional results, exploring expert siding options is a great starting point.
- Discover why siding installation is vital for home protection and value.
- Learn the step-by-step process of how siding is installed.
- Understand various siding materials and their installation requirements.
- Explore tips to maintain your siding after installation for long-term performance.
- Know when to consult professionals to guarantee quality siding work.
Why Siding Installation is a Key Investment
Installing siding on your home is not just about aesthetics; it contributes substantially to your property’s overall integrity. Here are some reasons siding installation is an important aspect to focus on:
- Durability: Proper siding installation creates a weatherproof barrier, safeguarding your home from rain, wind, and pests.
- Energy Efficiency: Correctly installed siding can improve insulation, which helps reduce heating and cooling costs.
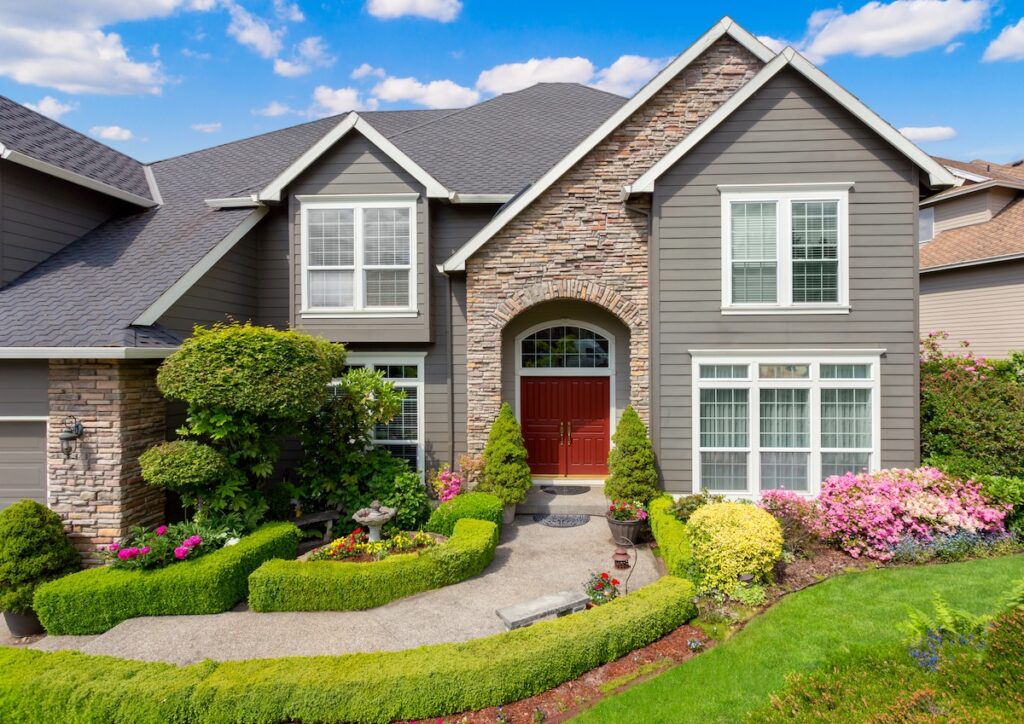
- Increased Property Value: An appealing and well-maintained exterior can boost your home’s market value.
- Low Maintenance: Modern siding materials, when installed correctly, require minimal upkeep, freeing you from frequent repairs.
- Aesthetic Appeal: The right siding style and color can transform the appearance of your home, making it stand out in your neighborhood.
To learn how insulation works hand-in-hand with siding for better efficiency and comfort, explore our guide on siding insulation and see how the right setup can lower energy costs over time.
6 Step Explanation of the Siding Installation Process
Understanding how siding installation works can help you prepare for your project and communicate effectively with contractors. The following steps break down the typical process in detail:
1. Inspection and Surface Preparation
Before installation begins, the exterior walls must be thoroughly assessed for damage, moisture issues, and proper framing. Preparation ensures that the new siding adheres securely and performs as intended over time.
Key steps in this phase include:
- Repairing any rotted or damaged wood around windows, doors, and corners to create a solid foundation.
- Removing old siding materials and nails to expose the sheathing and inspect for mold or insect damage.
- Ensuring walls are flat and structurally sound by sanding uneven areas or adding furring strips where needed.
- Cleaning the wall surface to remove dust, old caulk, or debris that could interfere with siding adhesion.
- Inspecting insulation and vapor barriers to make sure energy efficiency and moisture protection are maintained.
Proper preparation prevents future issues such as buckling, water leaks, and misalignment, ensuring a long-lasting, professional finish.
2. Installing Weather-Resistant Barrier
This crucial step involves applying a protective layer over the wall sheathing to keep water out while allowing trapped moisture to escape. Common materials include house wrap, felt paper, or rigid foam boards.
- Overlap seams and tape edges tightly to form a continuous seal.
- Pay special attention to corners and penetrations for a watertight barrier.
A correctly installed barrier extends siding life and prevents hidden mold or wood rot.
3. Adding Flashing and Trim
Flashing is installed around windows, doors, and roof lines to channel water away from the structure, preventing infiltration. Trim provides a finished, polished appearance and adds an extra layer of protection.
- Use corrosion-resistant metal or vinyl flashing.
- Apply caulk beneath edges for a secure, weatherproof fit.
4. Measuring and Cutting Siding Material
Accurate measurements ensure panels fit tightly with no visible gaps or overlaps.
- Use chalk lines to maintain alignment.
- Cut siding with precision tools to fit corners, eaves, and window openings.
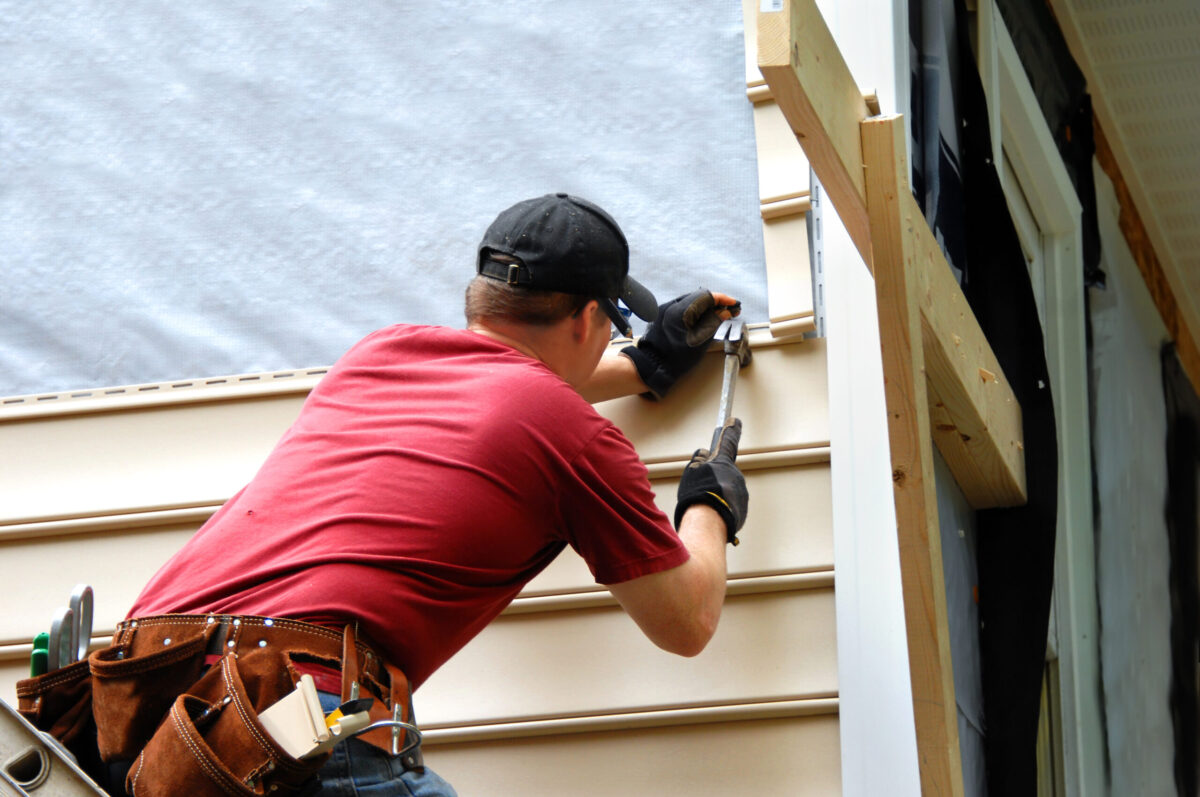
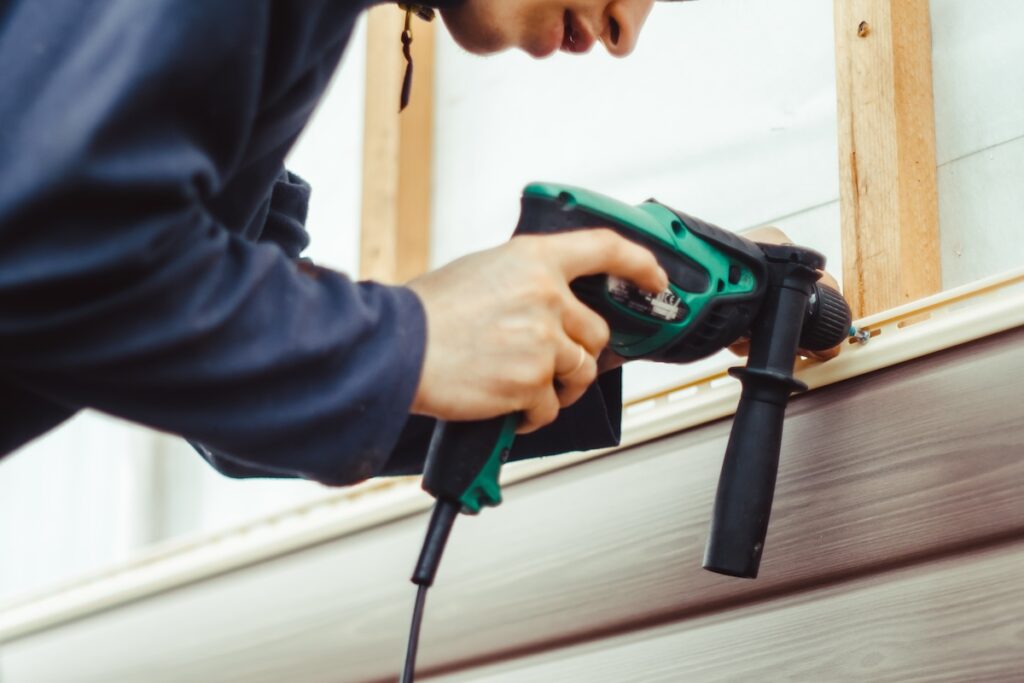
5. Securing Siding to the Exterior Walls
Installers use nails, screws, or clips depending on the material type.
- Fasten from the center outward to prevent buckling.
- Leave slight gaps to accommodate natural expansion and contraction during temperature changes.
6. Finishing Touches
The final step brings everything together for a clean, weather-tight appearance.
- Caulk seams and joints to seal out moisture.
- Paint or stain if needed for added protection and visual appeal.
- Perform a final inspection to ensure uniform alignment and secure attachment across all surfaces.
This attention to detail ensures the siding not only enhances curb appeal but also provides reliable protection for years.
Common Siding Materials and Installation Considerations
Choosing the right siding material affects how installation is approached and the results you can expect. Here are some common options and what to keep in mind:
- Vinyl Siding: Lightweight and low maintenance, vinyl panels snap or nail onto the exterior with an overlap design to shed water efficiently.
- Fiber Cement Siding: Durable and fire-resistant, fiber cement requires cutting with special tools and careful fastening.
- Wood Siding: Offers natural beauty but demands precise installation to prevent moisture issues and regular upkeep.
- Metal Siding: Often aluminum or steel, metal siding installation involves fastening large panels and may require specialized equipment.
- Stucco Siding: Applies as a plaster over a wire lath and requires layering and drying times distinct from panel siding.
If you’re still comparing options, our detailed guide on the different siding types breaks down the pros and cons of popular materials like vinyl, fiber cement, wood, and metal to help you make the best decision for your home.
Maintaining Your Siding Post-Installation
Once your siding is professionally installed, maintaining it will maximize longevity and retain its attractive look. Consider these guidelines:
- Regular Cleaning: Use a soft brush or pressure washer on a low setting to remove dirt, mildew, and stains without damaging the siding surface.
- Inspecting for Damage: Frequent inspections help you spot cracks, loose panels, or sealant needing replacement before small problems escalate.
- Repainting or Staining: Wood and some fiber cement siding types may require periodic repainting or staining to protect against weathering.
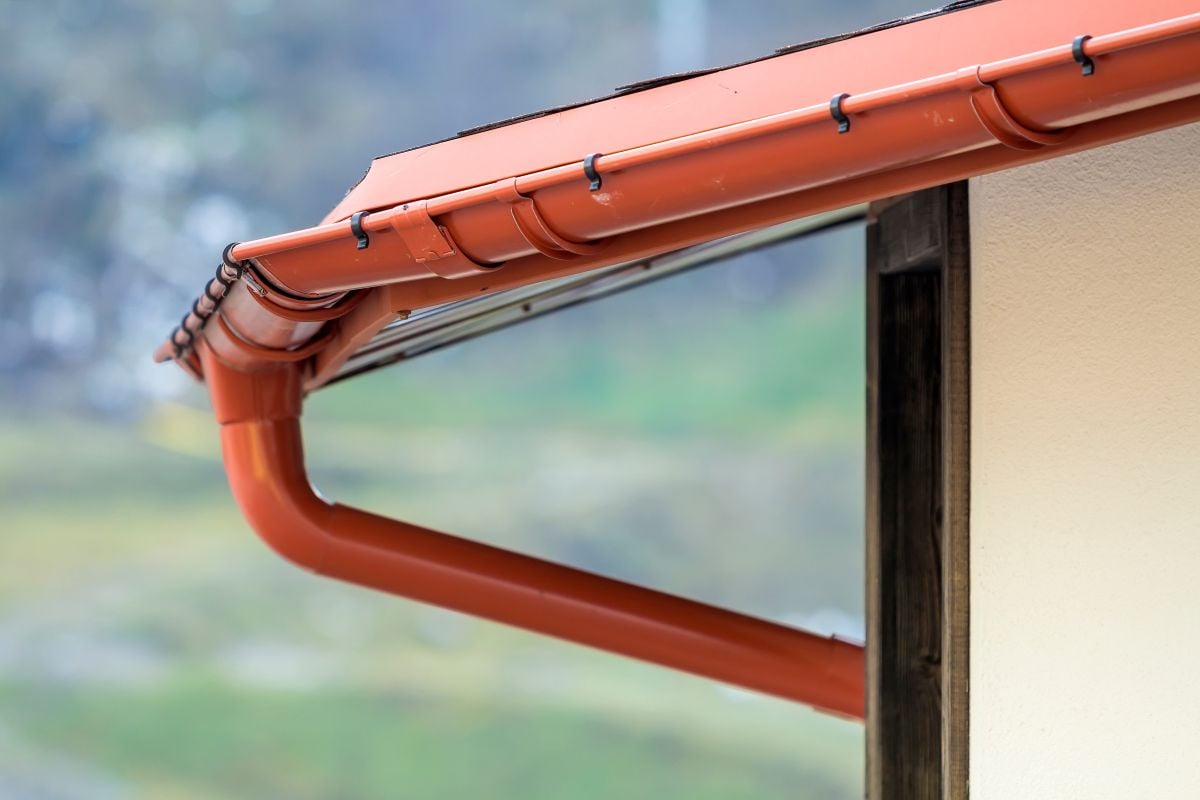
- Controlling Moisture and Ventilation: Ensure gutters direct water away and that vents promote airflow behind siding to prevent mold and rot.
Our team proudly supports homeowners through our trusted Waunakee roofing and exterior services, helping protect your investment long after installation is complete.
Choosing Professional Siding Installation Services
Our experienced team provides high-quality exterior solutions tailored to Wisconsin’s climate, making Madison roofing and exterior services a reliable option for homeowners looking to protect and enhance their property.
While some homeowners may consider DIY projects, siding installation demands skill and specialized knowledge to achieve optimal results. Here are reasons why professional services make a difference:
Expertise and Experience
- Trained technicians understand local building codes and best practices.
- Proper tool use minimizes risk of damage during installation.
Quality Materials and Warranty
- Professionals provide access to high-grade siding options.
- Warranties often cover labor and product defects for peace of mind.
Time and Cost Efficiency
- Experienced crews complete projects faster and within budget.
- Reduces likelihood of costly repairs from incorrect installation.
| DIY Installation | Professional Installation |
| Lower upfront cost but risk of mistakes | Higher initial investment with guaranteed results |
| Requires detailed knowledge and proper tools | Handled by trained crews with specialized equipment |
| Time-consuming and labor-intensive | Efficient and timely project completion |
Homeowners in the Madison and surrounding areas frequently rely on expert siding installation services to enhance their property’s durability and appearance, ensuring their investments are protected for years to come.

Professional Siding Installation
Proper siding installation is fundamental to protecting your home from harsh weather, improving energy efficiency, and elevating curb appeal. Whether you are selecting a new exterior for your house or need to replace old, damaged siding, understanding the installation process empowers you to make the best choice for your property. For reliable and high-quality siding services, do not hesitate to contact us today at Badgerland Exteriors and ensure your home is equipped with the best protection possible.
Homeowners seeking dependable exterior upgrades often turn to our Verona roofing services for expert installation, premium materials, and attention to detail that ensures your siding stands up to harsh weather conditions.

Recent Articles
Read the Badger Blog
Let’s Get Started
Fix Your Roof the Badger Way
Got a question? Want to learn more about your options when it comes to caring for your home exterior? Our team is standing by with the information you need to start you roof replacement project today!
